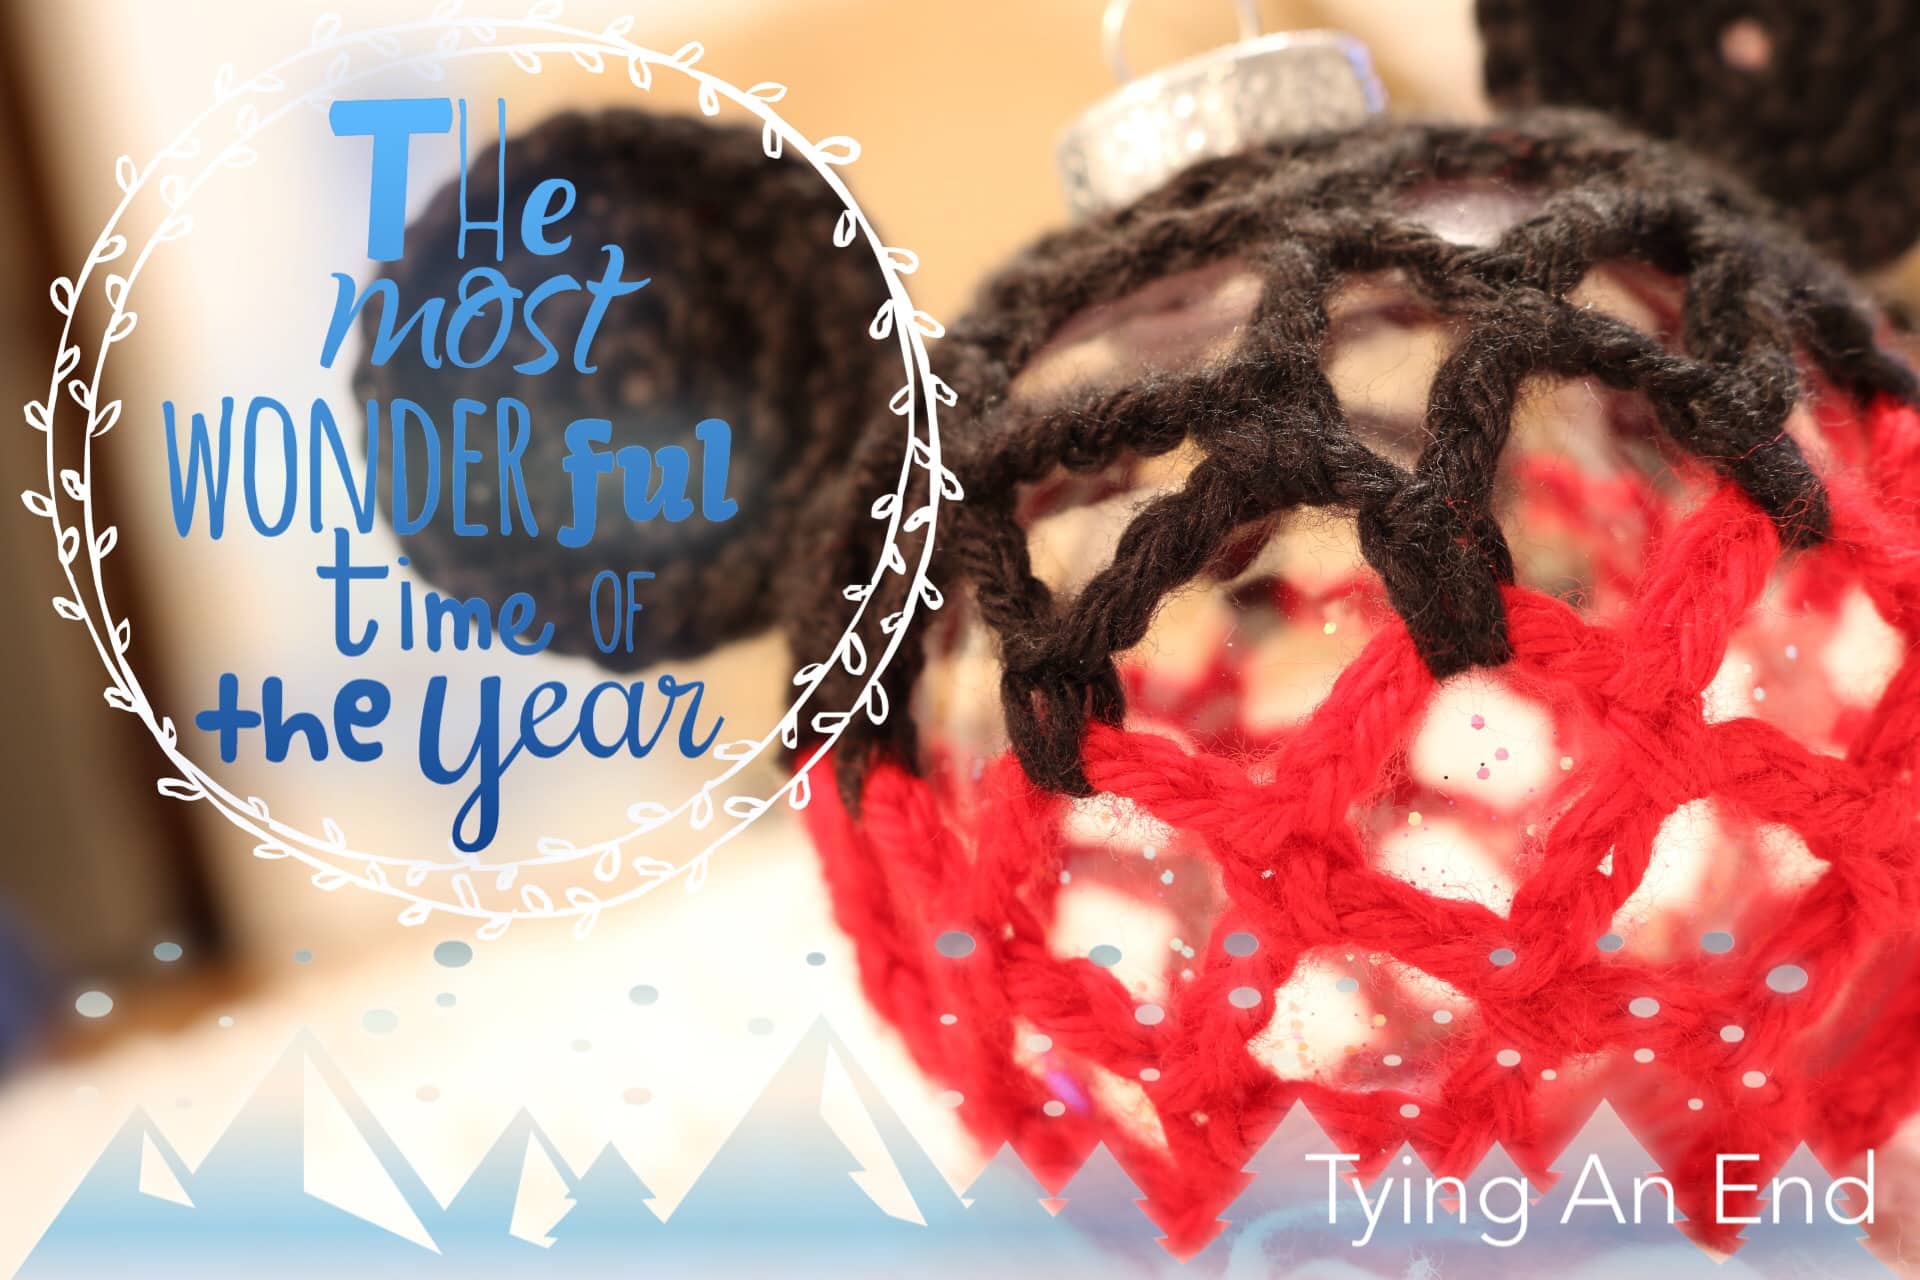
[Step-by-Step] Mickey Christmas Ornament
Countdown to Christmas!! Only 1 more night!!
Who’s excited? I kinda am. My family don’t celebrate Christmas big, but we usually go out for dinner (we’re not really at-home feast type of family). I think last year we went to Japanese BBQ restaurant.
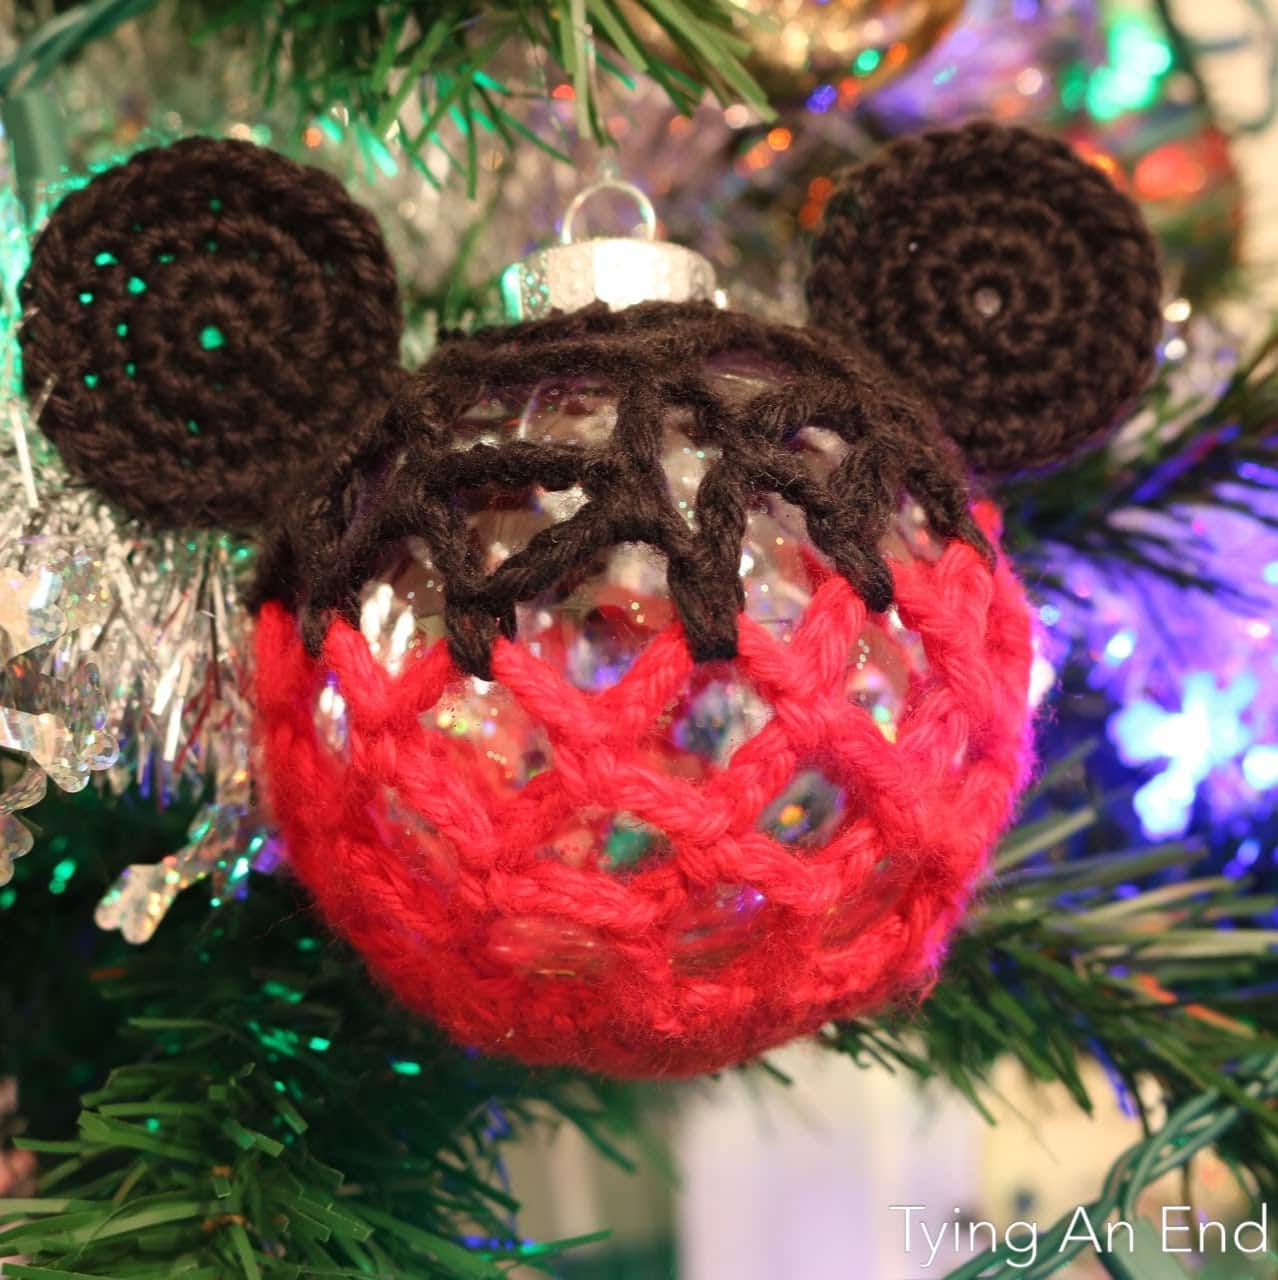
As people are getting ready for Christmas, I wanted to share step-by-step on how to make Mickey Christmas Ornament I made this year! I wanted symbolical Disney character ornaments, and this is my end product. I’m happy with how it turned out! Please follow along with full instruction on my other blog post which you can find it HERE. I wanted to make as easy as possible so some wordings on photos are not same from instruction. (And I apologize if it made more confusing because wordings are different!)
Please feel free to contact me if you have any question!!


When you work in joined round, stitch where you SL ST in is still your 1st stitch and your SL ST is not included in stitch count. It’s like SL ST and 1st stitch is overlapping. Also, you should crochet together your beginning tail in this round so that you don’t have to weave it in later.


Now you’re going to change the color!


Leave long enough tail to weave it in later!


Can you tell it’s starting to form like sphere?


For last stitch for this round, you need to pull it in order to reach it. Don’t worry, it will stretch nicely and fit!

This is how the top looks like when you’re done with round 10. Pull towards the center when you’re working on round 11!

And ta-da-! This is how the top looks like when you’re all done! Put Mickey’s ears wherever you like. I put mine on round 9 in CH-5 space where it looks vertical.
Thank you for reading!
This pattern is an original pattern by Tae of Tying An End. Please do not claim this pattern as your own. If you wish to share this pattern, please link to this pattern and do not copy and paste it on to your site. You may keep a copy for your own personal use but please do not sell the pattern or distribute it. You may not sell products made from this pattern due to license issue but please clearly credit the design to me, Tae of Tying An End, and provide a link to my blog tyinganend.com when you make for your personal use. Permission is NOT granted for mass production or factory manufacturing of any kind. Thank you for being respectful and for your understanding!
Mickey Christmas Ornament

Happy 2nd Birthday ♡
You May Also Like
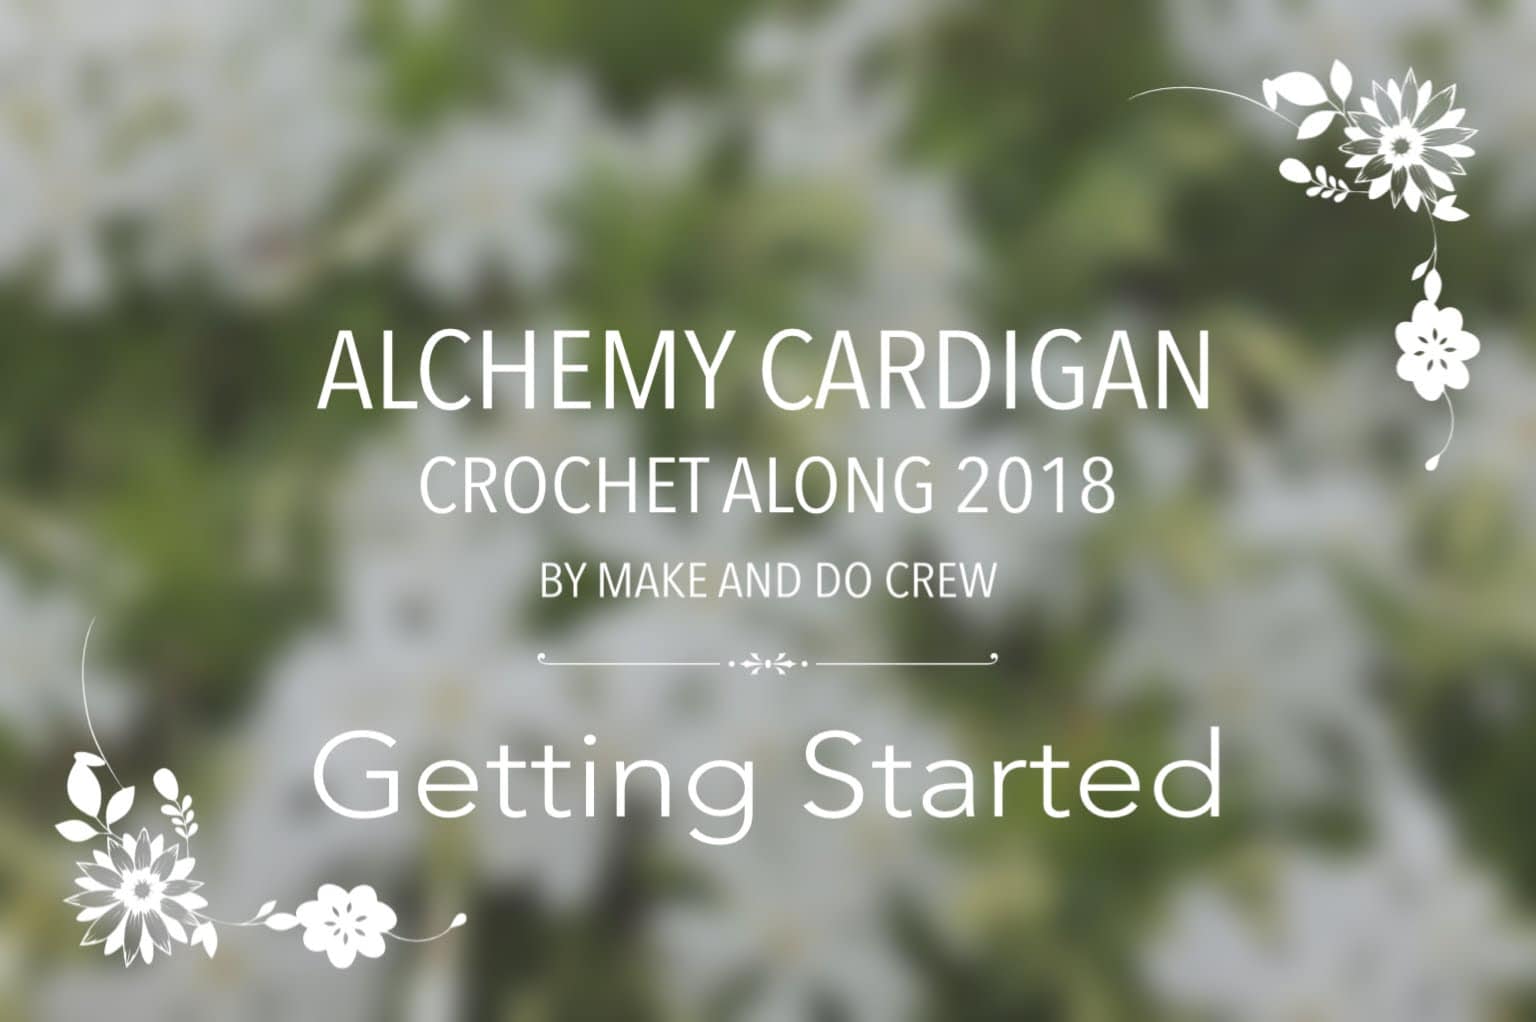
Alchemy Cardigan CAL by Make and Do Crew- getting started
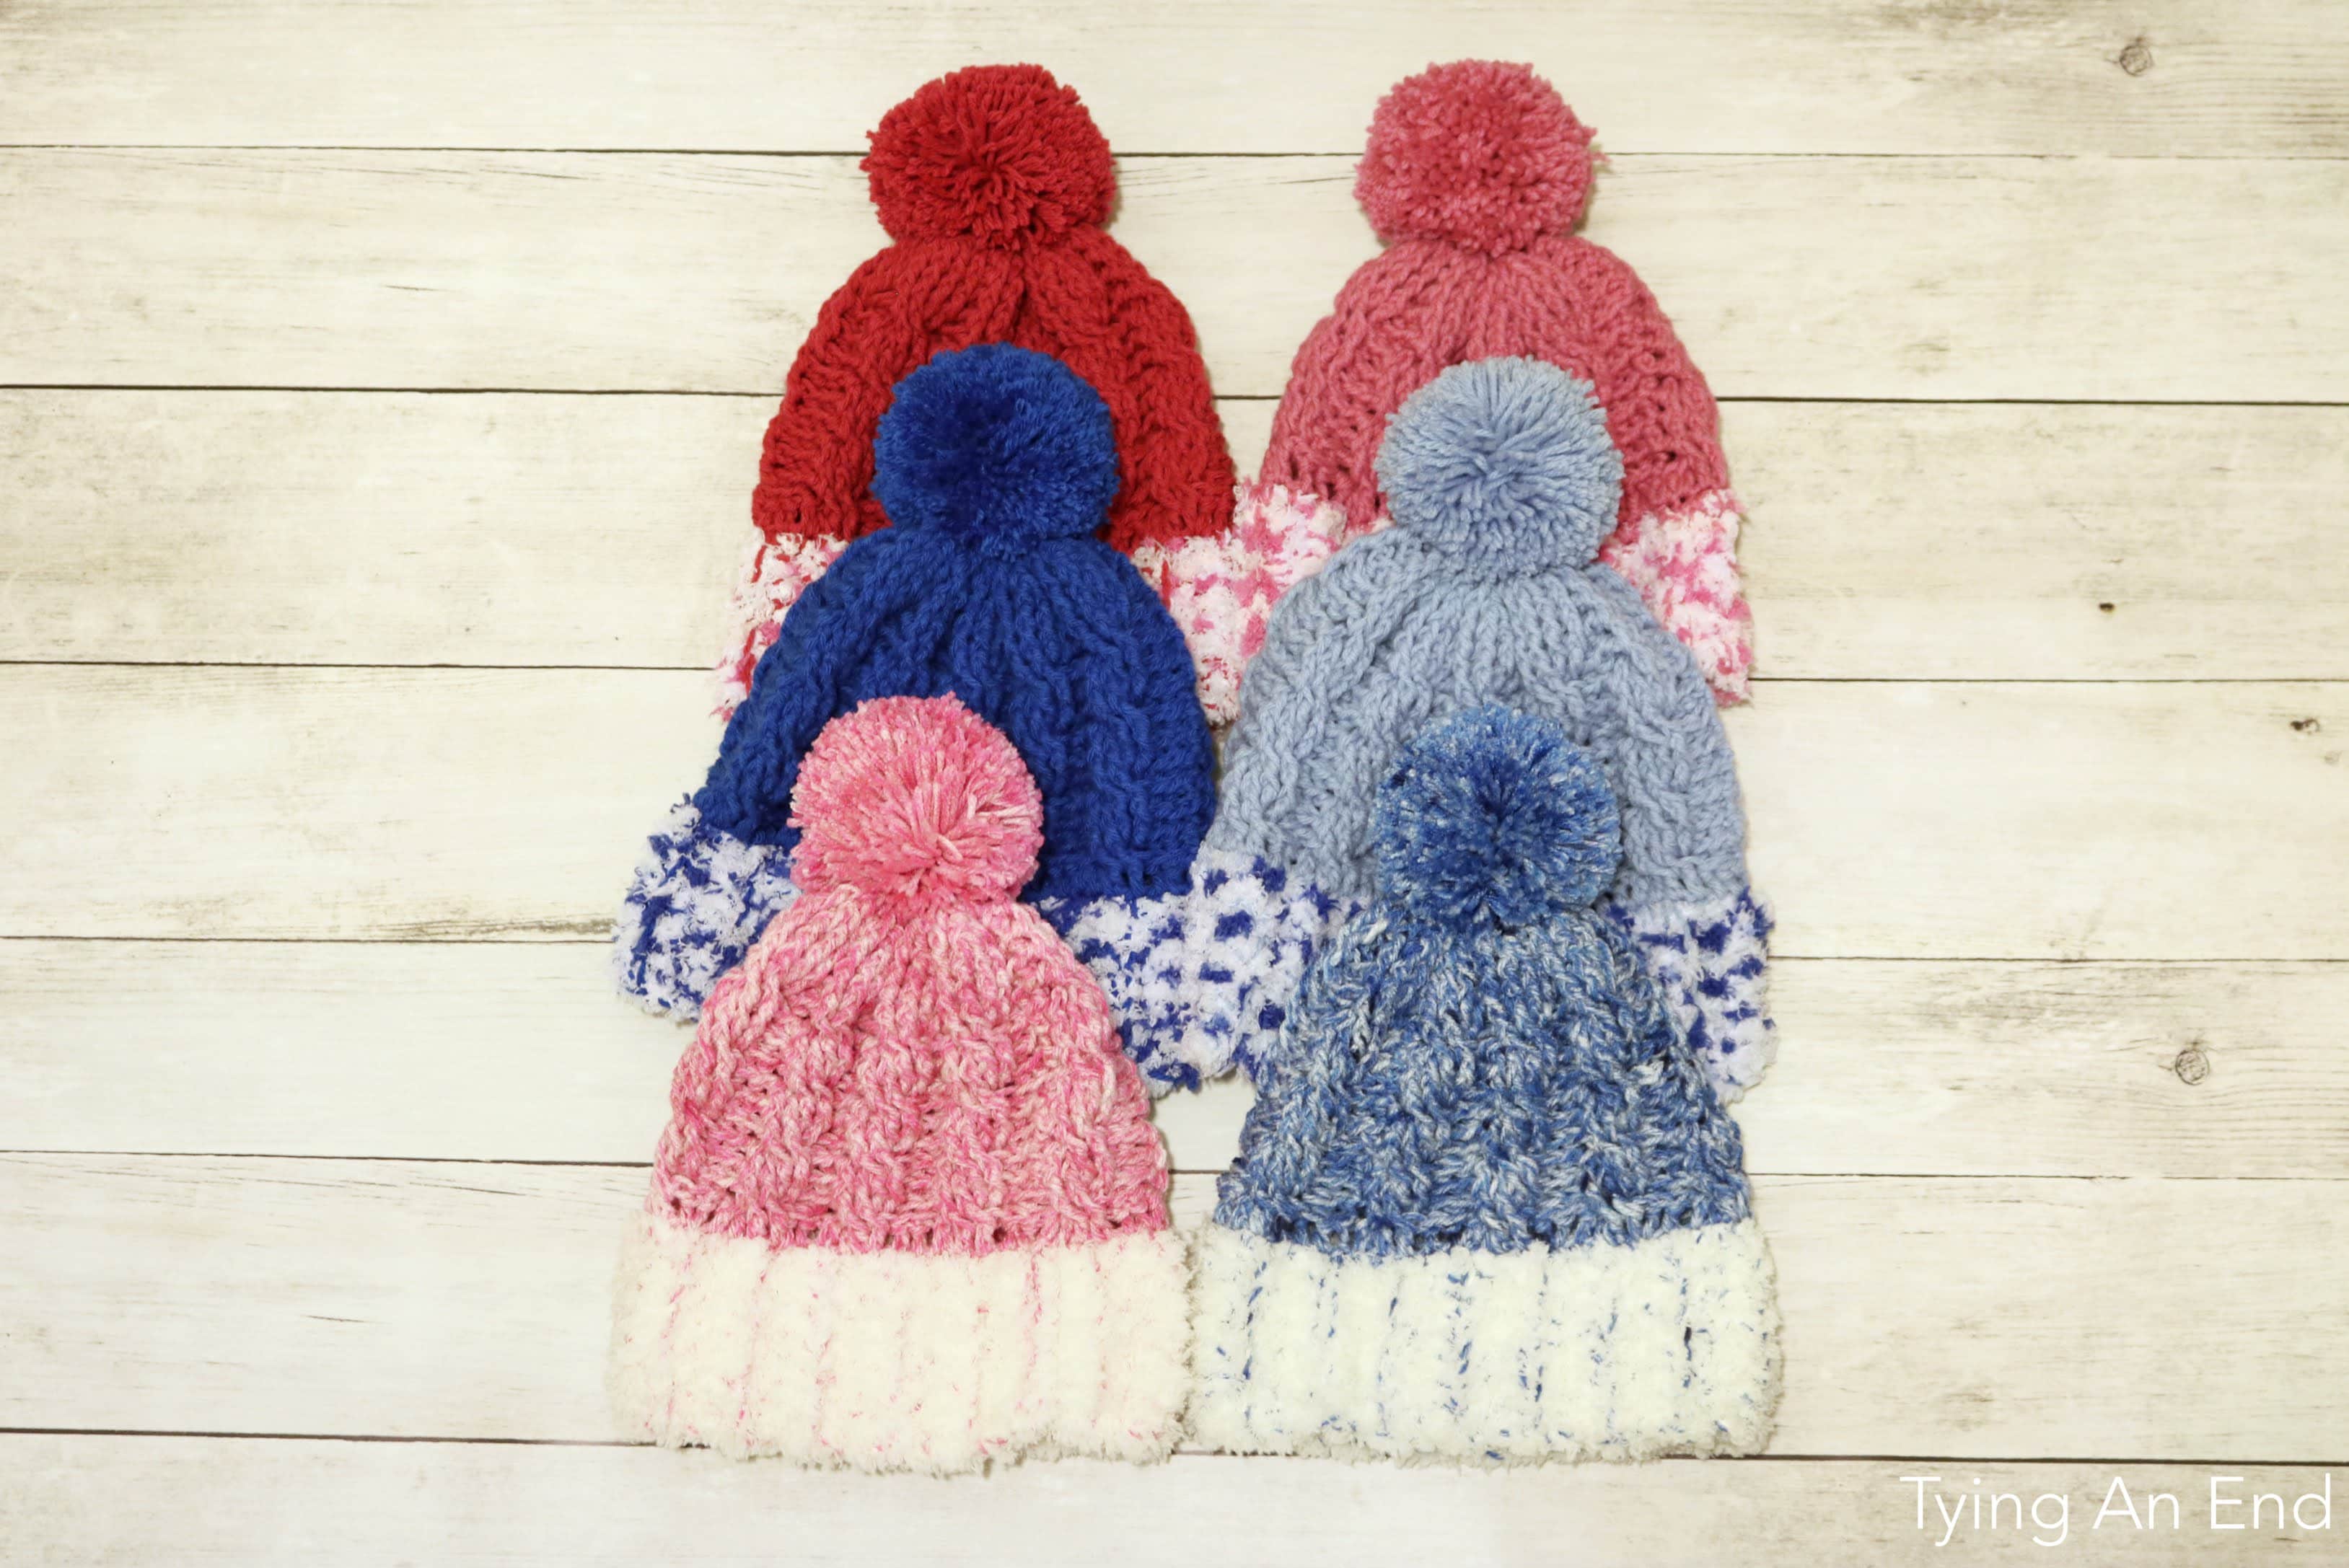
[Review] Avery Cable Slouch Beanie
![[How to Crochet] Invisible Join when you are working in round with multiple colors](https://www.tyinganend.com/wp-content/uploads/2018/02/IMG_6213.jpg)