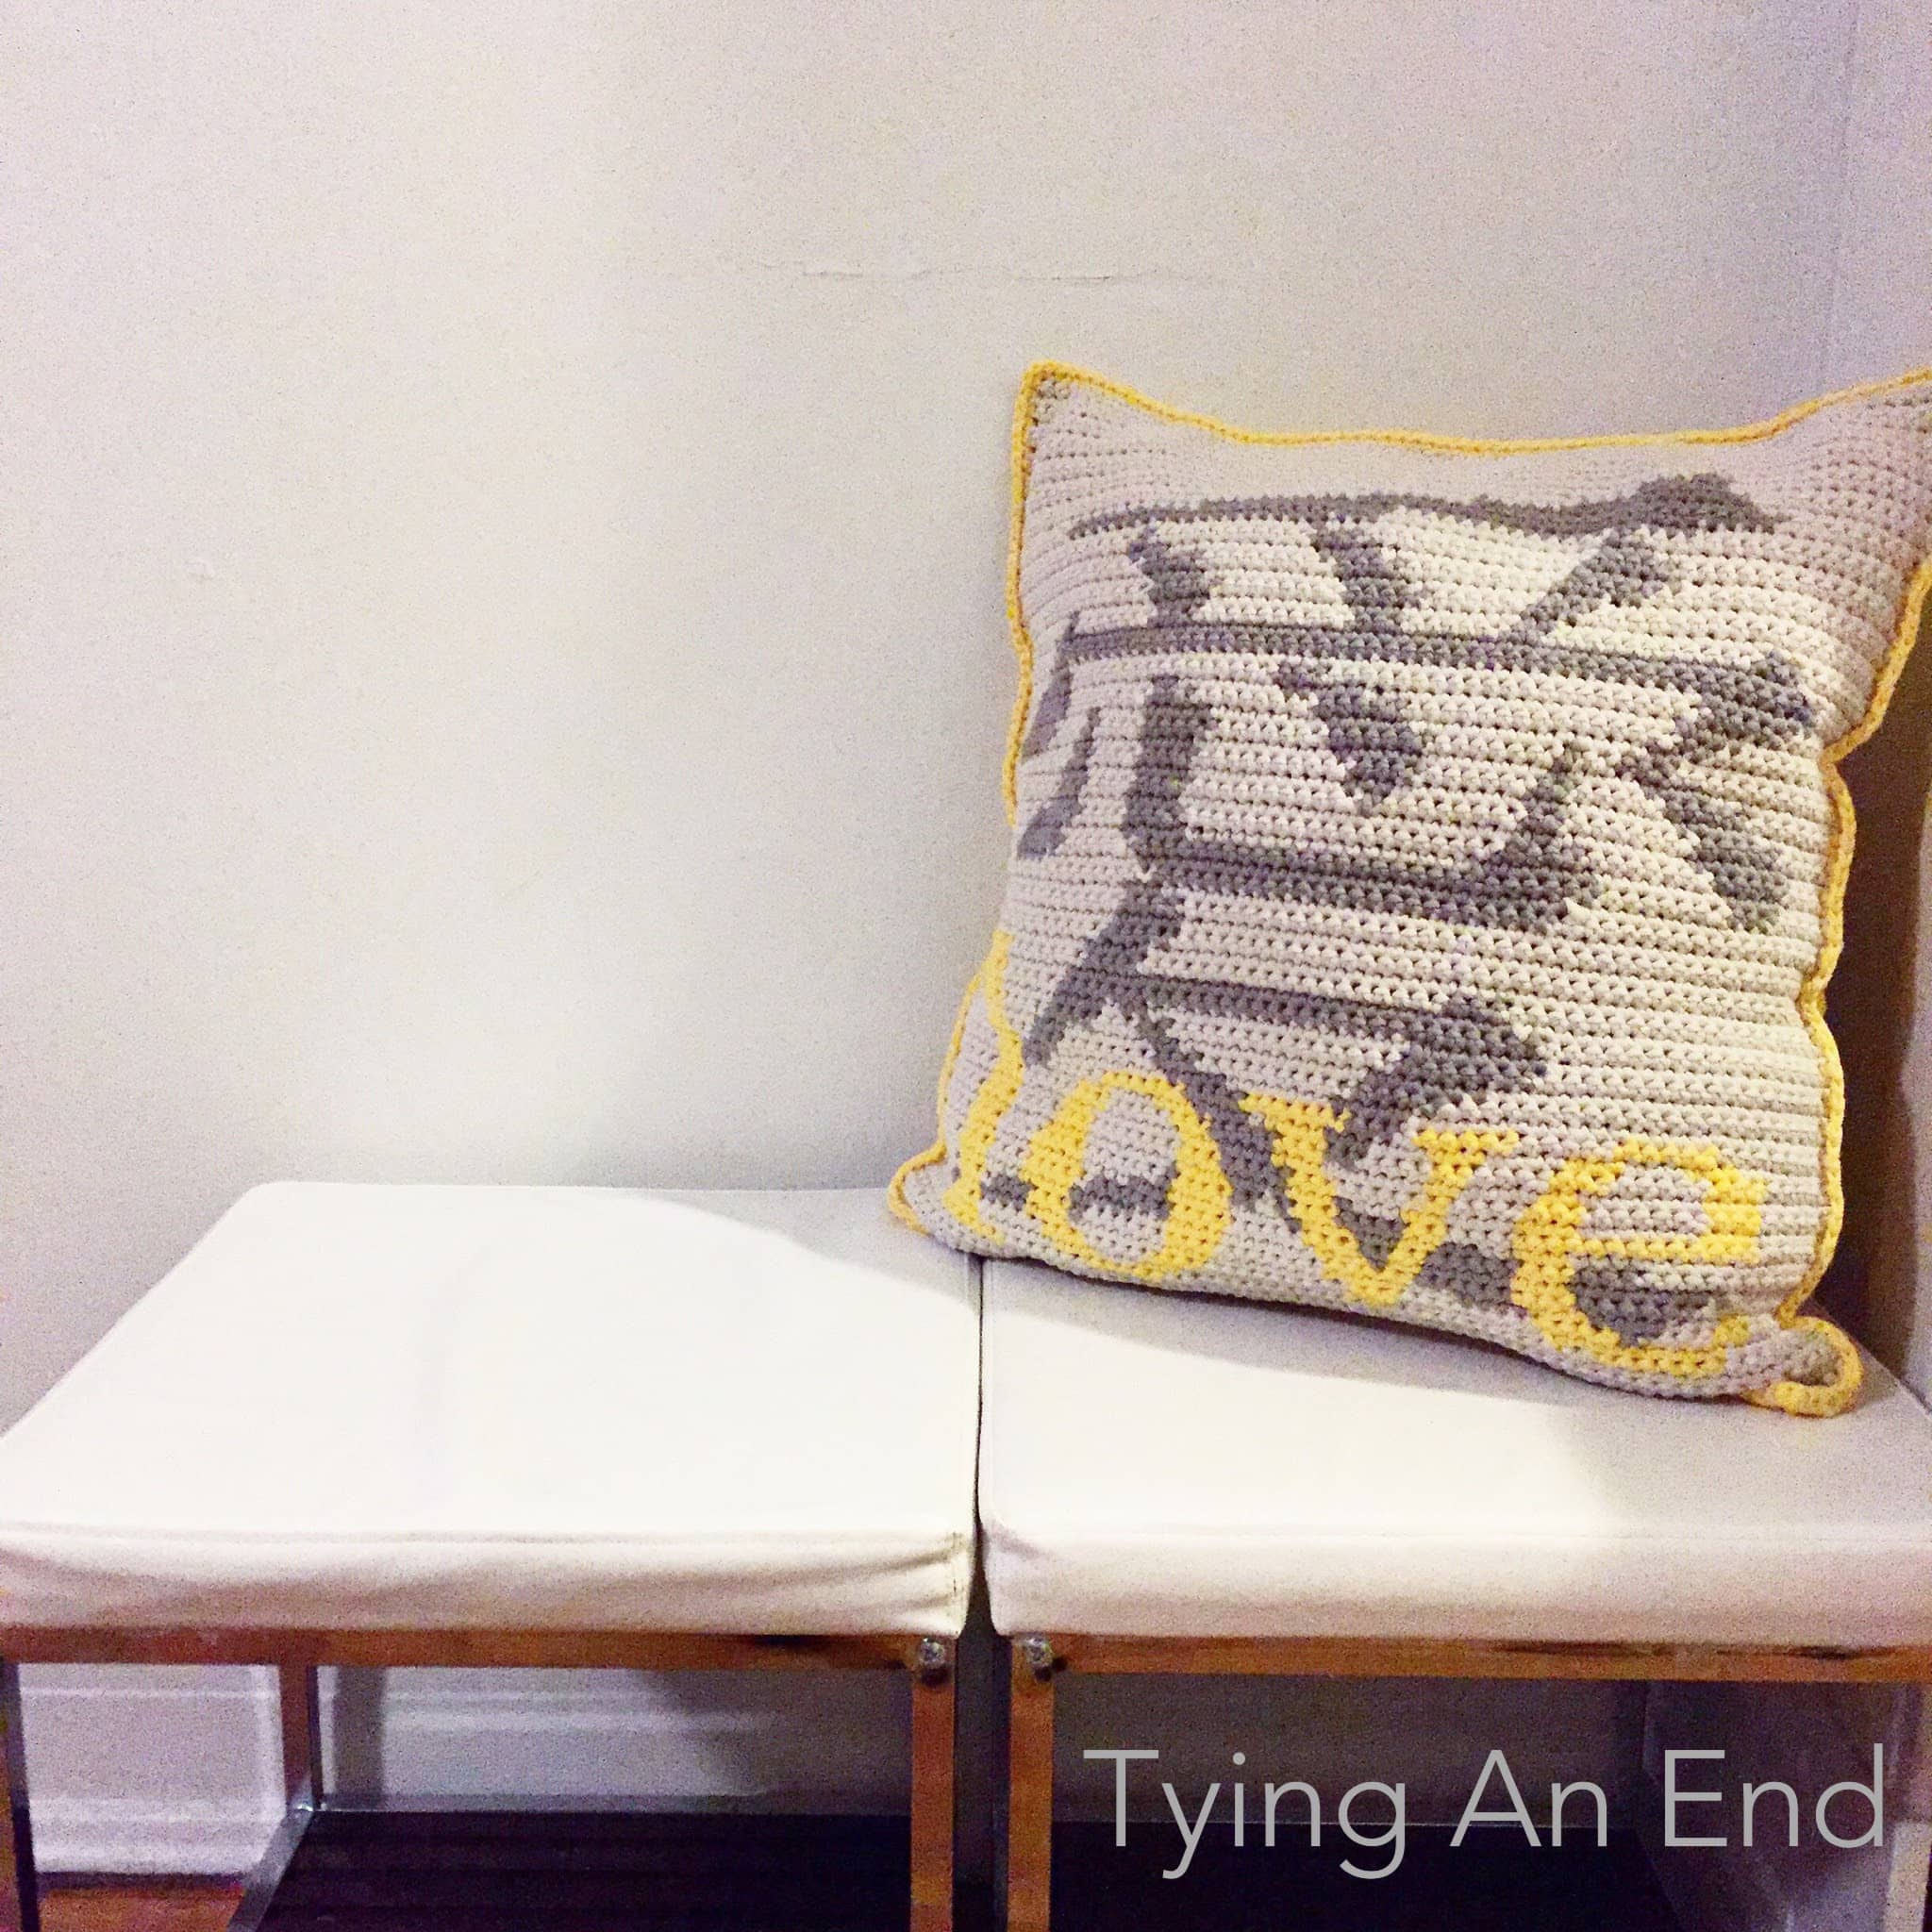
Love Crochet Throw Pillow
Hello!
So I finished making grid pattern for throw pillow I made recently! I was really inspired to make my own throw pillow cover when I saw Catch a Wave Crochet Pillow by Yarnspirations. Catch a Wave pattern uses Bernat Maker Home Dec, and I love the texture! I fell in love immediately when I first saw this in store! I instantly bought Gold color without any plan (yes, yarn addiction) and I thought it would be nice to make my own design!
At first, I was thinking of creating this pattern by hand on computer, but then I realized it’s very hard to do that without touch pen…it made really difficult for me to draw out what I truly want with a mouse. So I Googled where I can create grid pattern very easily. I found couple websites, but I think Craft Design Online was perfect website! You can change colors very easily, but most importantly, this website can insert any word! If you don’t have InDesign or similar software, this website is great place to go.

My best friend’s birthday was coming up, and I wanted to show her how much I love her! I decided to design a throw pillow for her since she recently bought new couch!
Designing the throw pillow went quite smoothly. However, I wish they had more font options for other languages (for me Japanese) Also, grid lines show up really light when you save it to PDF, so even when you print it out, it was pretty hard to see. I had to transfer to Excel and draw lines darker.
I’m happy with how it turned out, and I hope you do as well! Here’s the free pattern! (You can purchase nicely formatted PDF at my Etsy shop HERE !)
Materials:
- Bernat Maker Home Dec Yarn
- Gold (2 skeins)
- Cream (1 skein)
- Clay (1 skein)
- US J/10mm crochet hook
- Tapestry needle
- Throw pillow insert 18″x18″ (it’ll say what cover size will fit when you buy it)
Notes:
- Throw pillow size: approximately 18″ x 18″
- Gauge: 14 sc x 17 rows = 4″ (10cm)
- Since I crochet pretty tightly, my gauge number may be bigger than others. If your gauge size is smaller than mine, finished product will not going to be 18″x18″! (This is another project where I learned gauge is really important!)
- Number in [ ] indicates number of stitches in each row.
Abbreviations:
- CH – chain stitch
- SC – single crochet
- ST – stitch
- RS – right side
- WS – wrong side
Instructions:
Click HERE to download the graph!
– Front –
CH 64 with Cream
Row 1 – SC in 2nd CH from hook. SC across. [63]
Follow the grid pattern to complete the front piece. Note that odd number rows are RS and even number rows are WS.
Fasten off at the end of the row.
– Back –
CH 64 with Gold
Row 1 – SC in 2nd CH from hook. SC across. [63]
Row 2~77 – CH 1. Turn. SC across. [63]
Do not fasten off.
– Finishing –
Hold WS of Front and Back piece together (RS of Front piece towards you). SL ST in the corner of Front piece. CH 1. SC around 3 sides, 3 SC in each corner. Put throw pillow insert then join 4th side. SL ST in 1st SC.
Fasten off and weave in the end.
Thank you for reading!

This pattern is an original pattern by Tae of Tying An End. Please do not claim this pattern as your own. If you wish to share this pattern, please link to this pattern and do not copy and paste it on to your site. You may keep a copy for your own personal use but please DO NOT sell the pattern or distribute it.
You may sell products made from this pattern but please clearly credit the design to me, Tae of Tying An End, and provide a link to my blog tyinganend.com. Permission is NOT granted for mass production or factory manufacturing of any kind. Thank you for being respectful and for your understanding!


2 Comments
Pingback:
Pingback: