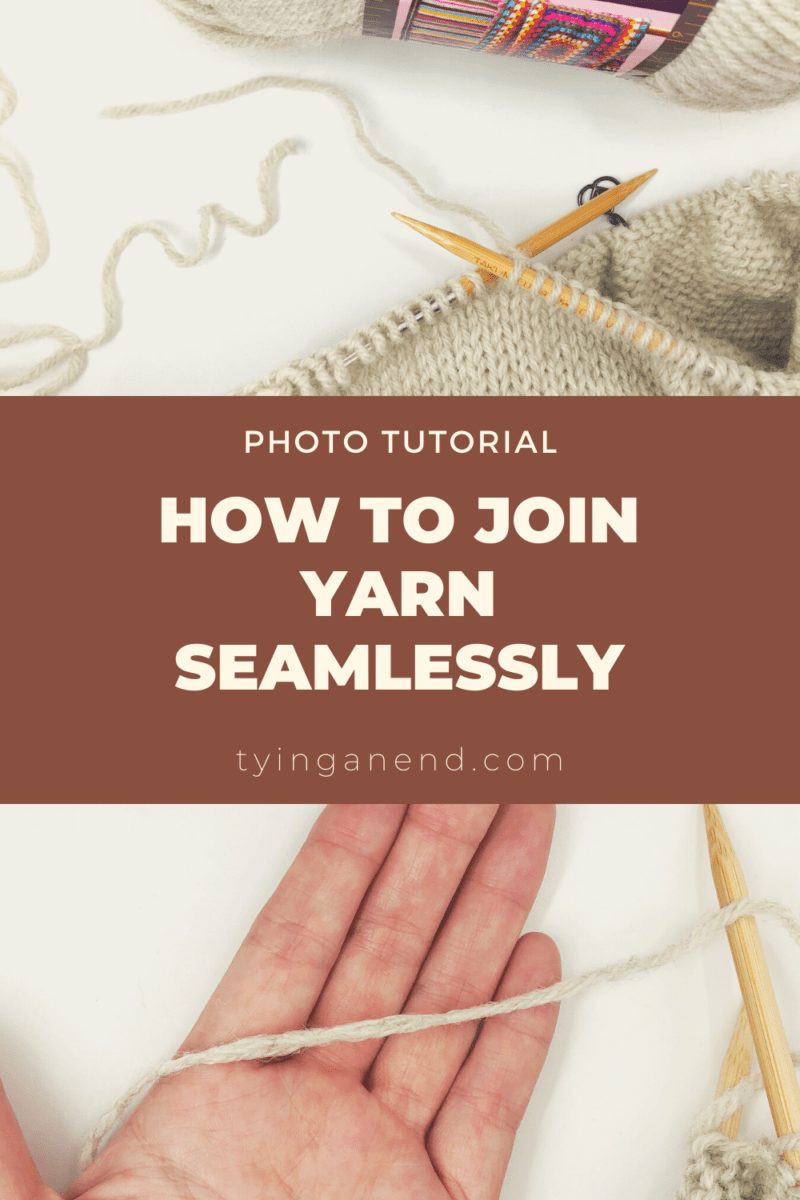
How To Join Yarn Seamlessly
Sick of tying knots to join yarn? This step-by-step photo tutorial will show you how to join yarn seamlessly!
Disclosure: This post contains affiliate links. If you make a purchase through one of those links I receive a small commission. It’s an easy way to support this blog at no additional cost to you.
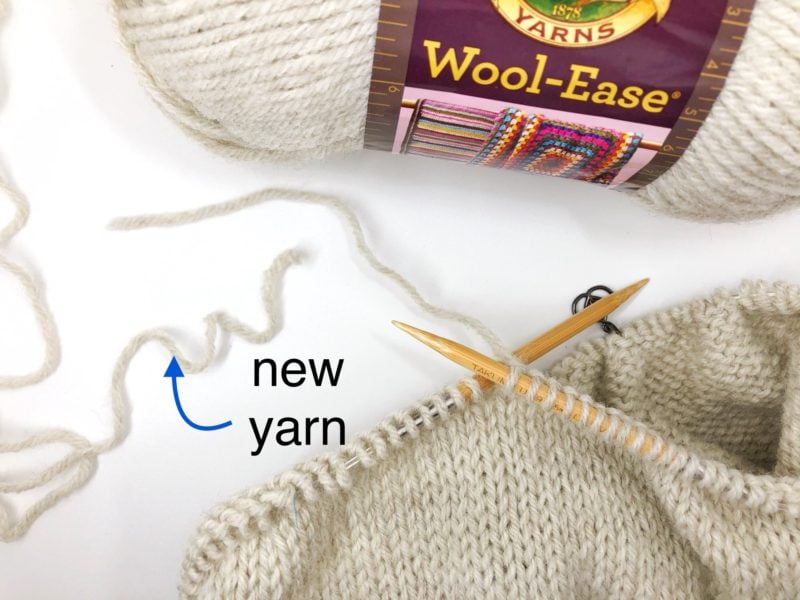
When you need to join new yarn to working yarn, how do you join them together? Usually just simply make tie them together right? Unless you are working with 1lb giant skein of yarn to make a blanket or any big project, you have to join the yarn numerous times. This tutorial will show you how to join yarn seamlessly! No knots and cutting excess yarn ends!
NOTE: THIS METHOD ONLY WORKS FOR ANIMAL FIBER YARNS!
Pin it now, read later!
Yarn used for the tutorial: Lion Brand Wool-Ease (acrylic and wool blend)
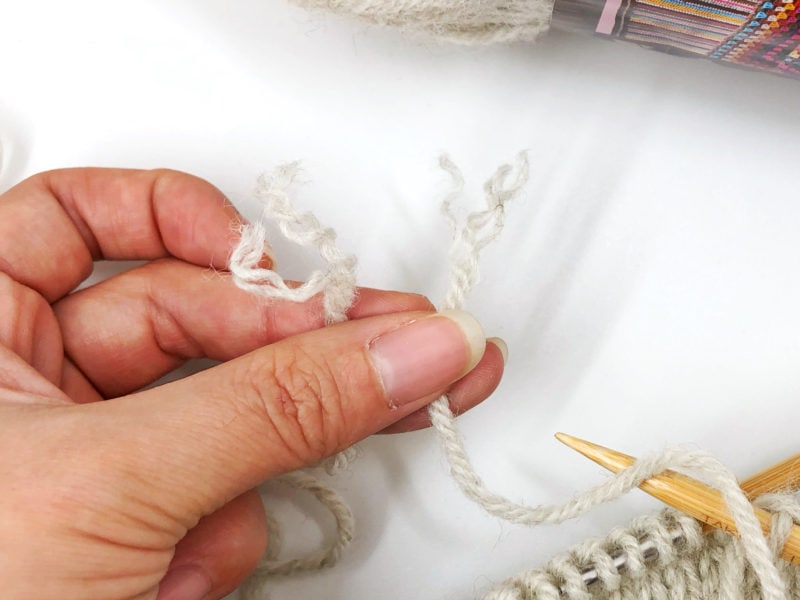
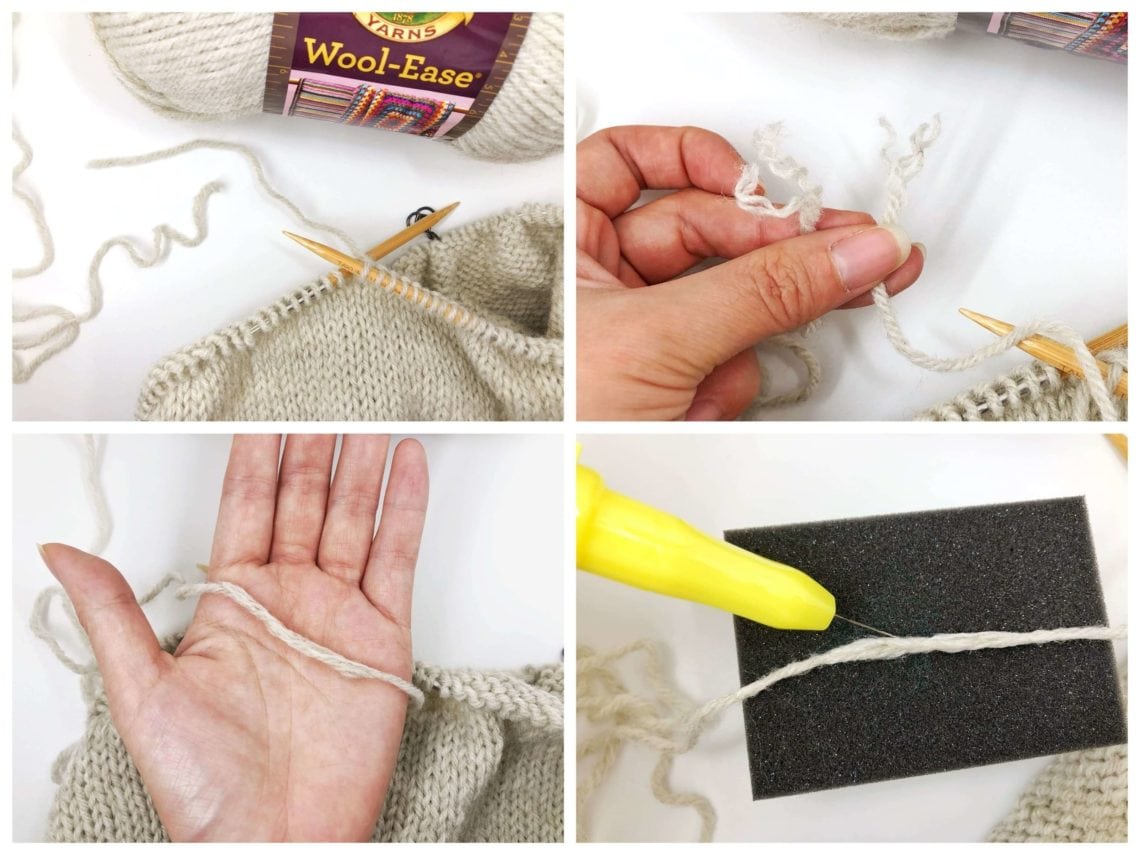
Step 1: Split both ends of yarn evenly.
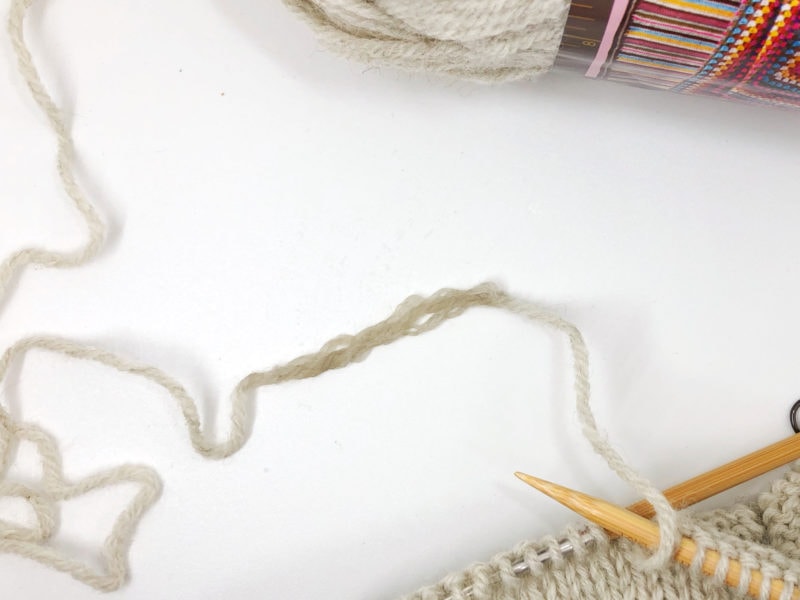
Step 2: Cross both ends and wet them.

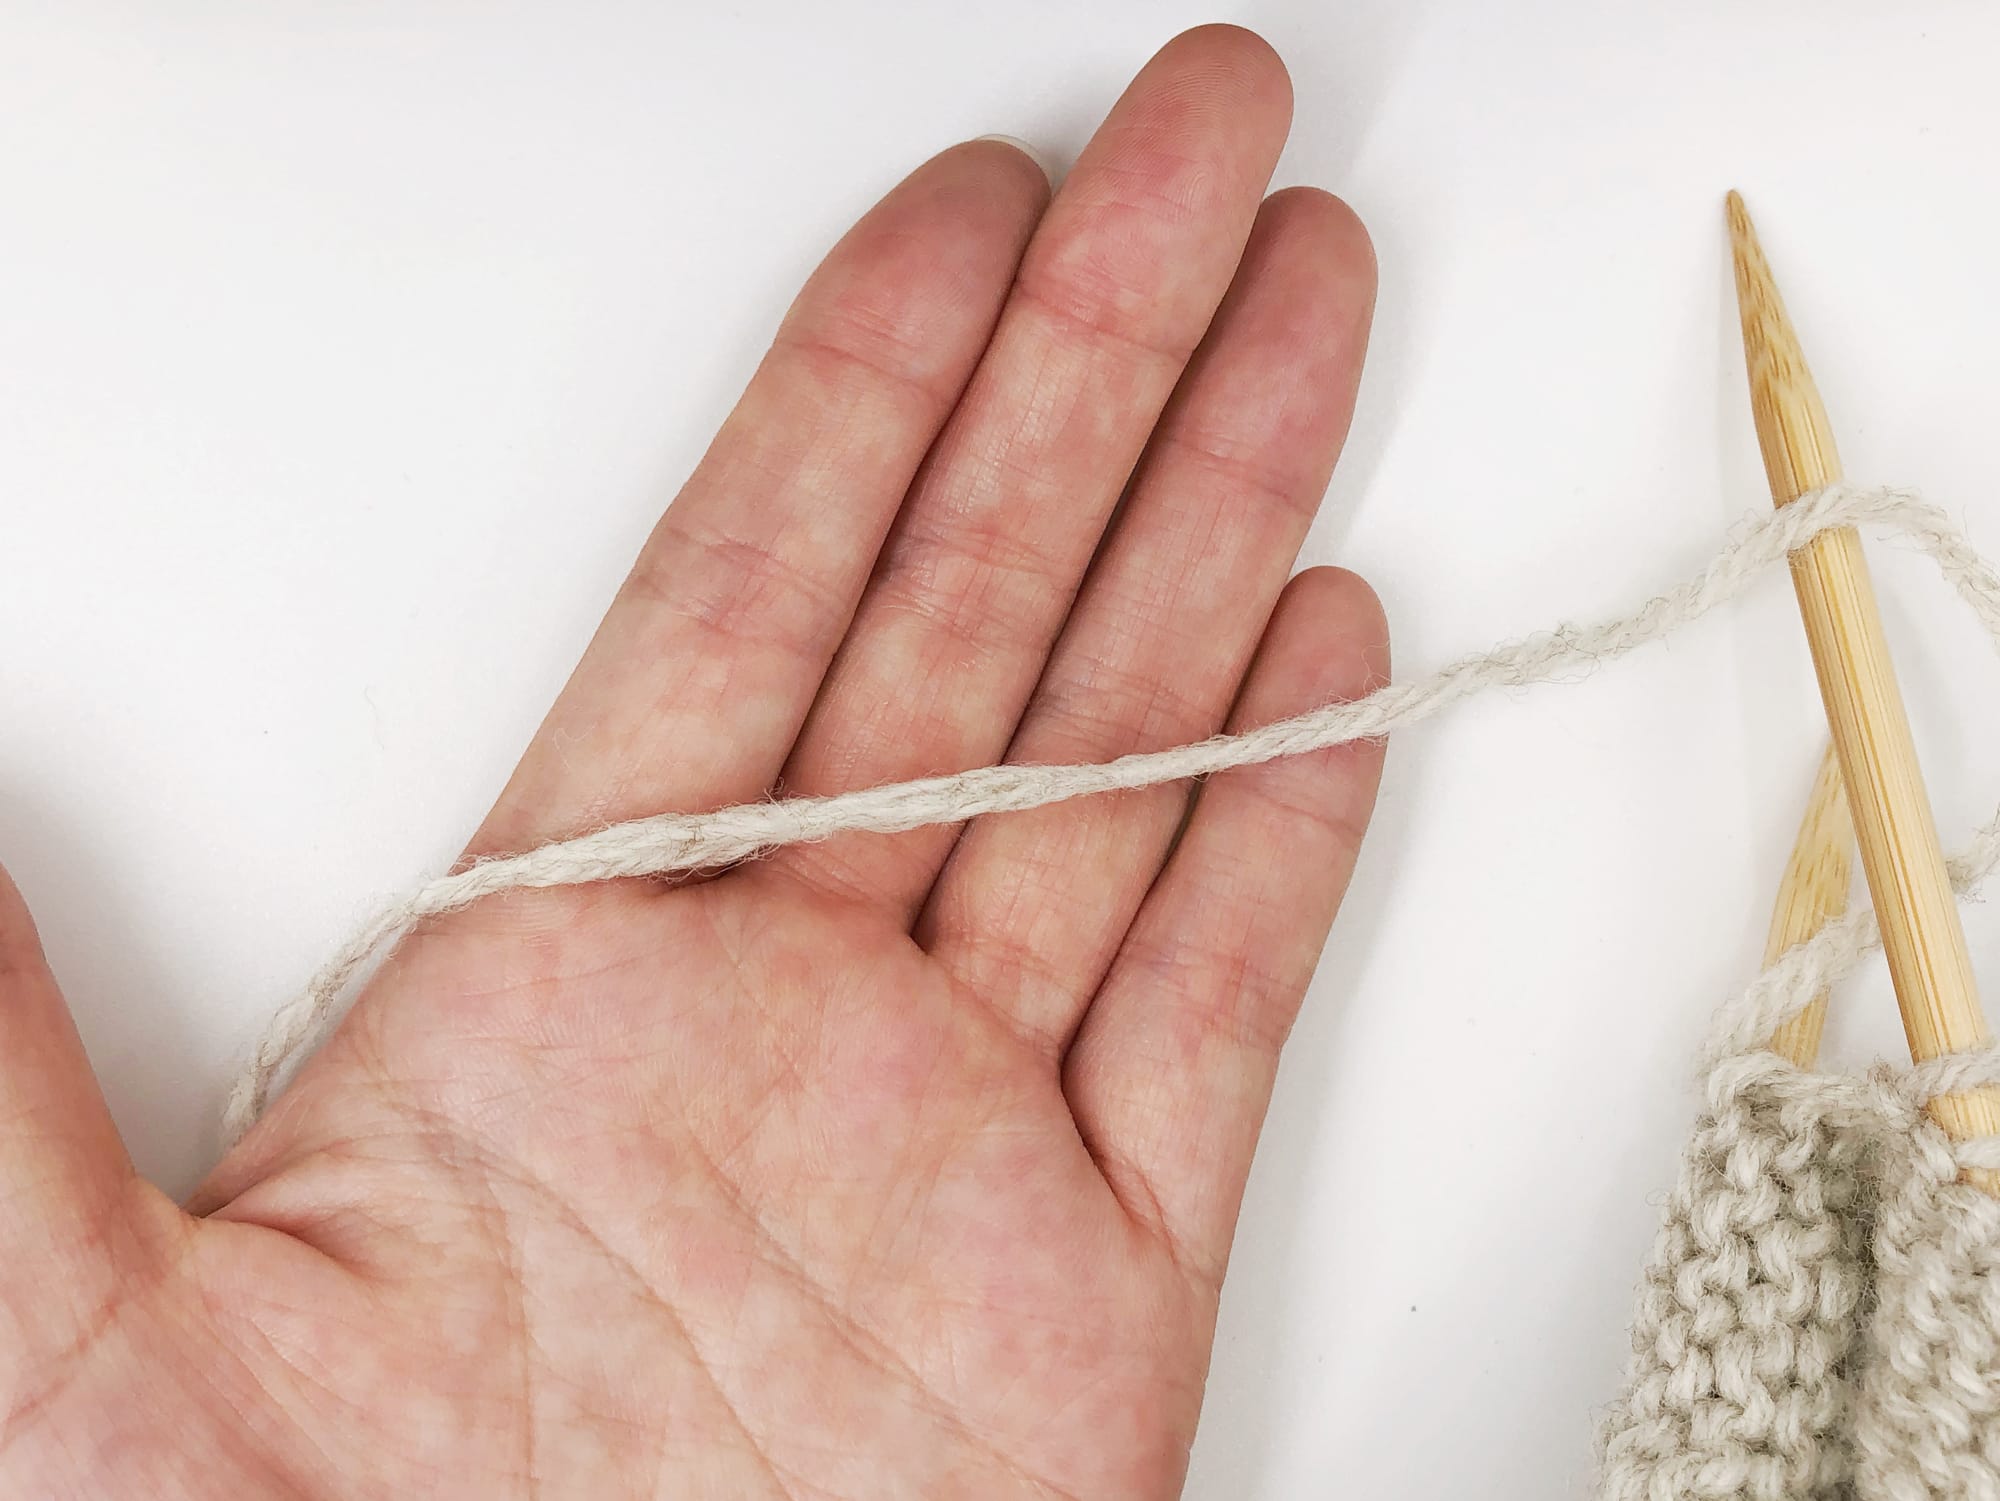
Step 3: Put yarn ends between your palms and start rubbing them. Your hands can feel hot if you do it too fast, so don’t rush. Add more water if necessary.

COMPLETE!
It’s pretty hard to tell where the ends are. However, don’t pull apart as if you’re pulling continuous yarn. It’s not strong enough to hold together.
Additional Touch
I usually use my felting needle for much stronger finish. This way it will not split apart for sure. (FYI: Using felting needle to connect non-animal fiber yarn does not work either!)
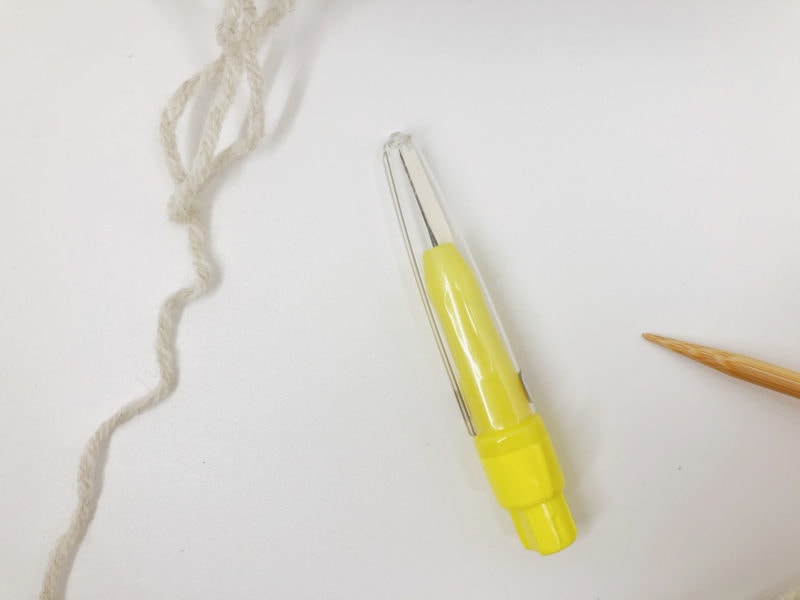
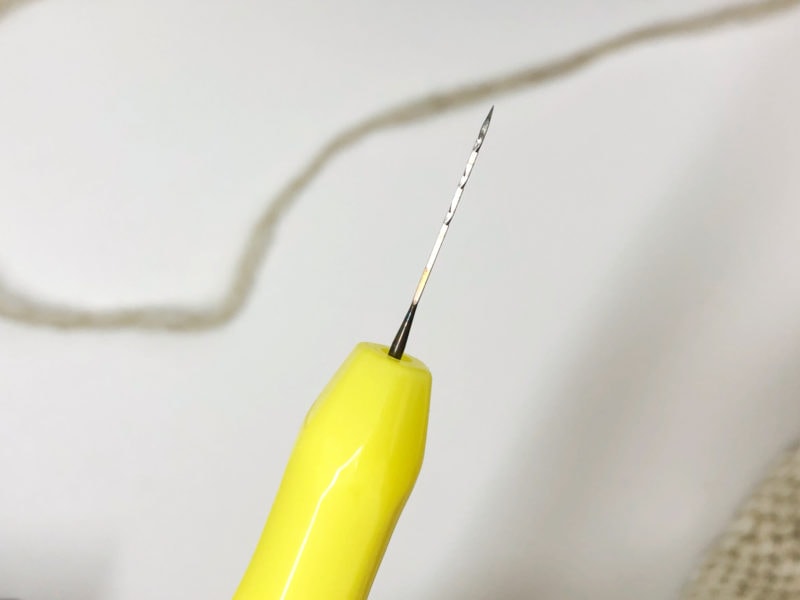
Just be VERY careful when using a felting needle because it is VERY SHARP!
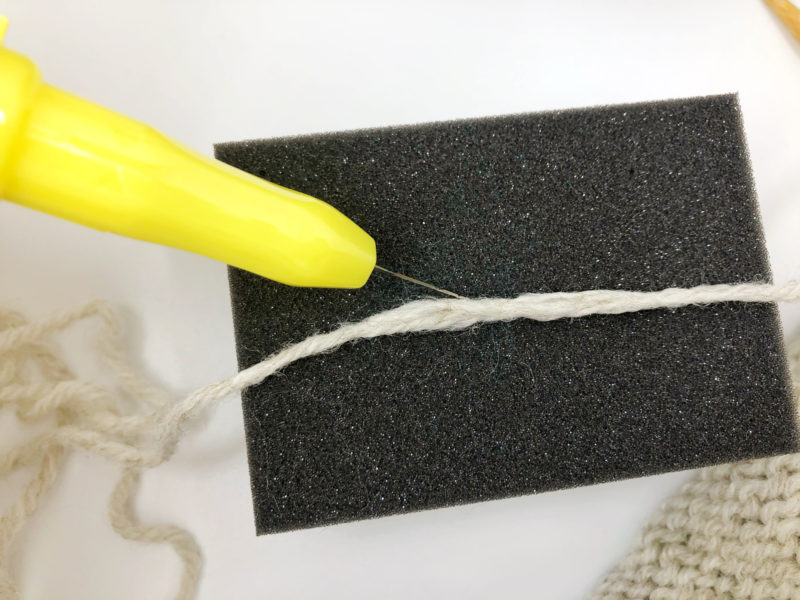
Step 1: Put yarn ends on a sponge and stab it multiple times (10~20 times or as many as you like) until it blends together.
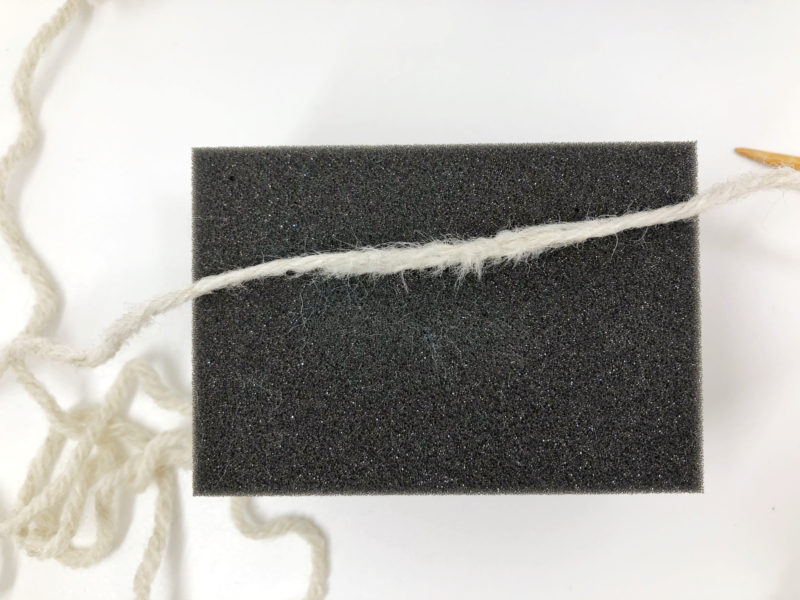
Step 2: It will start to fuzz up after multiple stabs. Lift it up from the sponge and stab it from different directions so you can get nice and even finish. Add little bit of water and you can rub it between your palms again if you like.
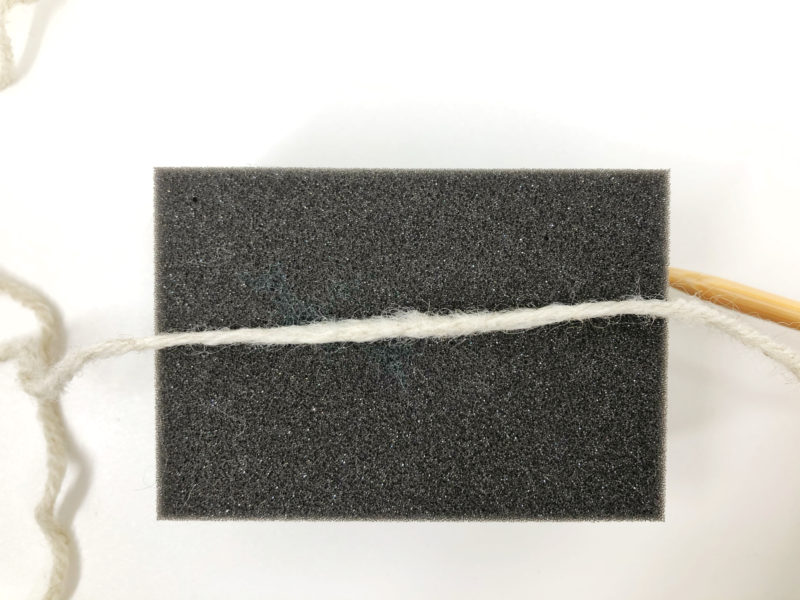
Final Look
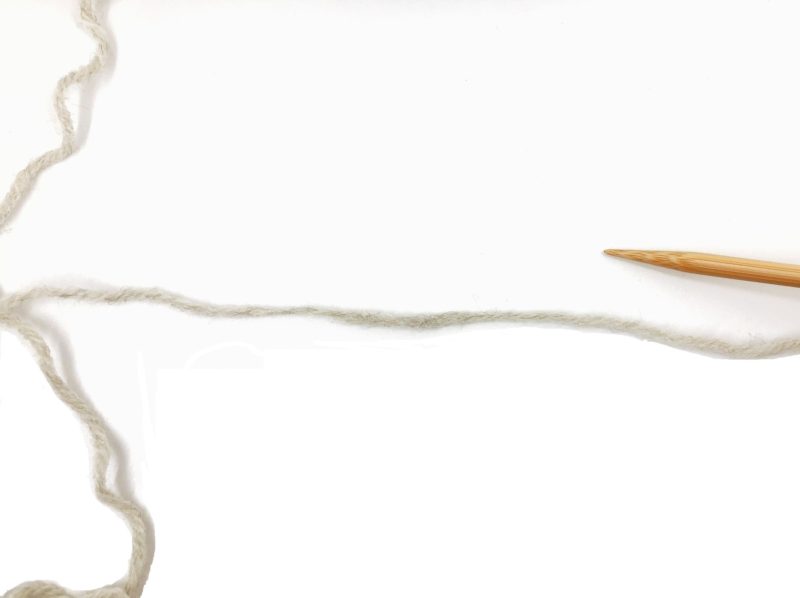
Depending on how deep you crossed the ends together in the beginning, it may look little lumpy. If that happens and you don’t like it, you can trim off the sides a little so you get the same thickness throughout (just be careful to not cut too much!). You might need to do couple practices to get it the way you want it, but once you get, it’s a life changer! I use this method all the time when I make anything with animal fiber yarn.
I hope this tutorial helped!
All photos belong to Tae of Tying An End. Please do not use and/or share them as your own. If you wish to share this content, please link to this page and do not copy and paste it on to your site. Please see Disclosure & Terms of Use for more info.

Chunky Crochet Coaster

You May Also Like
![[How-To] Corner-to-Corner (C2C) beginner-friendly photo tutorial by Tying An End](https://www.tyinganend.com/wp-content/uploads/2018/07/IMG_9349.jpg)
[How-To] Crochet Corner-to-Corner (C2C)
Faux Double Crochet vs CH 3 Double crochet
![[How to Crochet] Invisible Join when you are working in round with multiple colors](https://www.tyinganend.com/wp-content/uploads/2018/02/IMG_6213.jpg)