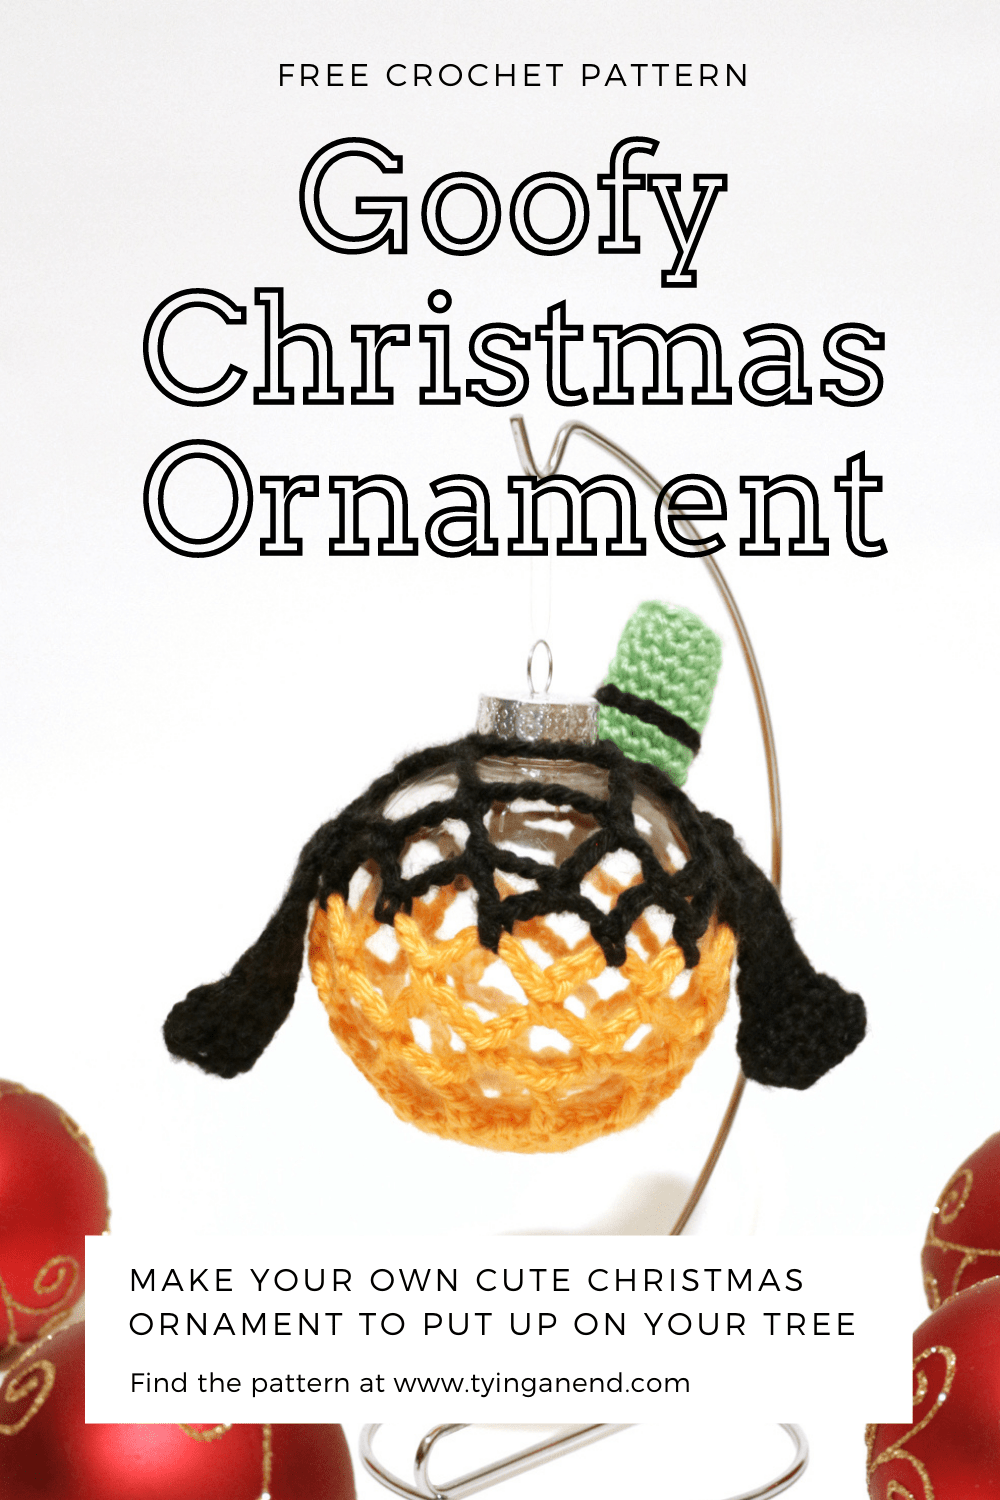
Goofy Christmas Ornament
Make your own crochet Disney Christmas ornament! Cute DIY decoration on your tree! Scroll down and get free Goofy ornament pattern!
Disclosure: This post contains affiliate links. If you make a purchase through one of those links I receive a small commission. It’s an easy way to support this blog at no additional cost to you.
Christmas is 12 more days away! Today I have my newest Disney Christmas ornament design to share with you!
Pin it now, read it later
For Disney Lover
I grew up watching Disney movies, and I love Disney since I was a child. Not only the movies, but I love any Disney related contents. Even my phone case is Ariel from Little Mermaid (and it took me forever finding the design I really loved). Disney products are something I would love to continue buying, and going to the Disney Store is a place I like to go when I have a chance. When I went to the Disney Store during Christmas season, I found Christmas ornaments displaying on the shelves. The ornaments were lit up by the store light, and they were so pretty! A piece of ornament cost quite expensive for me back then so I didn’t buy it, but I guess since then, I’ve always wanted to hang Disney Christmas ornaments on my Christmas tree.
Inspiration
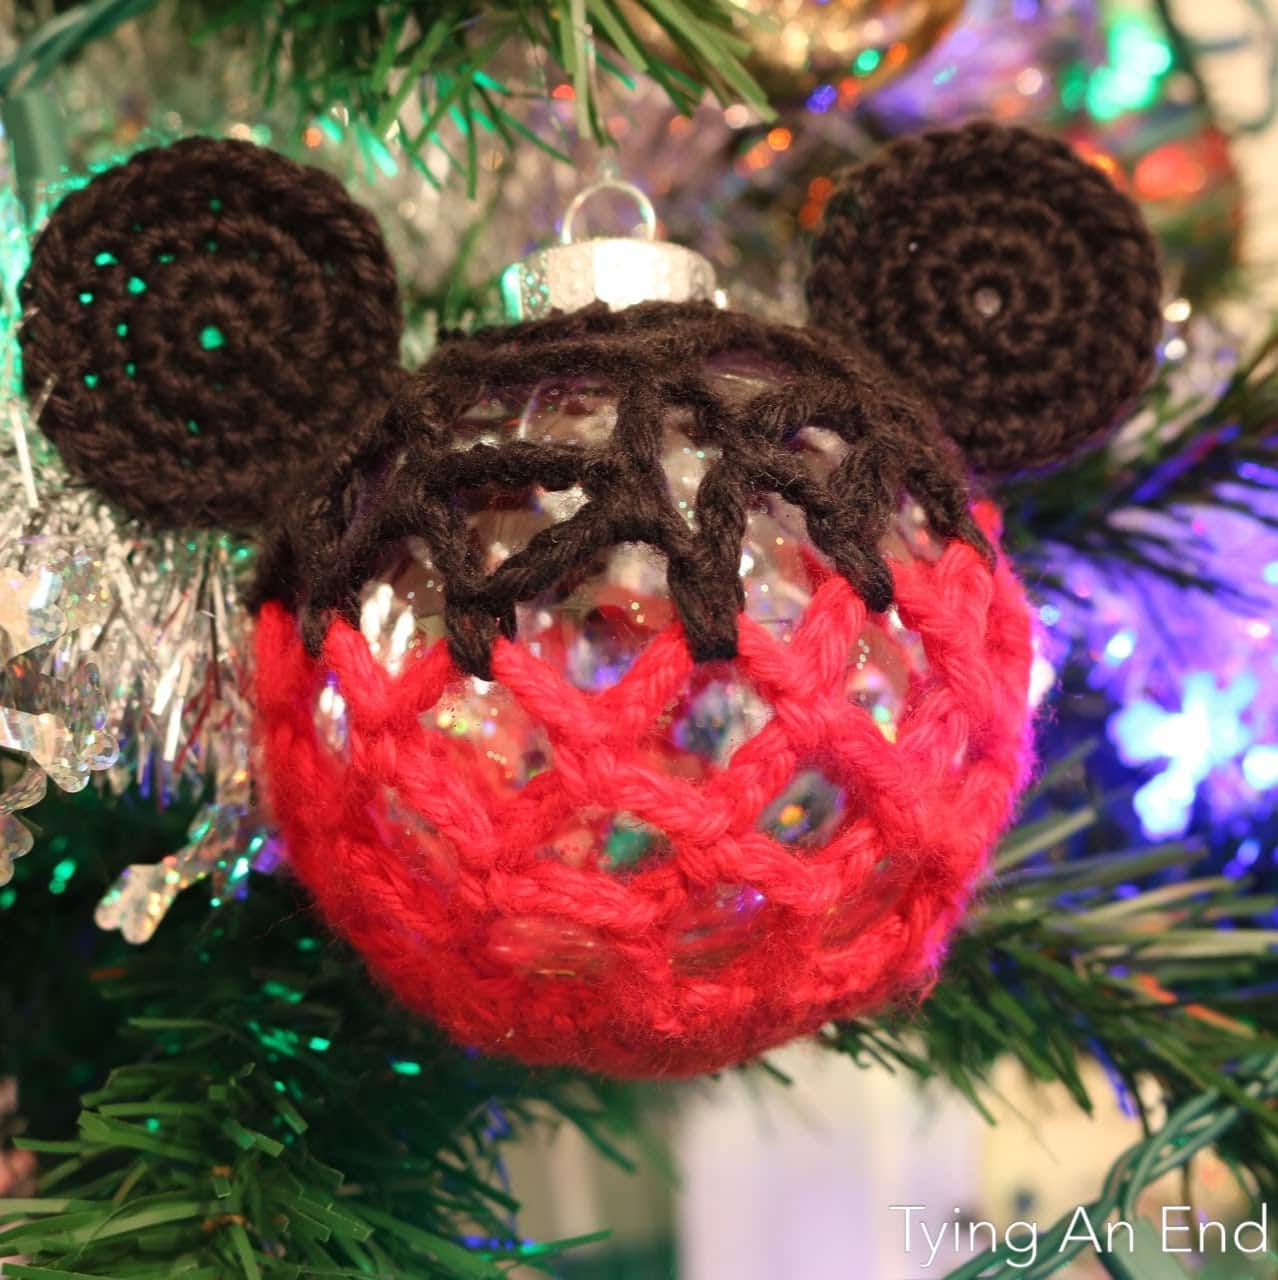
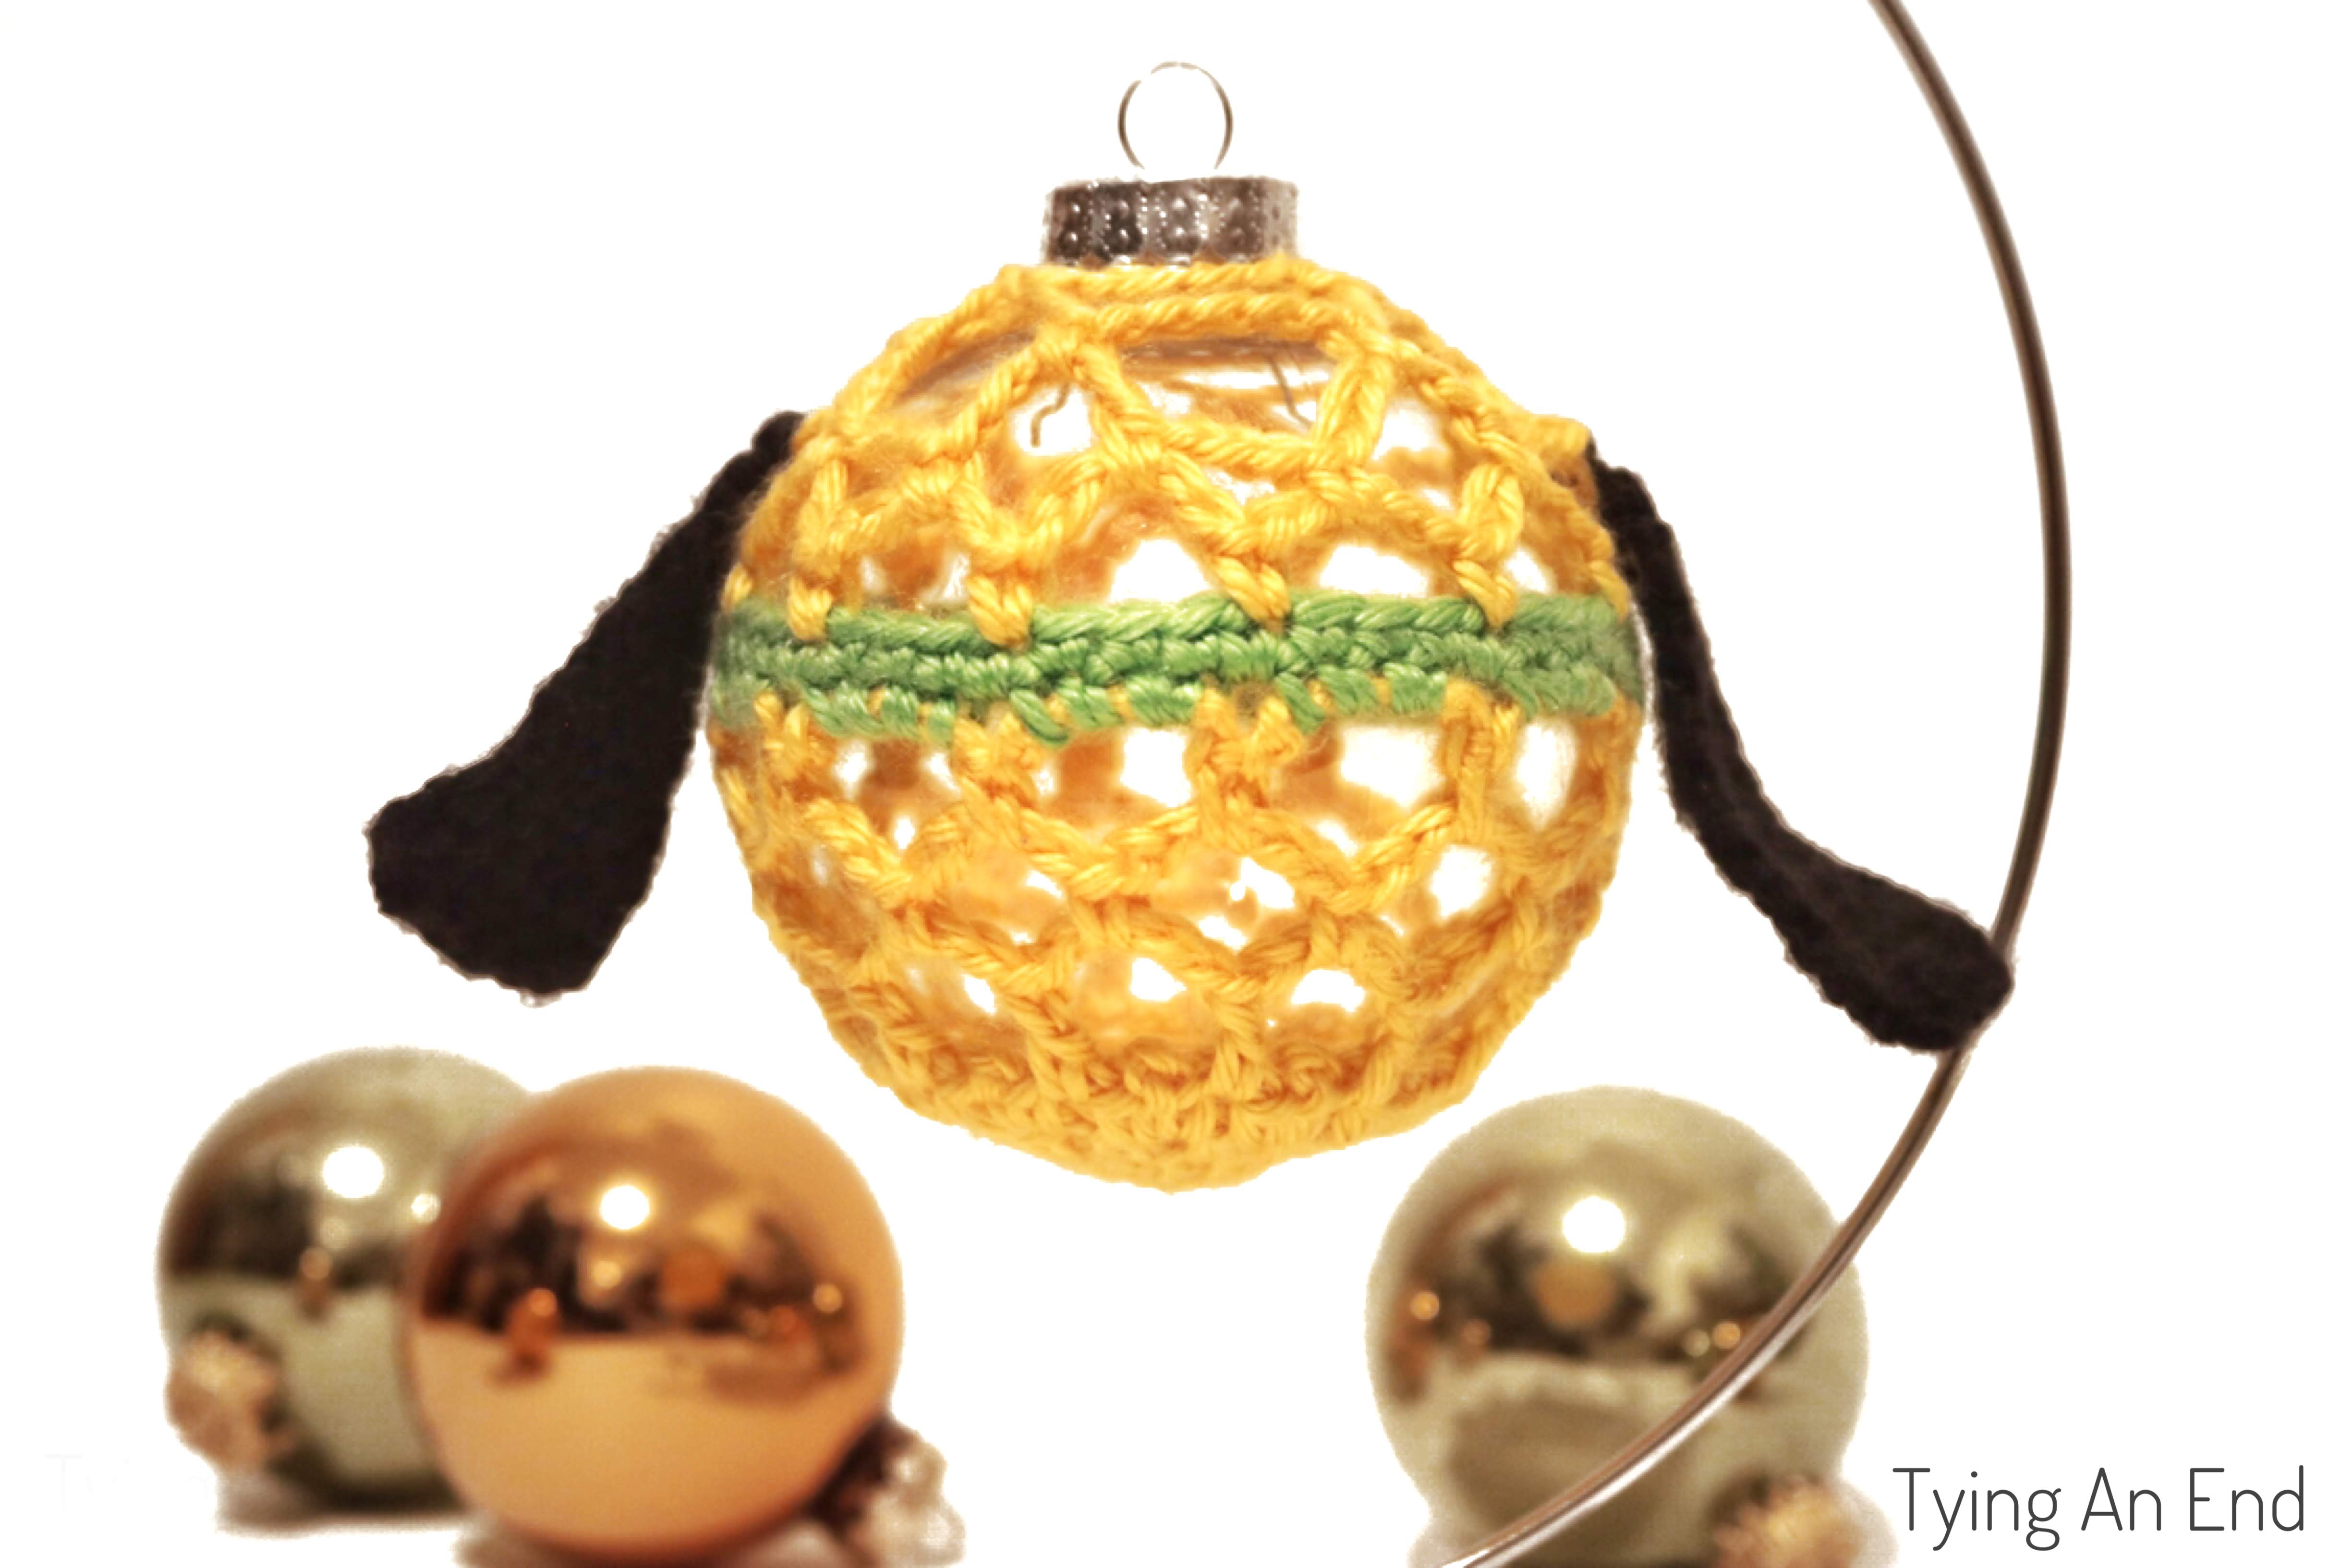
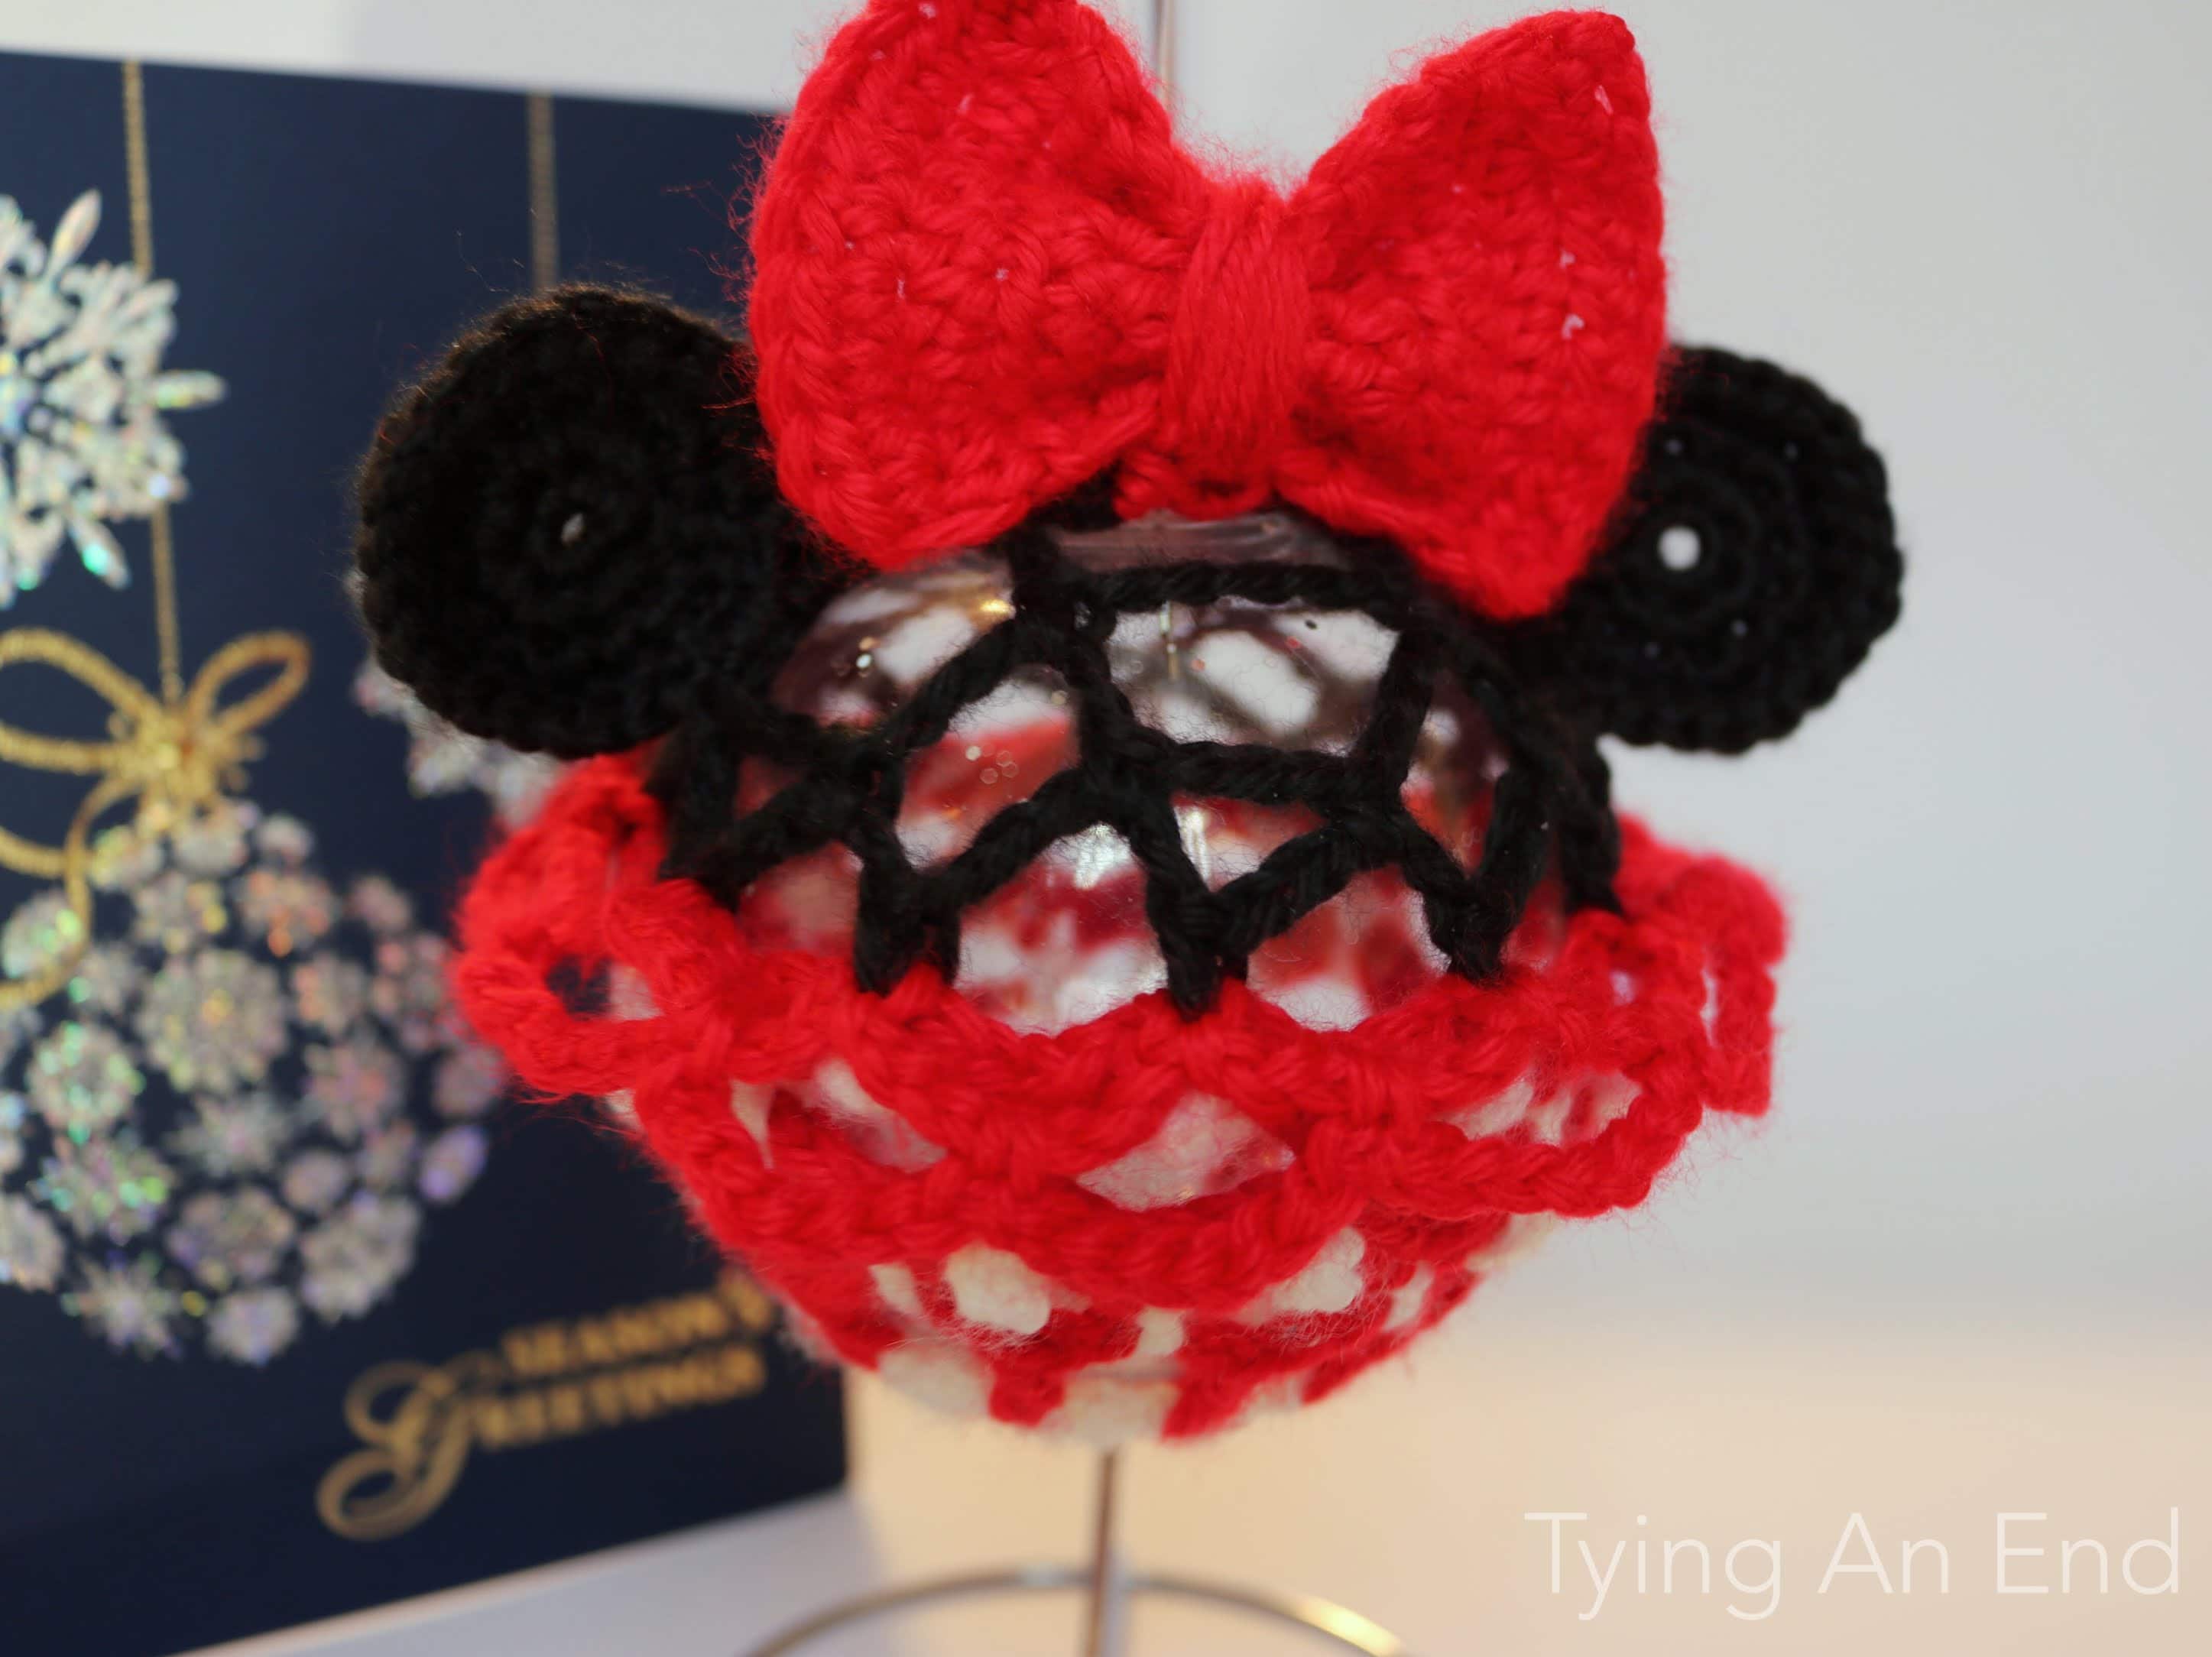
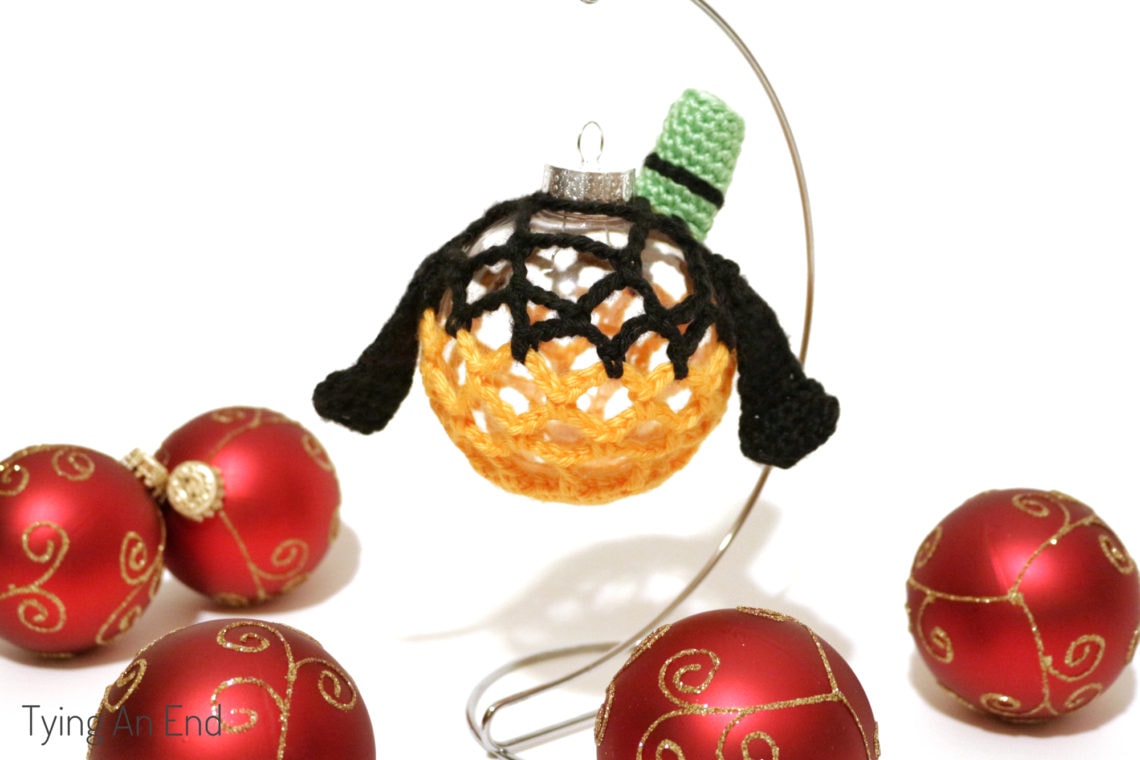
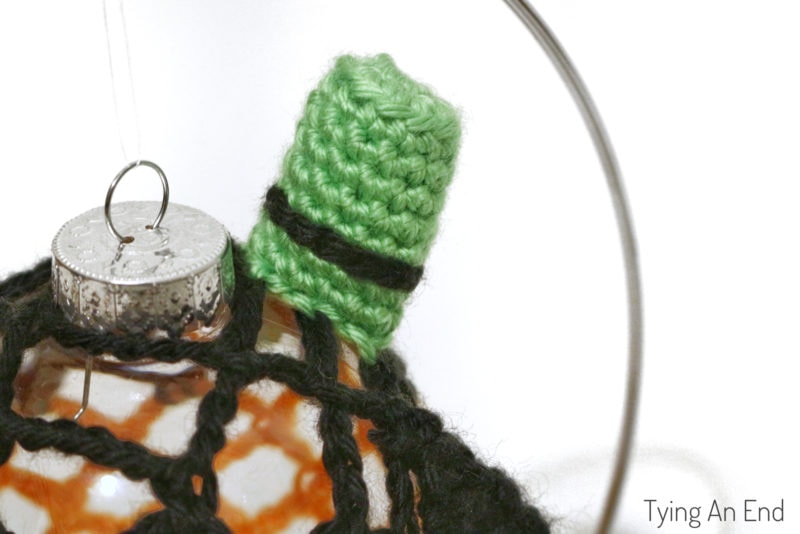
I didn’t want the ornament to be literal figures. Instead, I wanted the transparency look using clear ball ornament and add few elements that resemble the character. For Goofy, his key features were definitely the hat and his ears. Since I already made Pluto last year, I used same ears for Goofy as well.
Getting the right color yarn was a bit challenge, but I’m really happy the way it turned out! I hope you enjoy them as well!
GOOFY DISNEY CHRISTMAS ORNAMENT CROCHET PATTERN
MATERIALS:
- Caron Simply Soft [1 skein = 315yd/288m, 6oz/170g, category 4 worsted weight]
- 1 plastic ball ornament (83mm/about 3.25″ or 88.9mm/3.5″)
- When I first purchased, Michaels had 83mm. I think they don’t carry this size anymore. You can find 83mm one online.
- US G/4mm crochet hook
- Tapestry needle
- Stitch marker (recommended)
- Glitter (optional)
PATTERN NOTES:
- Size – about 3.25″ (83cm) or 3.5″ (88.9mm), depends on the plastic ball ornament size
- Gauge – = 10 SC x 11 rows = 2″ x 2”
- You will be working in the round.
- Number in [ ] indicates the number of stitches in each round.
- CH 1 at the beginning of Round 1 DOES NOT count as a stitch.
- ”(type of a stitch) #” means to make an indicated stitch into the next indicated number of stitches.
- Example: if pattern calls out for “HDC 4”, make 1 HDC in next 4 stitches
- ”#(type of a stitch)” means to make an indicated number of stitches into the same stitch.
- Example: if pattern calls out for “2DC”, make 2 DC into the same stitch
- If you have a yarn weight #3 light, that works as well. Check your gauge to make sure the plastic ornament will fit in your finished project.
- You can put glitters if you like. It’ll look pretty with it because you can see inside the ball!
- Please DO NOT sell finished product because it may infringe on copyright and other legal issues. Please make this ONLY for your personal use such as making for yourself and giving as a gift.
ABBREVIATIONS (US TERMS):
- CH – chain stitch
- SC – single crochet
- HDC – half double crochet
- DC – double crochet
- SC2TOG – single crochet 2 together
- BLO – back loop only
- SL ST – slip stitch
INSTRUCTIONS:
– BODY-
Make magic ring with Mango
Round 1 – CH 1. SC 6 in magic ring. SL ST to 1st SC. [6]
Round 2 -CH 3 (count as 1 DC). DC in 1st SC. (2DC in next SC)* Repeat * around. SL ST to 3rd CH of CH-3. [12]
Round 3 – CH 4 (count as 1 HDC and 2 CH). HDC in 1st DC (NOTE: not CH 3 that counts as DC). (CH 2, HDC in next DC)* Repeat * around. CH 2. SL ST to 2nd CH of CH-4.
Round 4 – CH 1. (SC, CH 2, SC) in CH-4 space. [CH 2. (SC, CH 2, SC) in CH-2 space]*. Repeat * around. CH 2. SL ST to CH 1.
Round 5 – CH 7 (count as 1 DC and 4 CH). Skip the 1st CH-2 space. DC in next CH-2 space. (CH 4, Skip next CH-2 space, DC in next CH-2 space)*. Repeat * around until last CH-2 space. CH 1. DC in 3rd CH of CH 7.
Round 6 – CH 5. SC in CH-7 space. (CH 5, SC in CH-4 space)*. Repeat * around times. CH 2. DC in last stitch (DC) from previous round.
Round 7 – (CH 5, SC in CH-5 space)*. Repeat * around. CH 2. DC in last stitch (DC) from previous round.
Round 8 – With Black, repeat Round 7.
Round 9 – CH 3. SC in CH-5 space. (CH 5, SC in next CH-5 space, CH 3, SC in next CH-5 space)*. Repeat * around. CH 2. DC in last stitch (DC) from previous round.
Round 10 – (CH 5, Skip CH-3 space, SC in CH-5 space).* Repeat * around. Weave in ends. Insert an ornament ball. CH 2. DC in last stitch (DC) from previous round.
Round 11 – (CH 5, Skip CH-5 space, SC in next CH-5 space)*. Repeat * around. CH 5. SL ST to last stitch (DC) from previous round.
Fasten off and weave in ends.
– HAT –
Make magic ring with Limelight (NOTE: you will be working in continuous round. Place a stitch marker at the beginning of each round so that you don’t miscount the stitches.)
Round 1 – CH 1. SC 6 in magic ring. [6]
Round 2 – 2SC around. [12]
Round 3 – SC BLO around. [12]
Round 4 -SC around. [12]
Round 5~9 – Repeat Round 4. [12]
Fasten off and leave a long tail for seaming.
With Black, make a surface slip stitch on Row 7. Fasten off and weave in end.
– EARS –
With Black, CH 4
Row 1 – 2SC in 2nd CH from hook. SC across. Turn. [4]
Row 2 – CH 1. 2SC. SC 2. 2SC. Turn. [6]
Row 3 – CH 1. SC across. Turn. [6]
Row 4 – Turn. CH 1. SC2TOG. SC 2. SC2TOG. [4]
Row 5~8 – Turn. CH 1. SC across. [4]
Row 9 – CH 1. SC2TOG. SC across. Turn. [3]
Row 10 – CH 1. SC across. Turn. [3]
Row 11 – CH 1. SC2TOG. SC. Turn. [2]
Row 12 – CH 1. SC across. Turn. [2]
Row 13 – CH 1. SC2TOG. Turn. [1]
Row 14 – CH 1. SC. [1]
Fasten off and leave long tail for seaming.
Make another one.
– ASSEMBLY –
Attach ears and hat to the body. (I attached my ears right in between the SC of Round 9)
Weave in ends and add glitters in the ornament if you like.
That ends Mickey & Friends! I will be releasing more Disney ornaments in the future so stay tuned! (and hopefully I can release them much earlier next year).
I would love to see & share your Goofy Christmas ornament! Please tag me @tyinganend and use hashtag #tyinganend & #GoofyDisneyOrnament on Instagram so I can share your work!
Thank you for reading and happy crocheting!
This pattern is an original pattern by Tae of Tying An End. Please do not claim this pattern as your own. If you wish to share this pattern, please link to this pattern and do not copy and paste it on to your site. You may keep a copy for your own personal use but please do not sell the pattern or distribute it. Please see Disclosure & Terms of Use for more info.

Darratt Slouchy Beanie