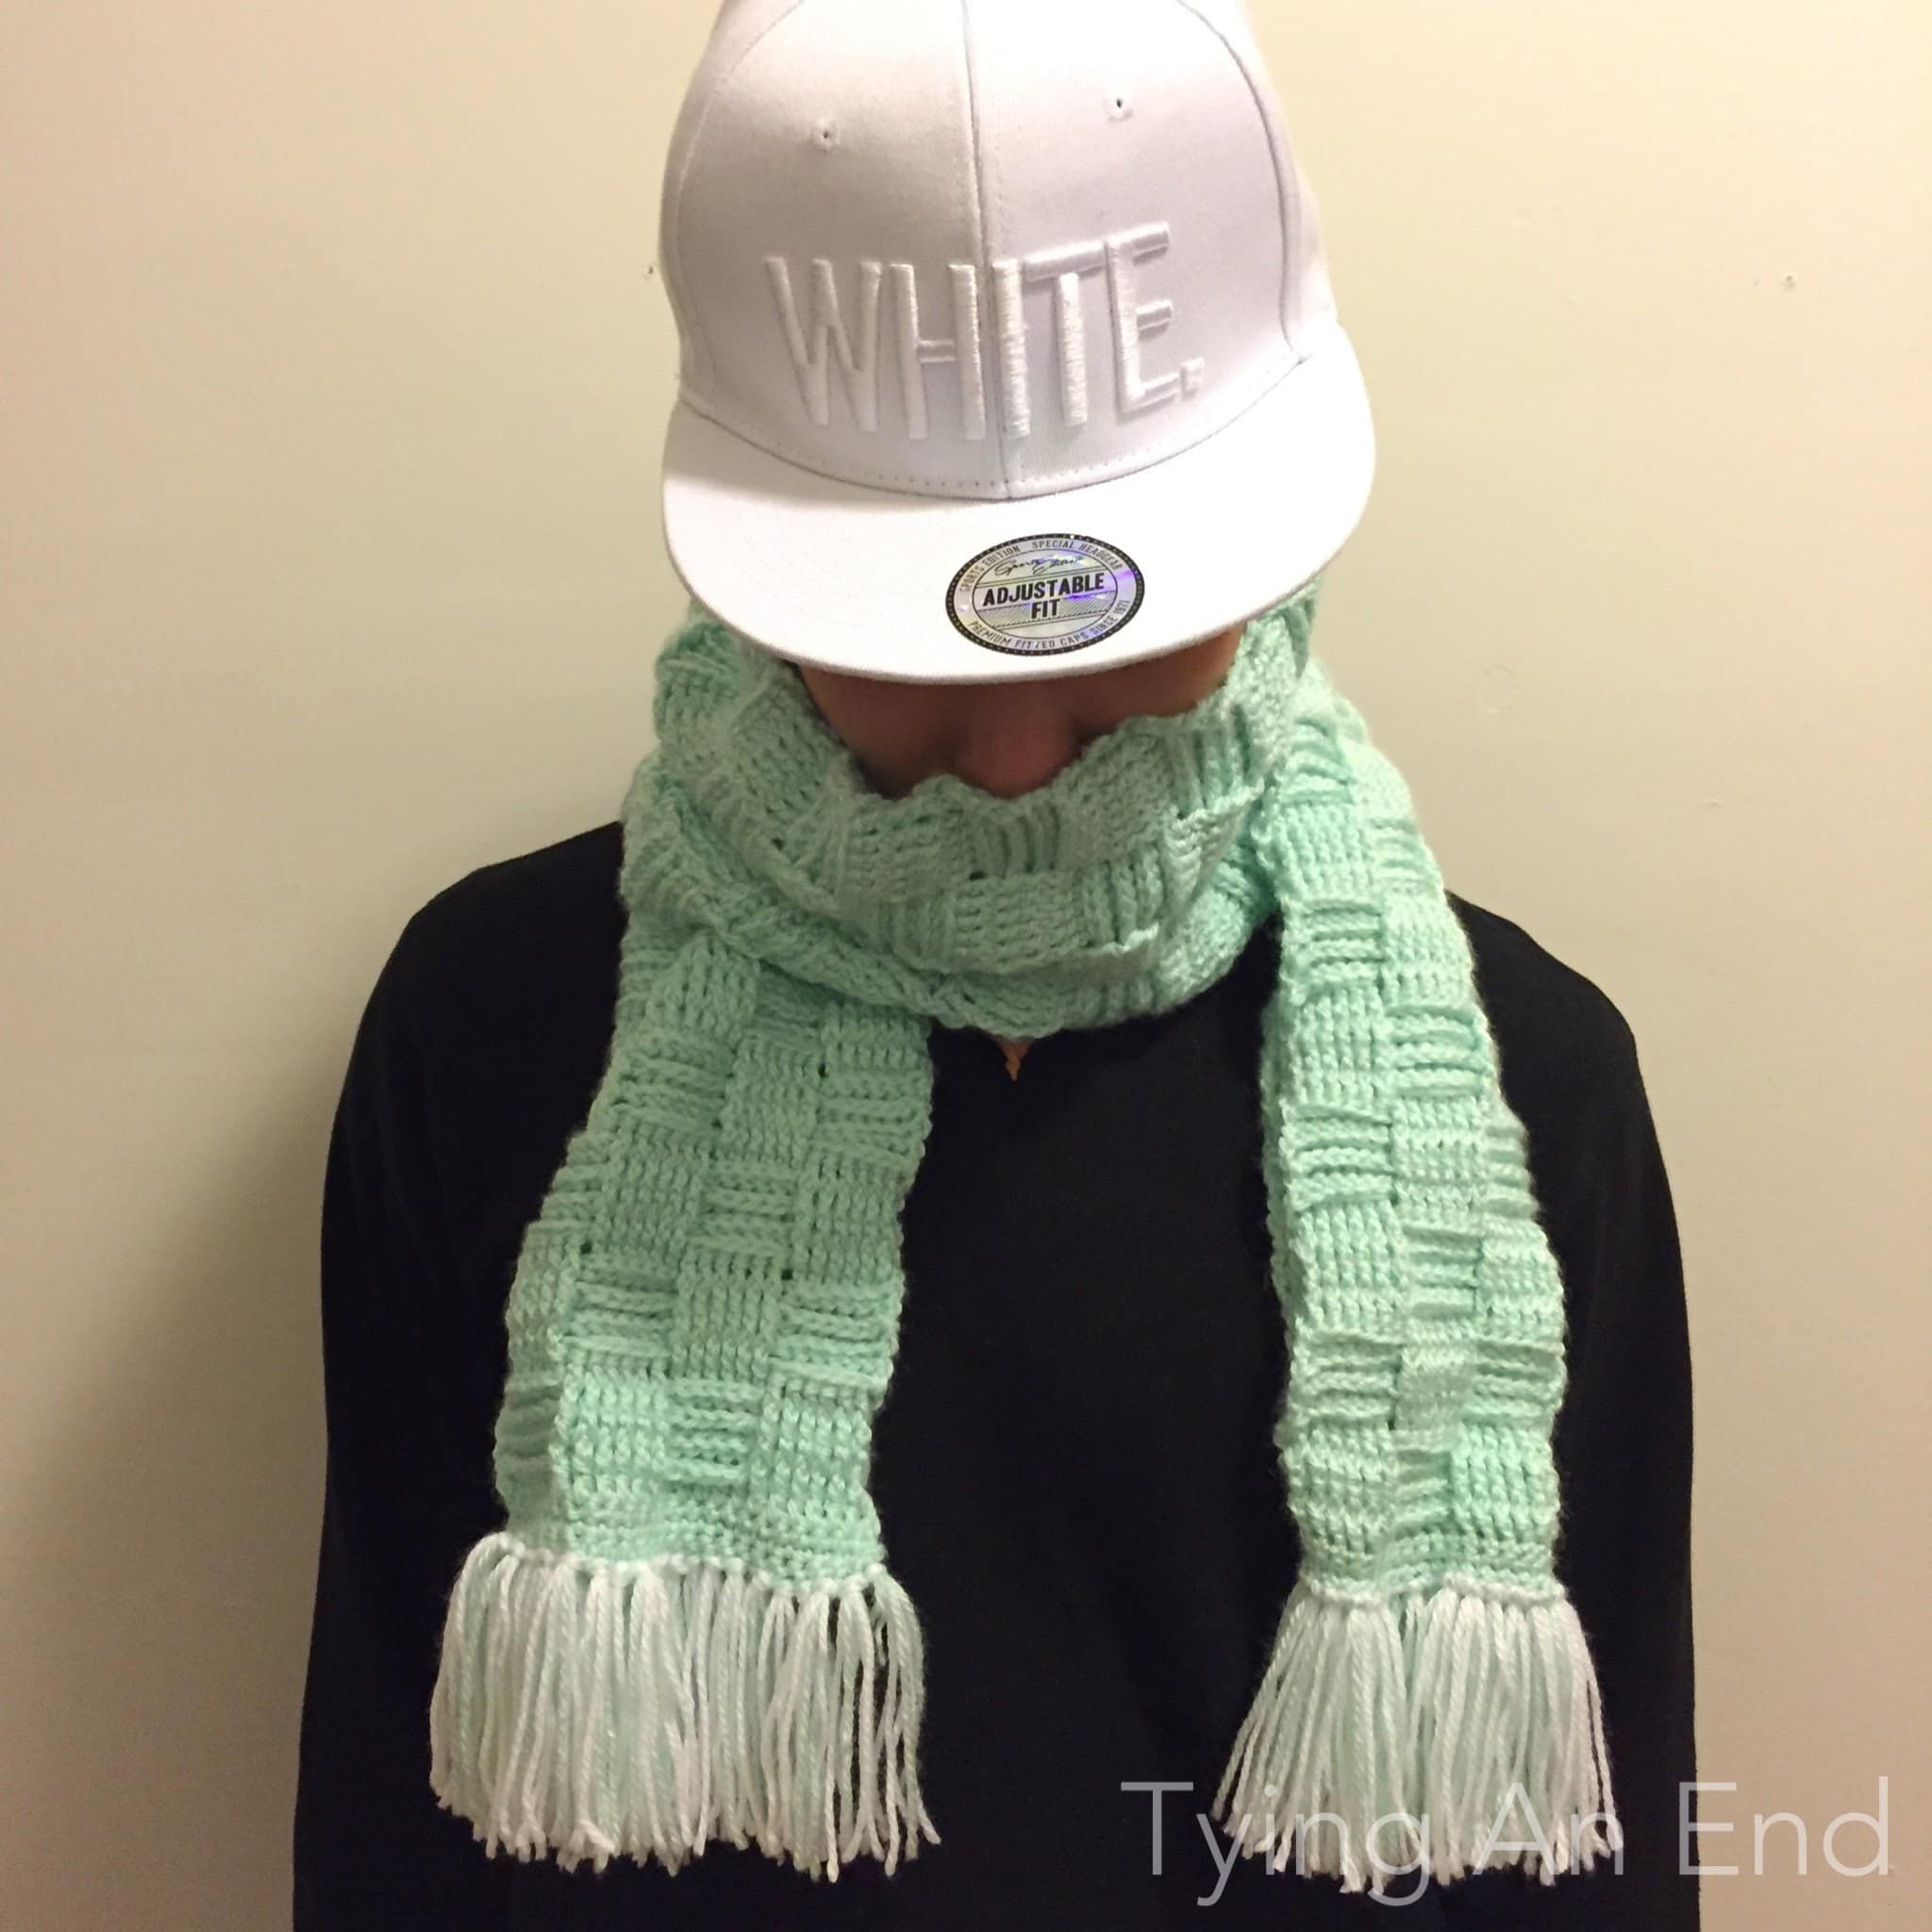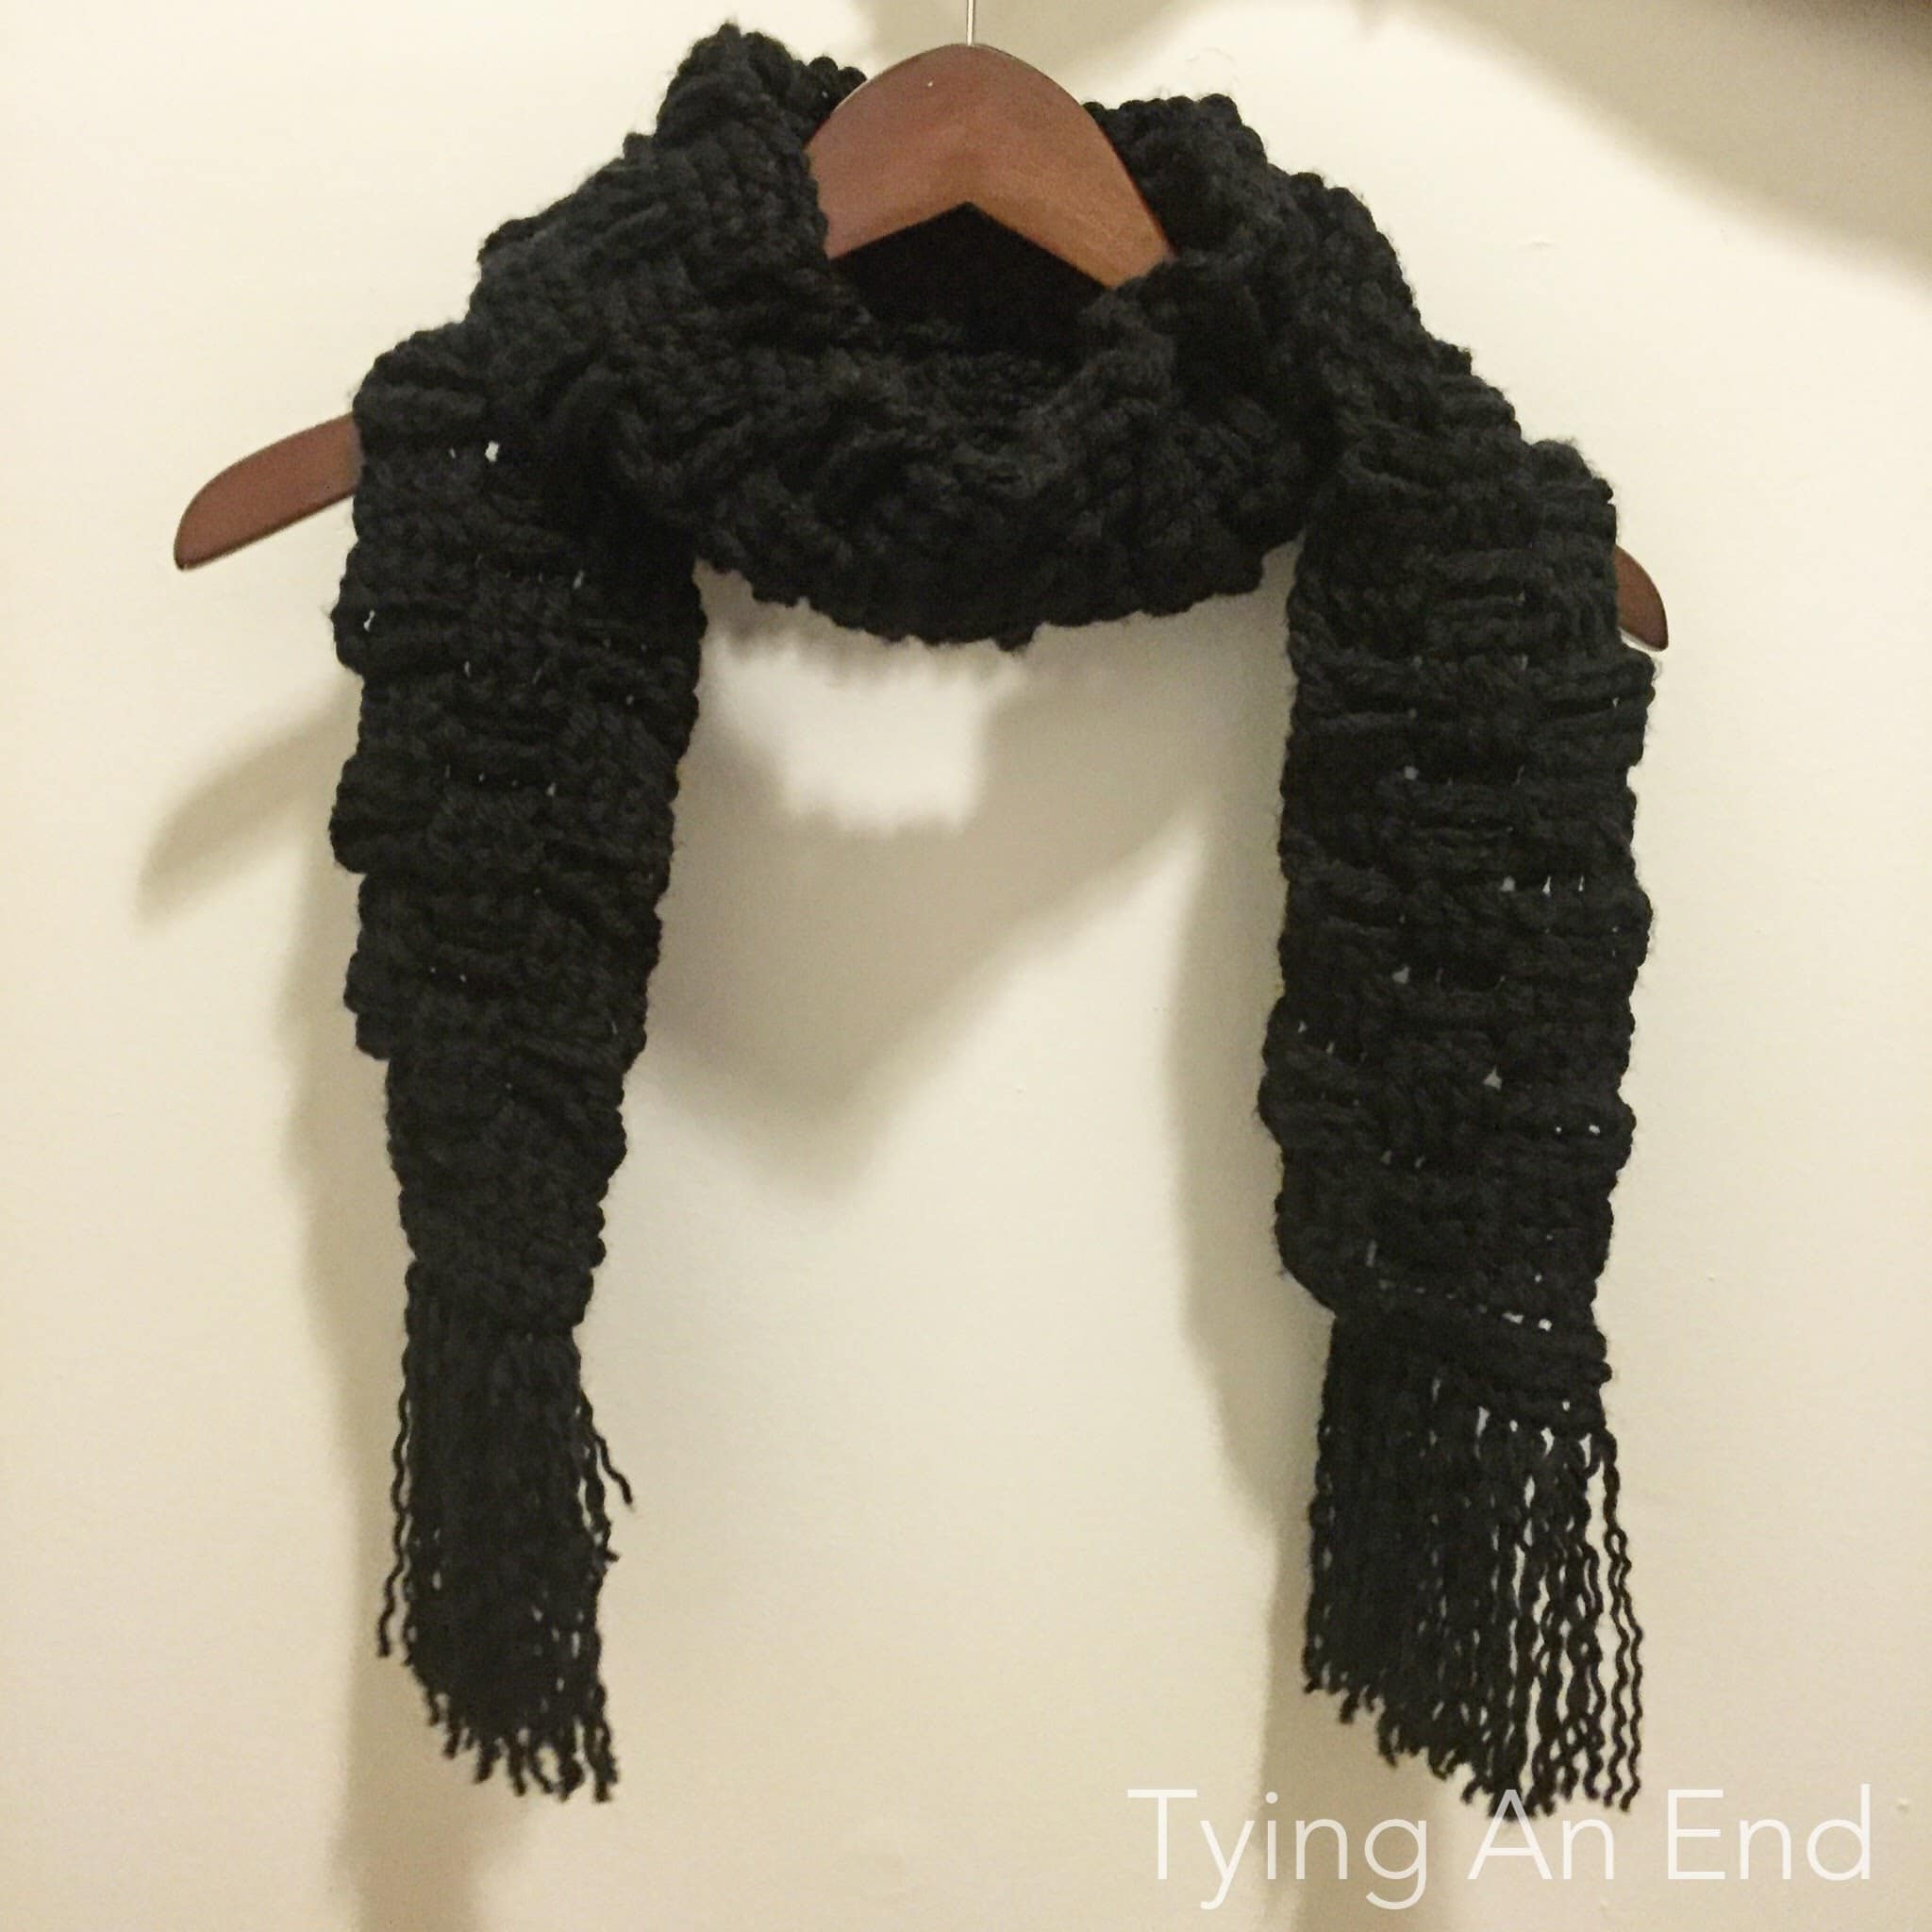
Chunky Basketweave Scarf
Scarf I made for my brother is complete! (It’s gonna be early Christmas present.) It took me couple re-do’s, but I love how it turned out, and my brother likes it too, so that’s all it matters!
Below is the pattern to make the scarf! Enjoy the free pattern!
Materials:
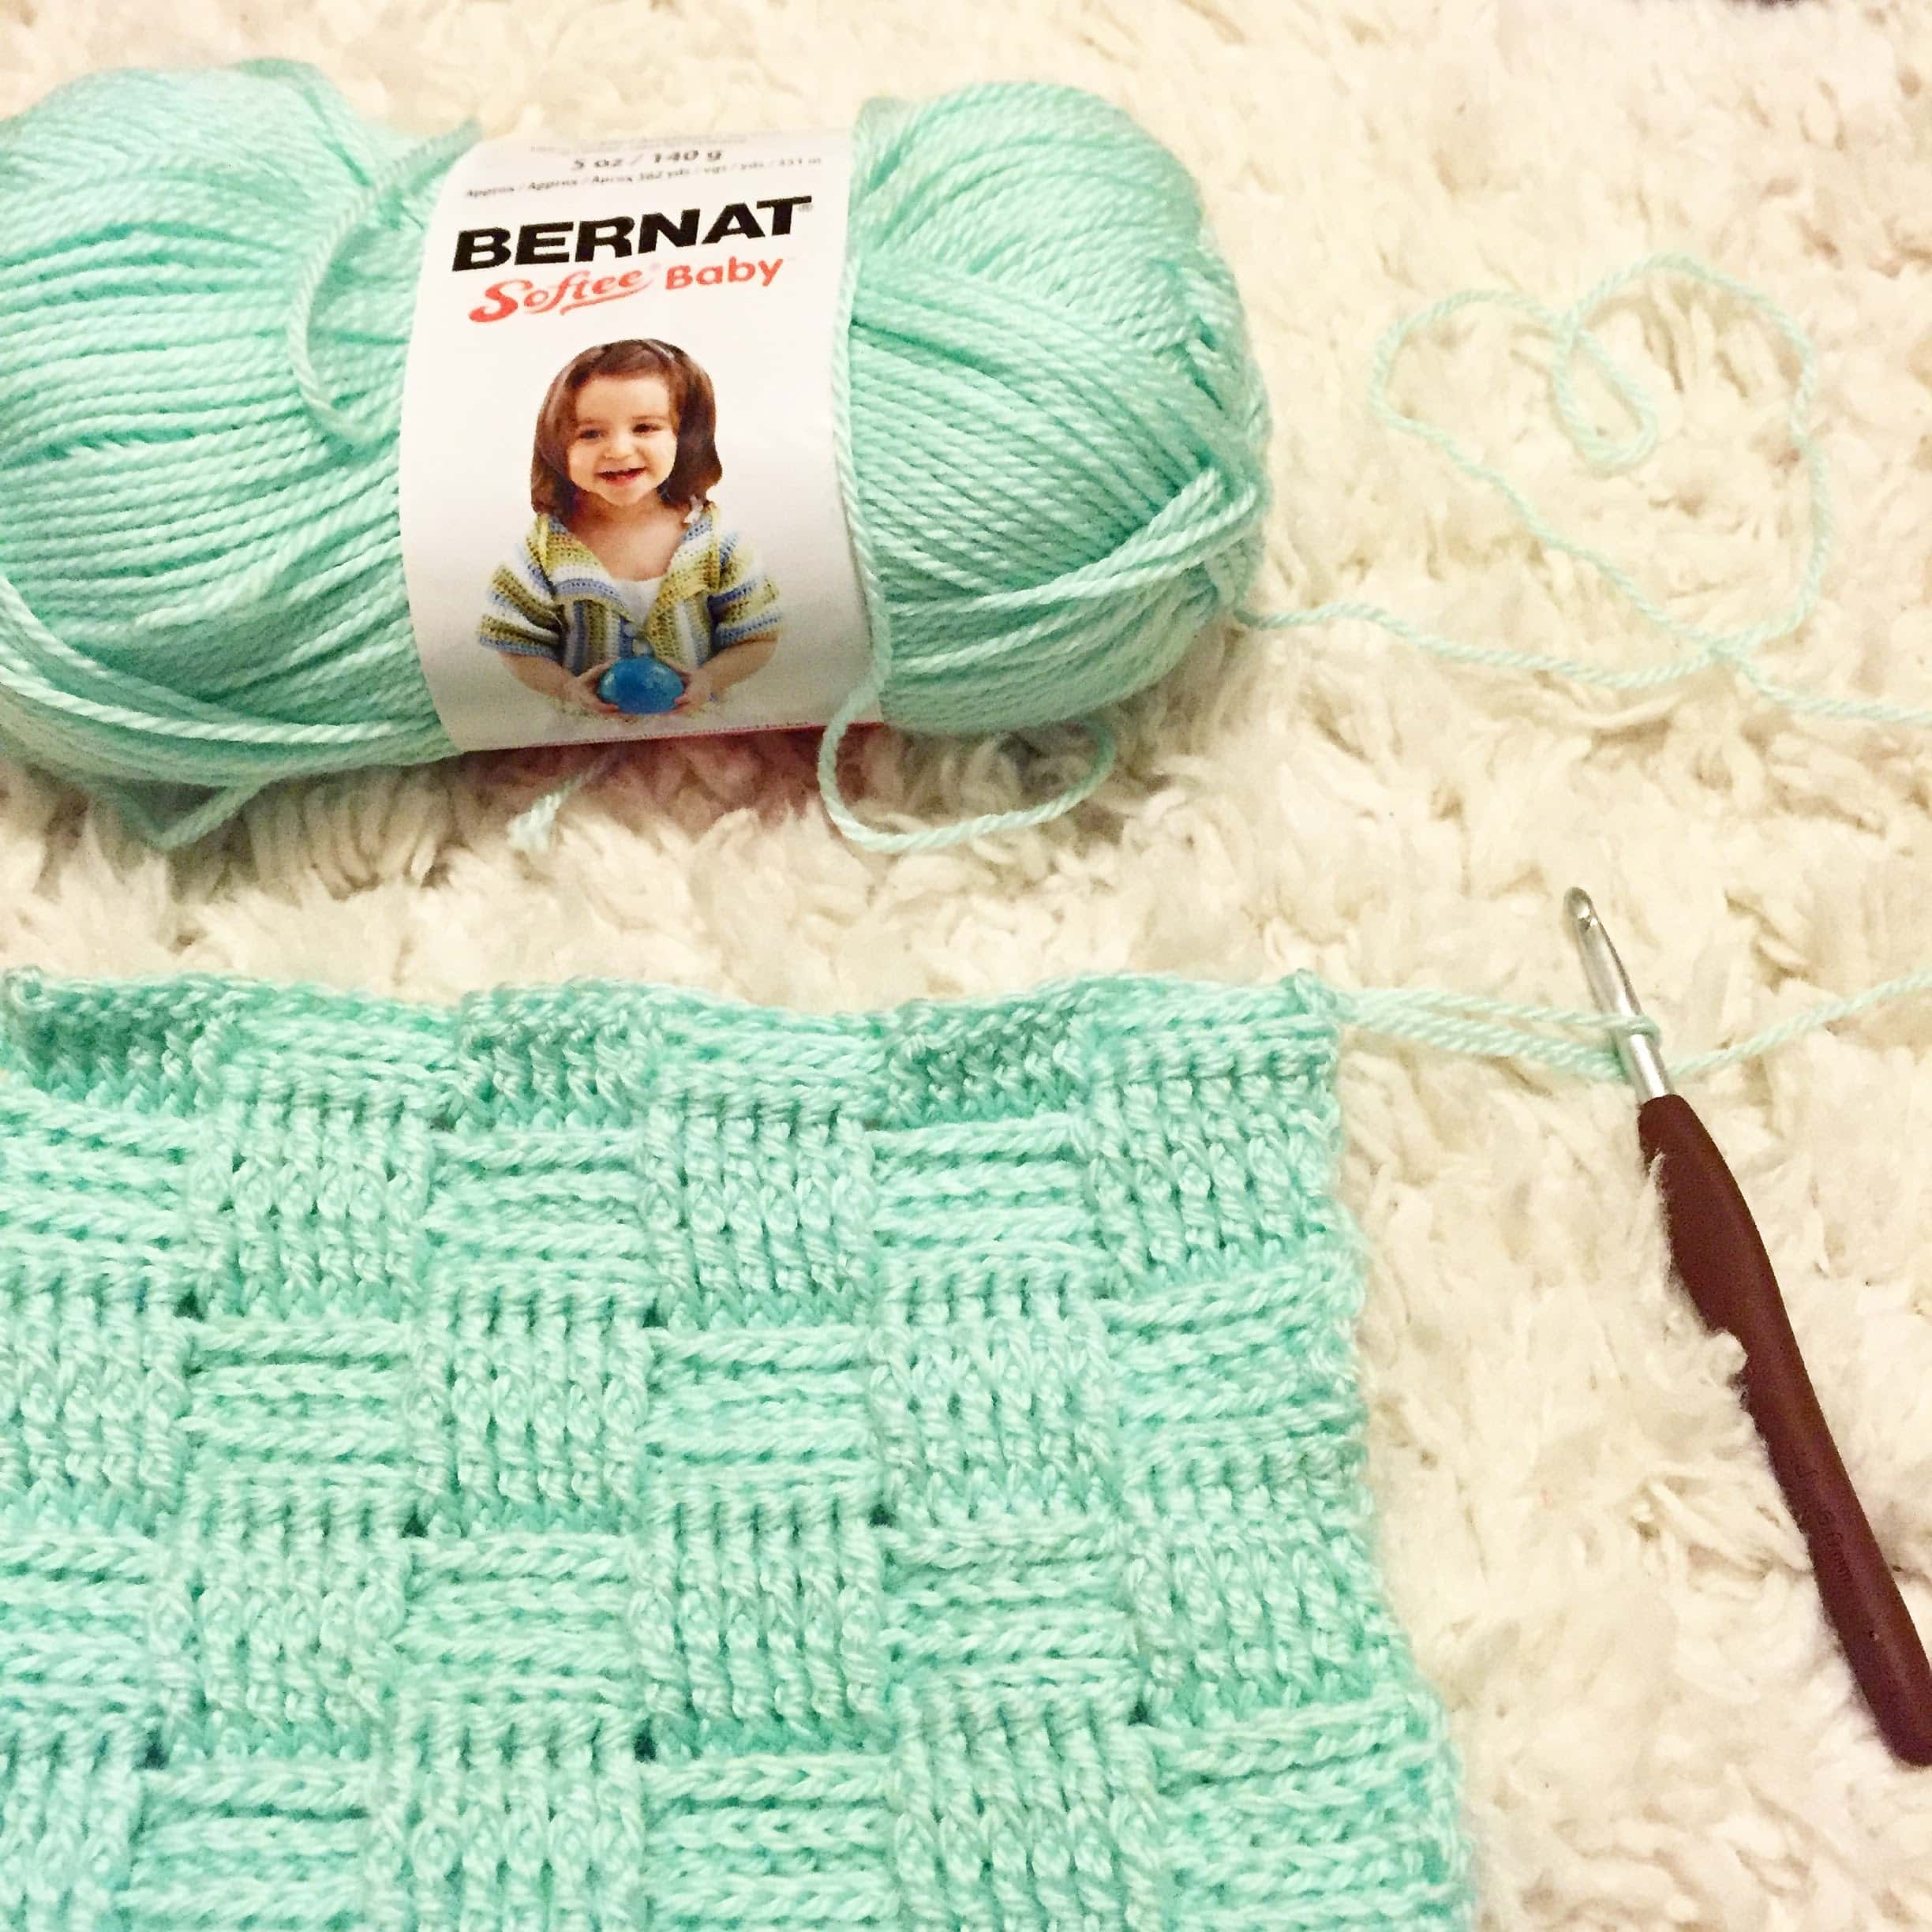
- Crochet hook 10mm
- 2 skeins of Bernat Softee Chunky or any other super bulky yarn
Notes:
- Size – about 4” wide
- I used 2 skeins in black. It wraps around 1 time
- Number in [ ] indicates number of stitches in each round.
Abbreviations:
- CH – chain stitch
- SC – single crochet
- DC – double crochet
- FxDC – faux double crochet
- SC FLO – single crochet front loop only
- SC BLO – single crochet back loop only
Instructions:
CH 12
Row 1 – SC in 2nd CH from hook. SC across. [11]
Row 2 – Turn. CH 1. SC across. [11]
Row 3 – Turn. FxDC (count as 1 DC here and throughout). Skip 1st SC. DC across. [11]
Row 4 – Turn. FxDC. Skip 1st stitch. FPDC 3. BPDC 3. FPDC 3. DC in FxDC. [11]
Row 5 – Turn. FxDC. Skip 1st stitch. BPDC 3. FPDC 3. BPDC 3. DC in FxDC. [11]
Row 6 – Turn. FxDC. Skip 1st stitch. BPDC 3. FPDC 3. BPDC 3. DC in FxDC. [11]
Row 7 – Turn. FxDC. Skip 1st stitch. FPDC 3. BPDC 3. FPDC 3. DC in FxDC. [11]
Repeat row 4-7 over and over until you make your preferred length.When you reached to your preferred length, create 2 rows of sc. Fasten off.
You can put fringes on if you like! (I untangled my yarn so it looks fluffier)
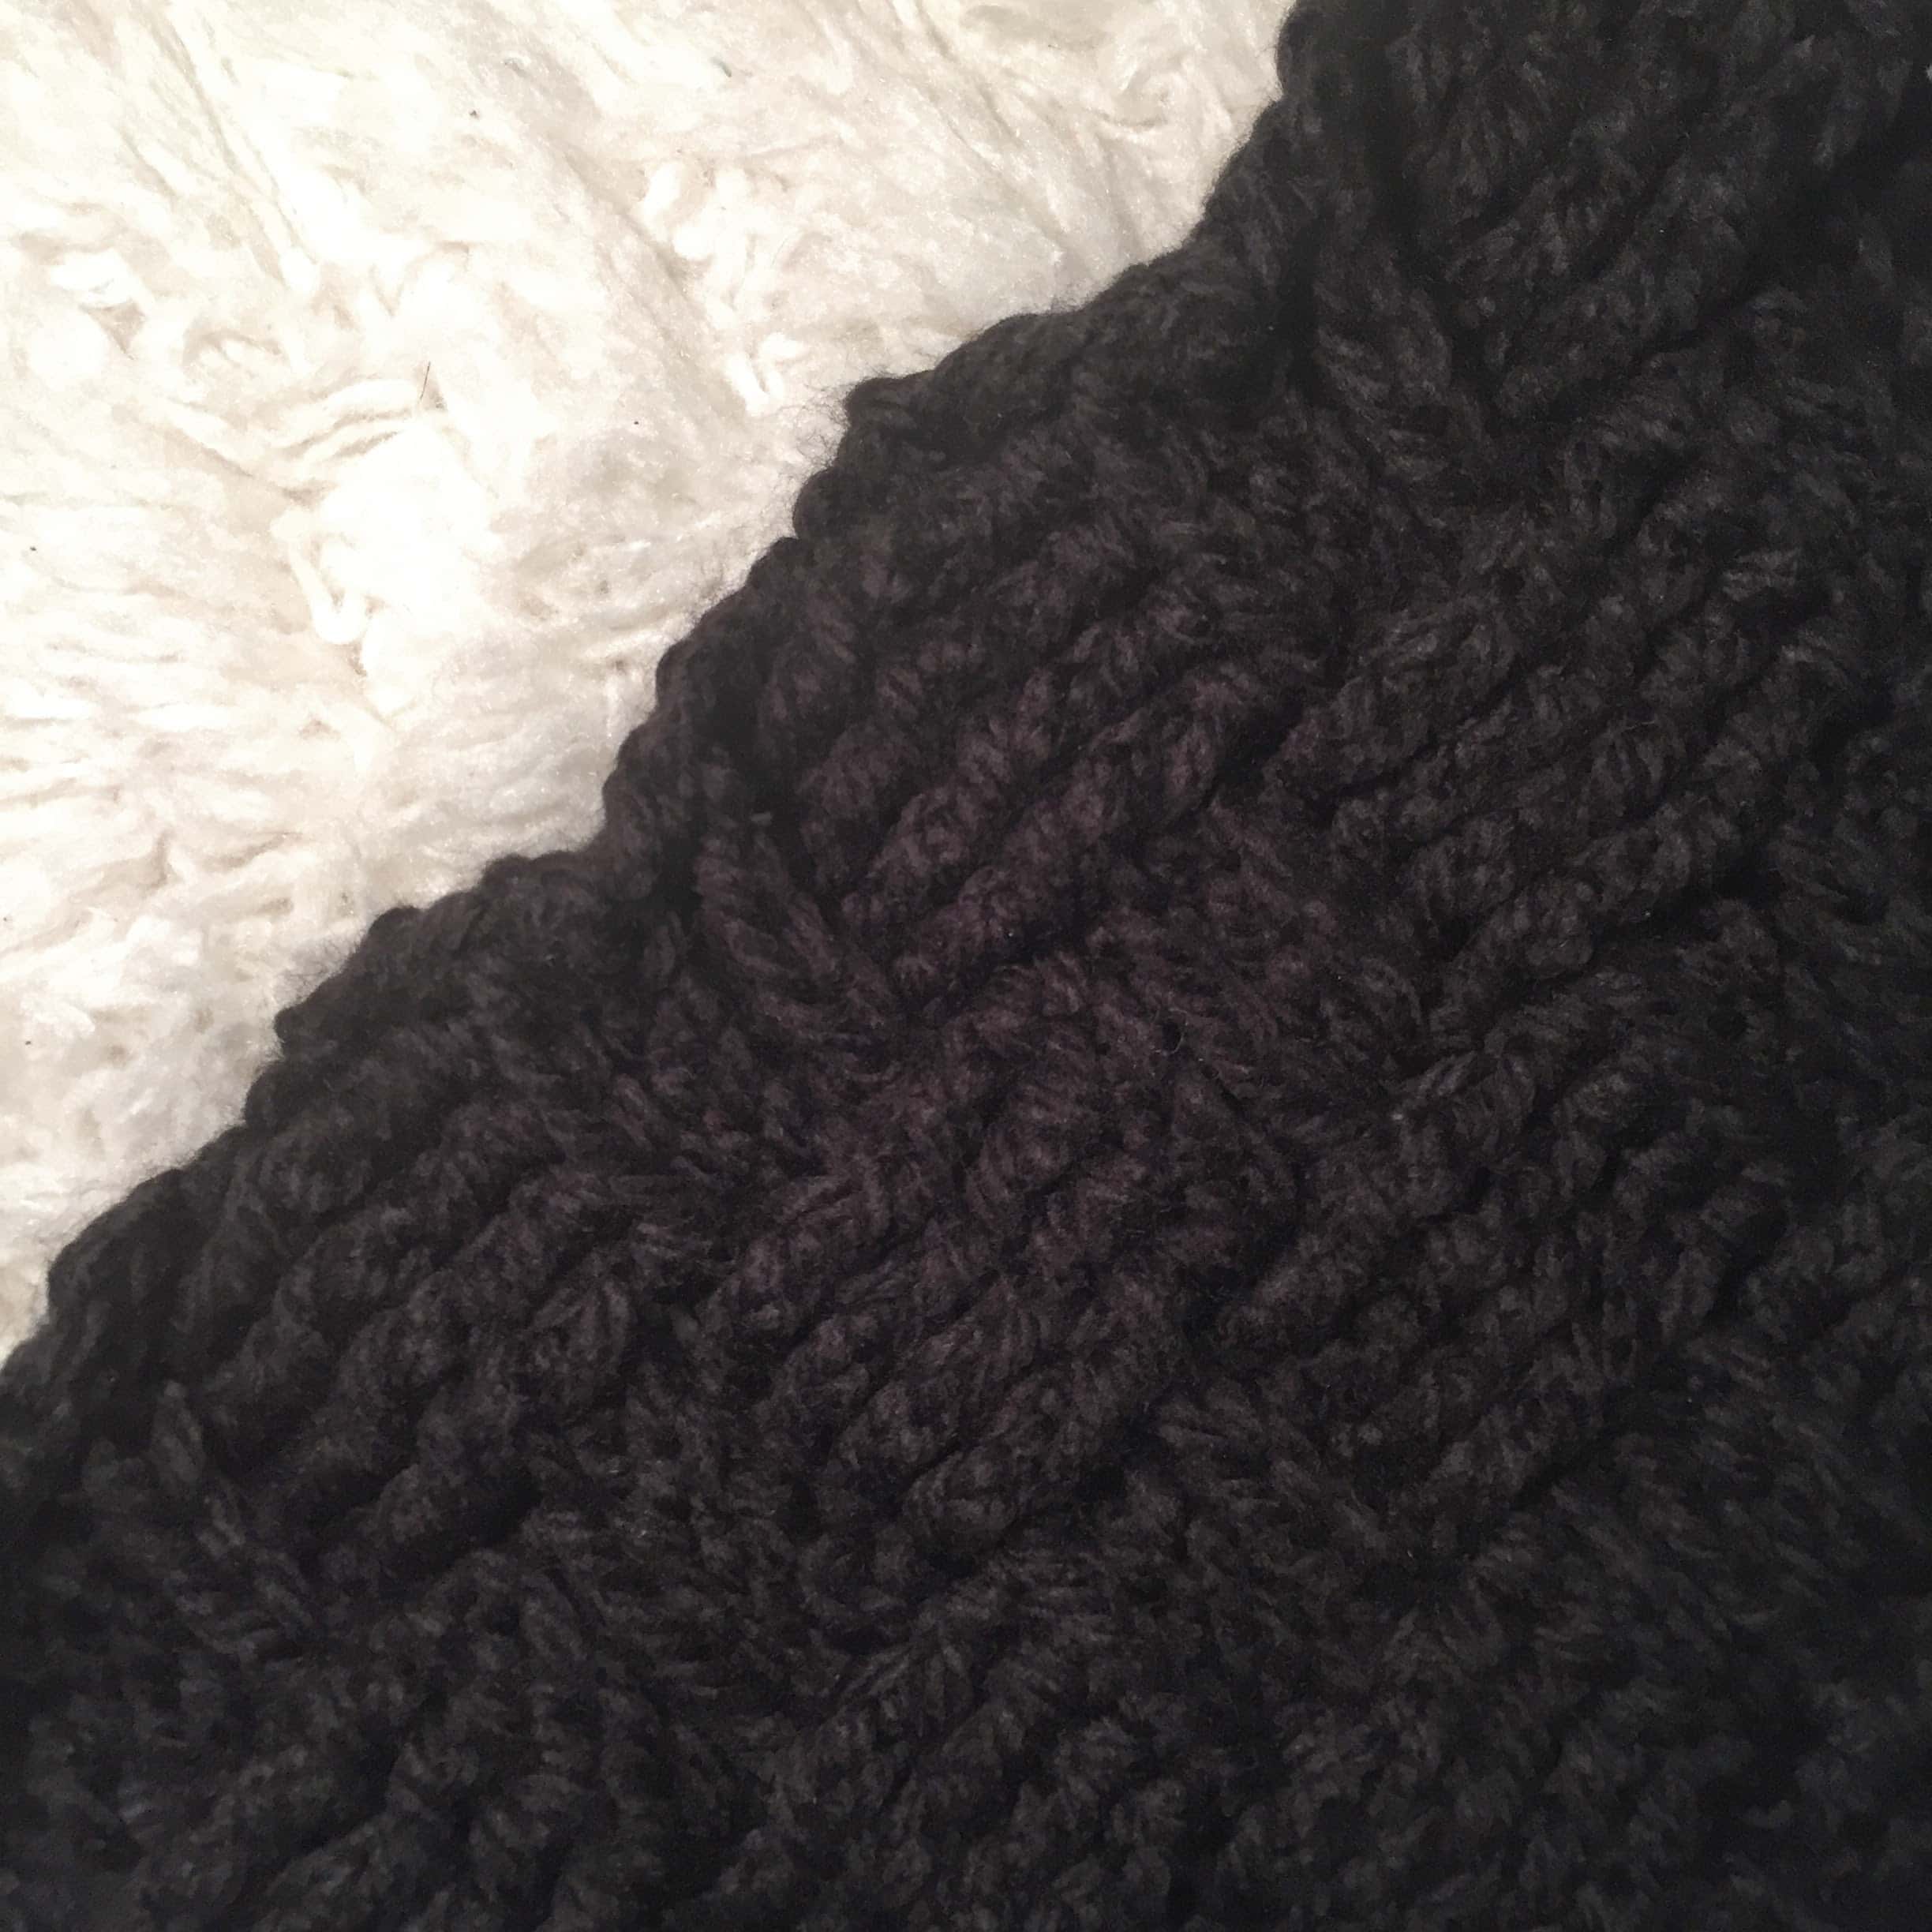
There’s Red Heart‘s blog post about basketweave stitch, so if you need photo step-by-steps, please check the website!

This pattern is an original pattern by Tae of Tying An End. Please do not claim this pattern as your own. If you wish to share this pattern, please link to this pattern and do not copy and paste it on to your site. You may keep a copy for your own personal use but please DO NOT sell the pattern or distribute it. You may sell products made from this pattern but please clearly credit the design to me, Tae of Tying An End, and provide a link to my blog tyinganend.com. Permission is NOT granted for mass production or factory manufacturing of any kind.
弟に作ったマフラー完成しました! (ちょっと早めのクリスマスプレゼントになります)
何回かやり直したんですけど、仕上がり気に入ってます!
弟も気に入ってくれたみたいで、それが何より大事👍✨
*編み方は下記の通りです⬇️
- 使用糸: 超極太糸 (私は約200m 使って1回首に巻く長さにしました)
- 使用針: 10mm かぎ針
編み方:
*3つの 2×2グリッド
*サイズ幅: 10cm
鎖目 12目
1段目 – 細編みをかぎ針から2目目に1目編みます。残りの鎖目に細編みを1目ずつ編みます。計11目
2段目 – 裏返して立ち上がり1目編みます。細編みを1目ずつ。計11目
3段目 – 裏返して立ち上がり3目編みます。1目目は飛ばして、長編みを1目ずつ。計11目
4段目 – 裏返して立ち上がり3目編みます。1目目は飛ばして、2~4目目に長編みの表引き上げ編みを1目。次の3目は裏引き上げ編みを1目ずつ。次の3目は表引き上げ編みを1目ずつ。立ち上がり目の間に長編みを1目。
5段目 – 裏返して立ち上がり3目編みます。1目目は飛ばして、2~4目目に長編みの裏引き上げ編みを1目。次の3目は裏引き上げ編みを1目ずつ。立ち上がり目の間に長編みを1目。
6段目 – 裏返して立ち上がり3目編みます。1目目は飛ばして、2~4目目に長編みの裏引き上げ編みを1目。次の3目は裏引き上げ編みを1目ずつ。立ち上がり目の間に長編みを1目。
7段目 – 裏返して立ち上がり3目編みます。1目目は飛ばして、2~4目目に長編みの表引き上げ編みを1目。次の3目は裏引き上げ編みを1目ずつ。次の3目は表引き上げ編みを1目ずつ。立ち上がり目の間に長編みを1目。
好きな長さになるまで4~7段目を繰り返し編んでいきます。
好きな長さまで編めたら、細編み1目ずつを2段編みます。引き抜き編みして糸を切る。
お好みでフリンジをつけてみるのもいいですね。(私は糸をほどいたフリンジにしました)
It's almost Christmas!