[Review] Avery Cable Slouch Beanie
Last couple weeks, Chicago was lucky to get really warm weather for December! Last week we had some days with 50s and 40s. Today, we had in low 60s, which we rarely get! I didn’t wear my down jacket I normally wear this season. HOWEVER, from tomorrow, it’s going to start a lot more like December weather. We’re gonna be in low 30s…forecast said we may get snow. I need to get ready for cold weather!
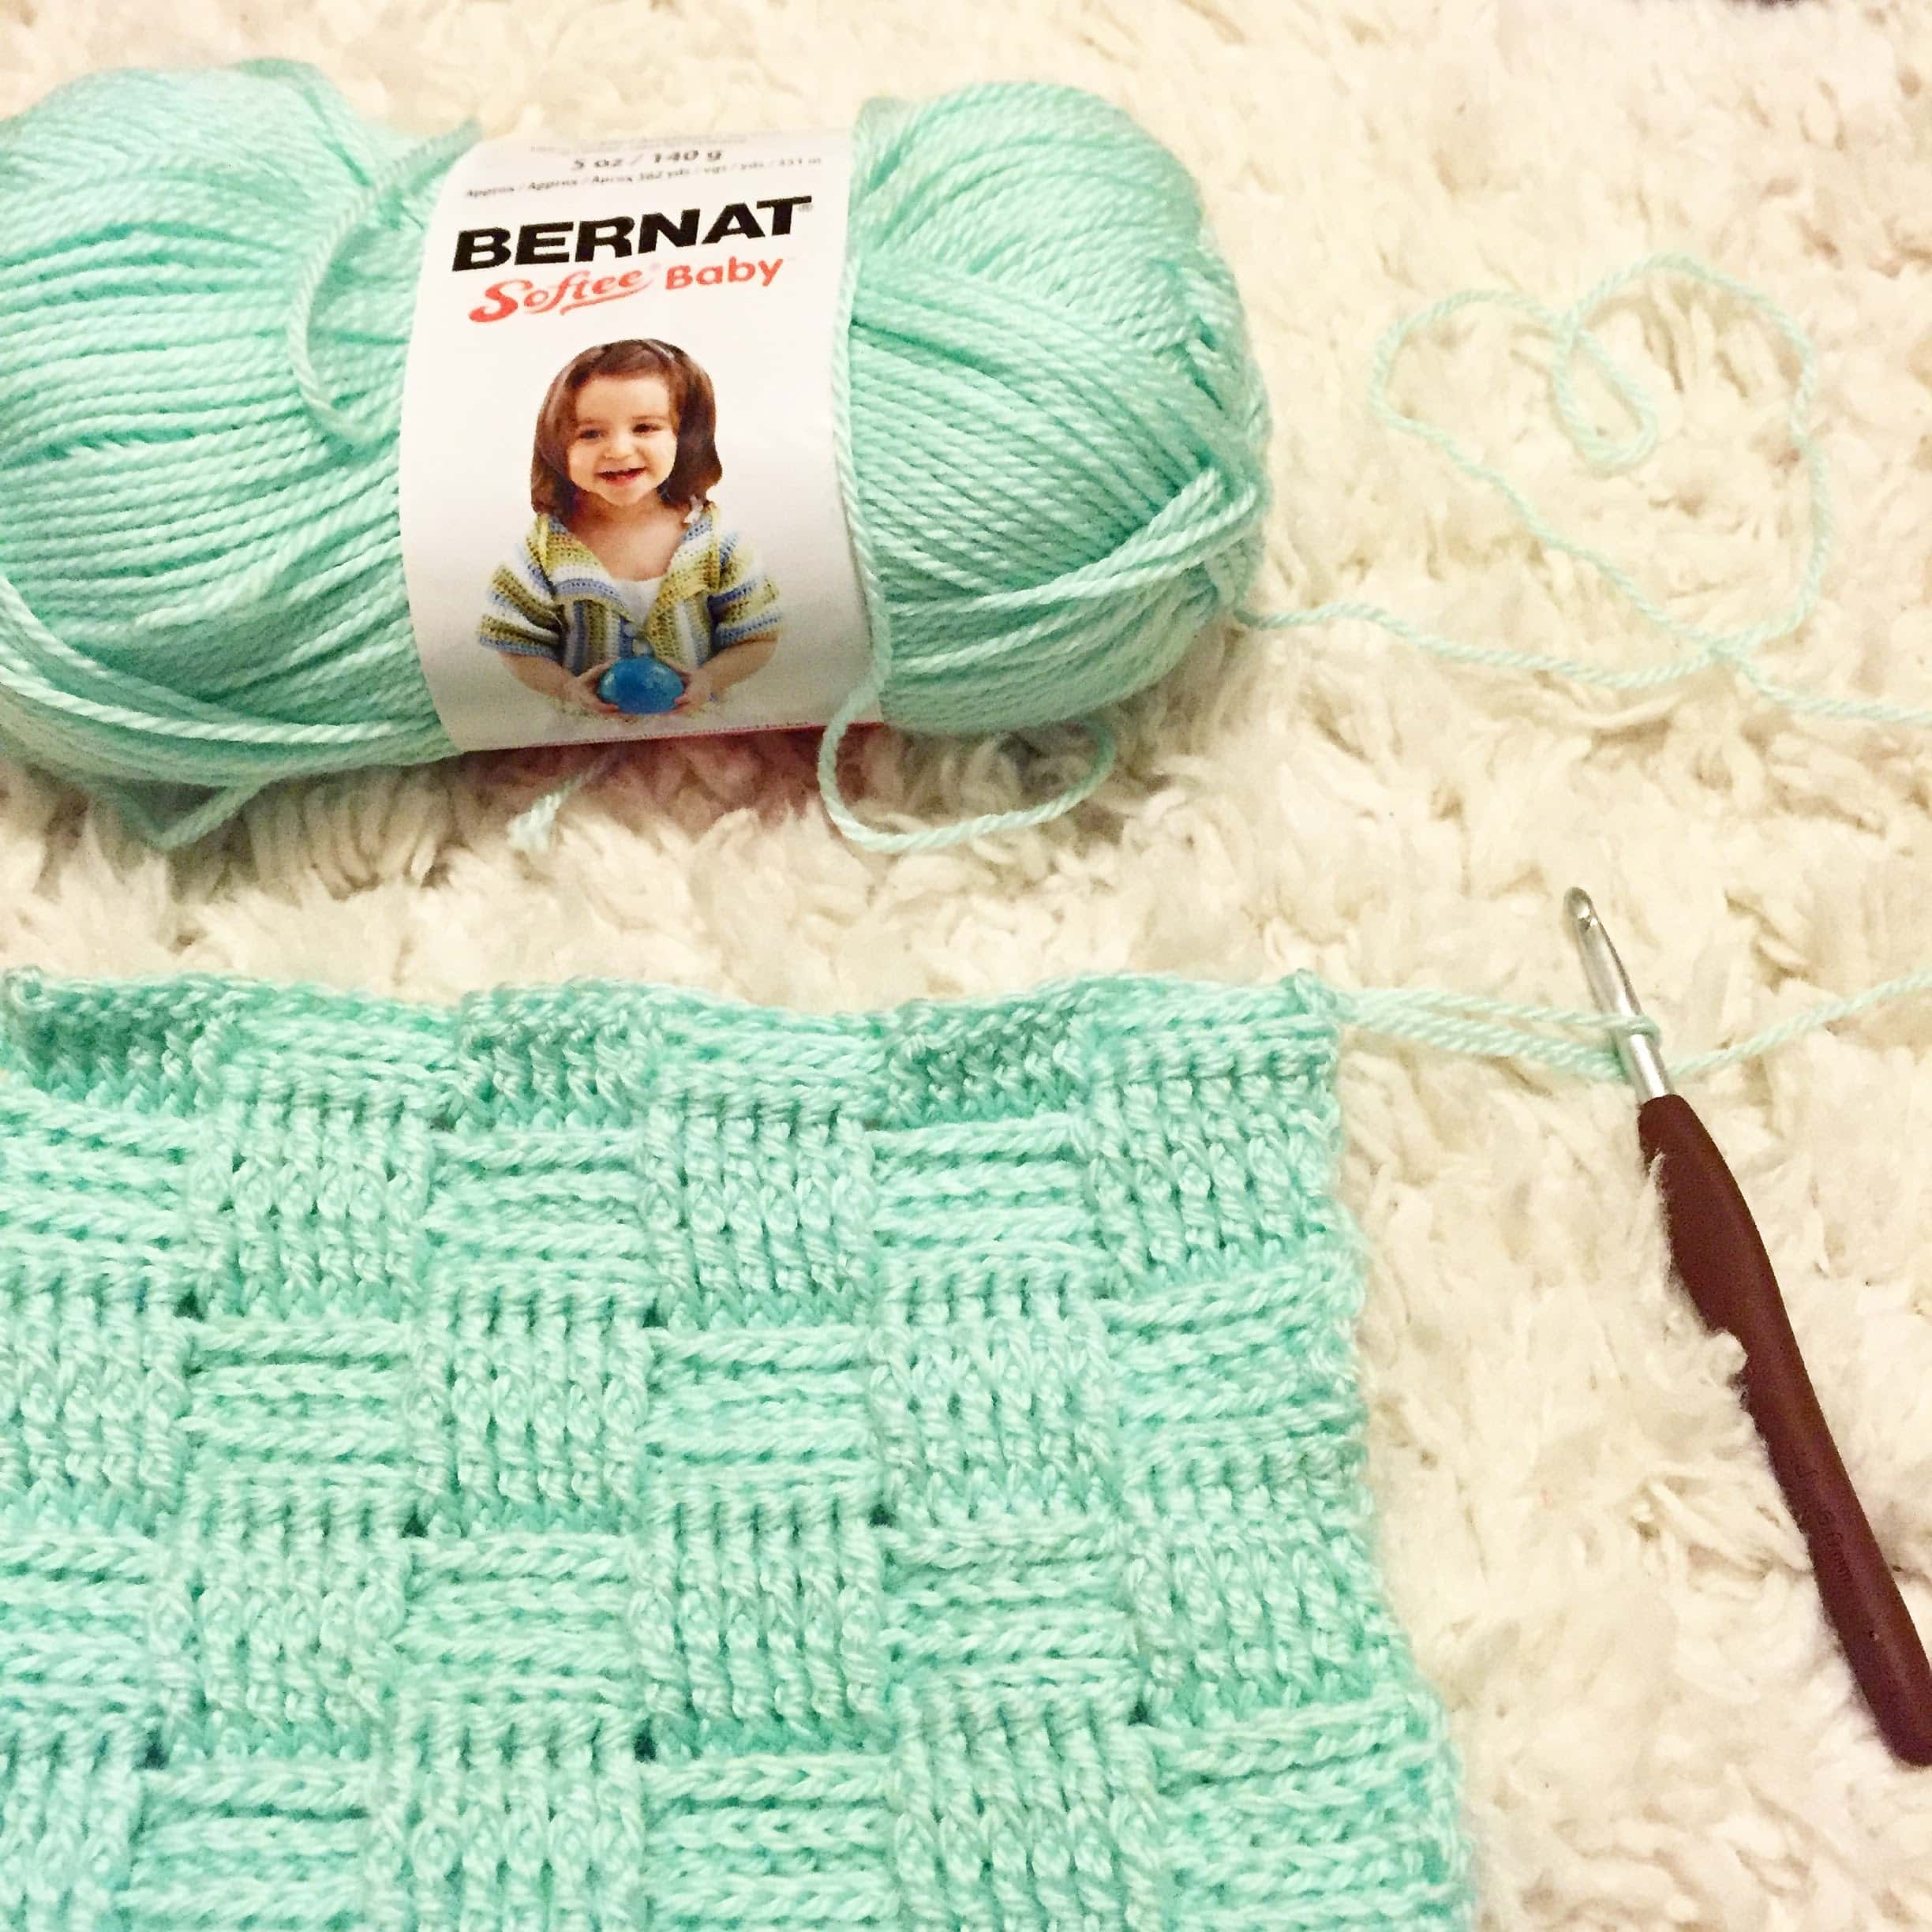
Today I want to share about my first pattern tester experience. Last summer, I had an opportunity to test a pattern for Phanessa from Designs by Phanessa. She has so many knitting and crocheting beanie designs, and I tested out her Avery Cabled Slouch Beanie. Like it’s included in the name, it’s cable beanie so if you know how to do FPDC (front post double crochet) and BPDC (back post double crochet) this is fairly easy project.
I’ve been following Phanessa for quite a while now, and it’s so amazing to see how much designs she comes up with! She makes each beanies with slight changes, and I think that’s what makes her so talented. When I saw this beanie hat on my Instagram feed, I immediately fell in love with the look. When I noticed she was looking for crochet tester, I reached out to her right away. I sent her my information and other criteria she was asking for and I got chosen to be the tester! I was excited to be a tester, but at the same time, I was nervous because I knew I had to finish making one within a certain time period. I felt responsible to finish making one before the deadline.
I heard in someone’s podcast or live on Instagram about a topic on pattern tester, and this was one of the key point (obviously) about being a pattern tester. Yes, you get to have maker’s paid pattern after a maker releases his/her pattern, but you need to know that it’s more than just making something from a pattern. A maker will ask you “how difficult was it?” “was there any problem with a pattern?” or any other question relating to a pattern. All or some of those considerations will take into place and a maker will revise and complete a pattern to be released. You can’t just request to be a pattern tester so that you can get their paid pattern for free. You have to have a mindset that you want to help out a maker so that his/her pattern won’t have a problem after people start buying. You, as a consumer, sure don’t want to have a problem with something you bought. Same goes with maker side; they want to release their products/patterns out to the world with confident that there’s nothing wrong with what they put so much time, effort, and love into their creations.
Avery Cabled Slouch Beanie was my first paid pattern I dealt with. My patterns are all free (nicely formatted PDF is available for purchase in my Etsy shop here or Lovecrochet here) here on this blog, but it was definitely nice to know and learn how other makers format their pattern. There are so many ways to present your pattern, and I believe you can find your style and format through how others do. (Do not copy exactly the same and claim as your own though!) Through this experience as pattern tester, I got more motivated to purchase other makers’ patterns not only to see how they present their pattern, but also to make them! I bought several patterns this past couple months, and I’m currently working on one of the patterns! It’s working in progress back to back with my Disney Christmas Ornament series so it won’t be done for a while, but it’s so exciting to see my project coming along! If you never purchased paid pattern and interested in getting one, I recommend searching through Ravelry and search through the patterns on their search database! There are so many patterns out there!
And here are my finished Avery Cabled Slouch Beanies!

I made this striped beanie when I tested, and I ended up frogging it because it was too small for a boy I gave it to. I stretched the brim too much so it was not comfortable fit. I love the way it looked though!

I made this one last month for my best friend’s late birthday gift. I used my head for measuring reference and it fit my friend perfectly! (Thank goodness she didn’t have big head) I used Bernat Pipsqueak in Vanilla for brim and Bernat Super Value (I forgot which color) for beanie. After I finished making it, I wanted one for myself because it’s so soft and comfy!


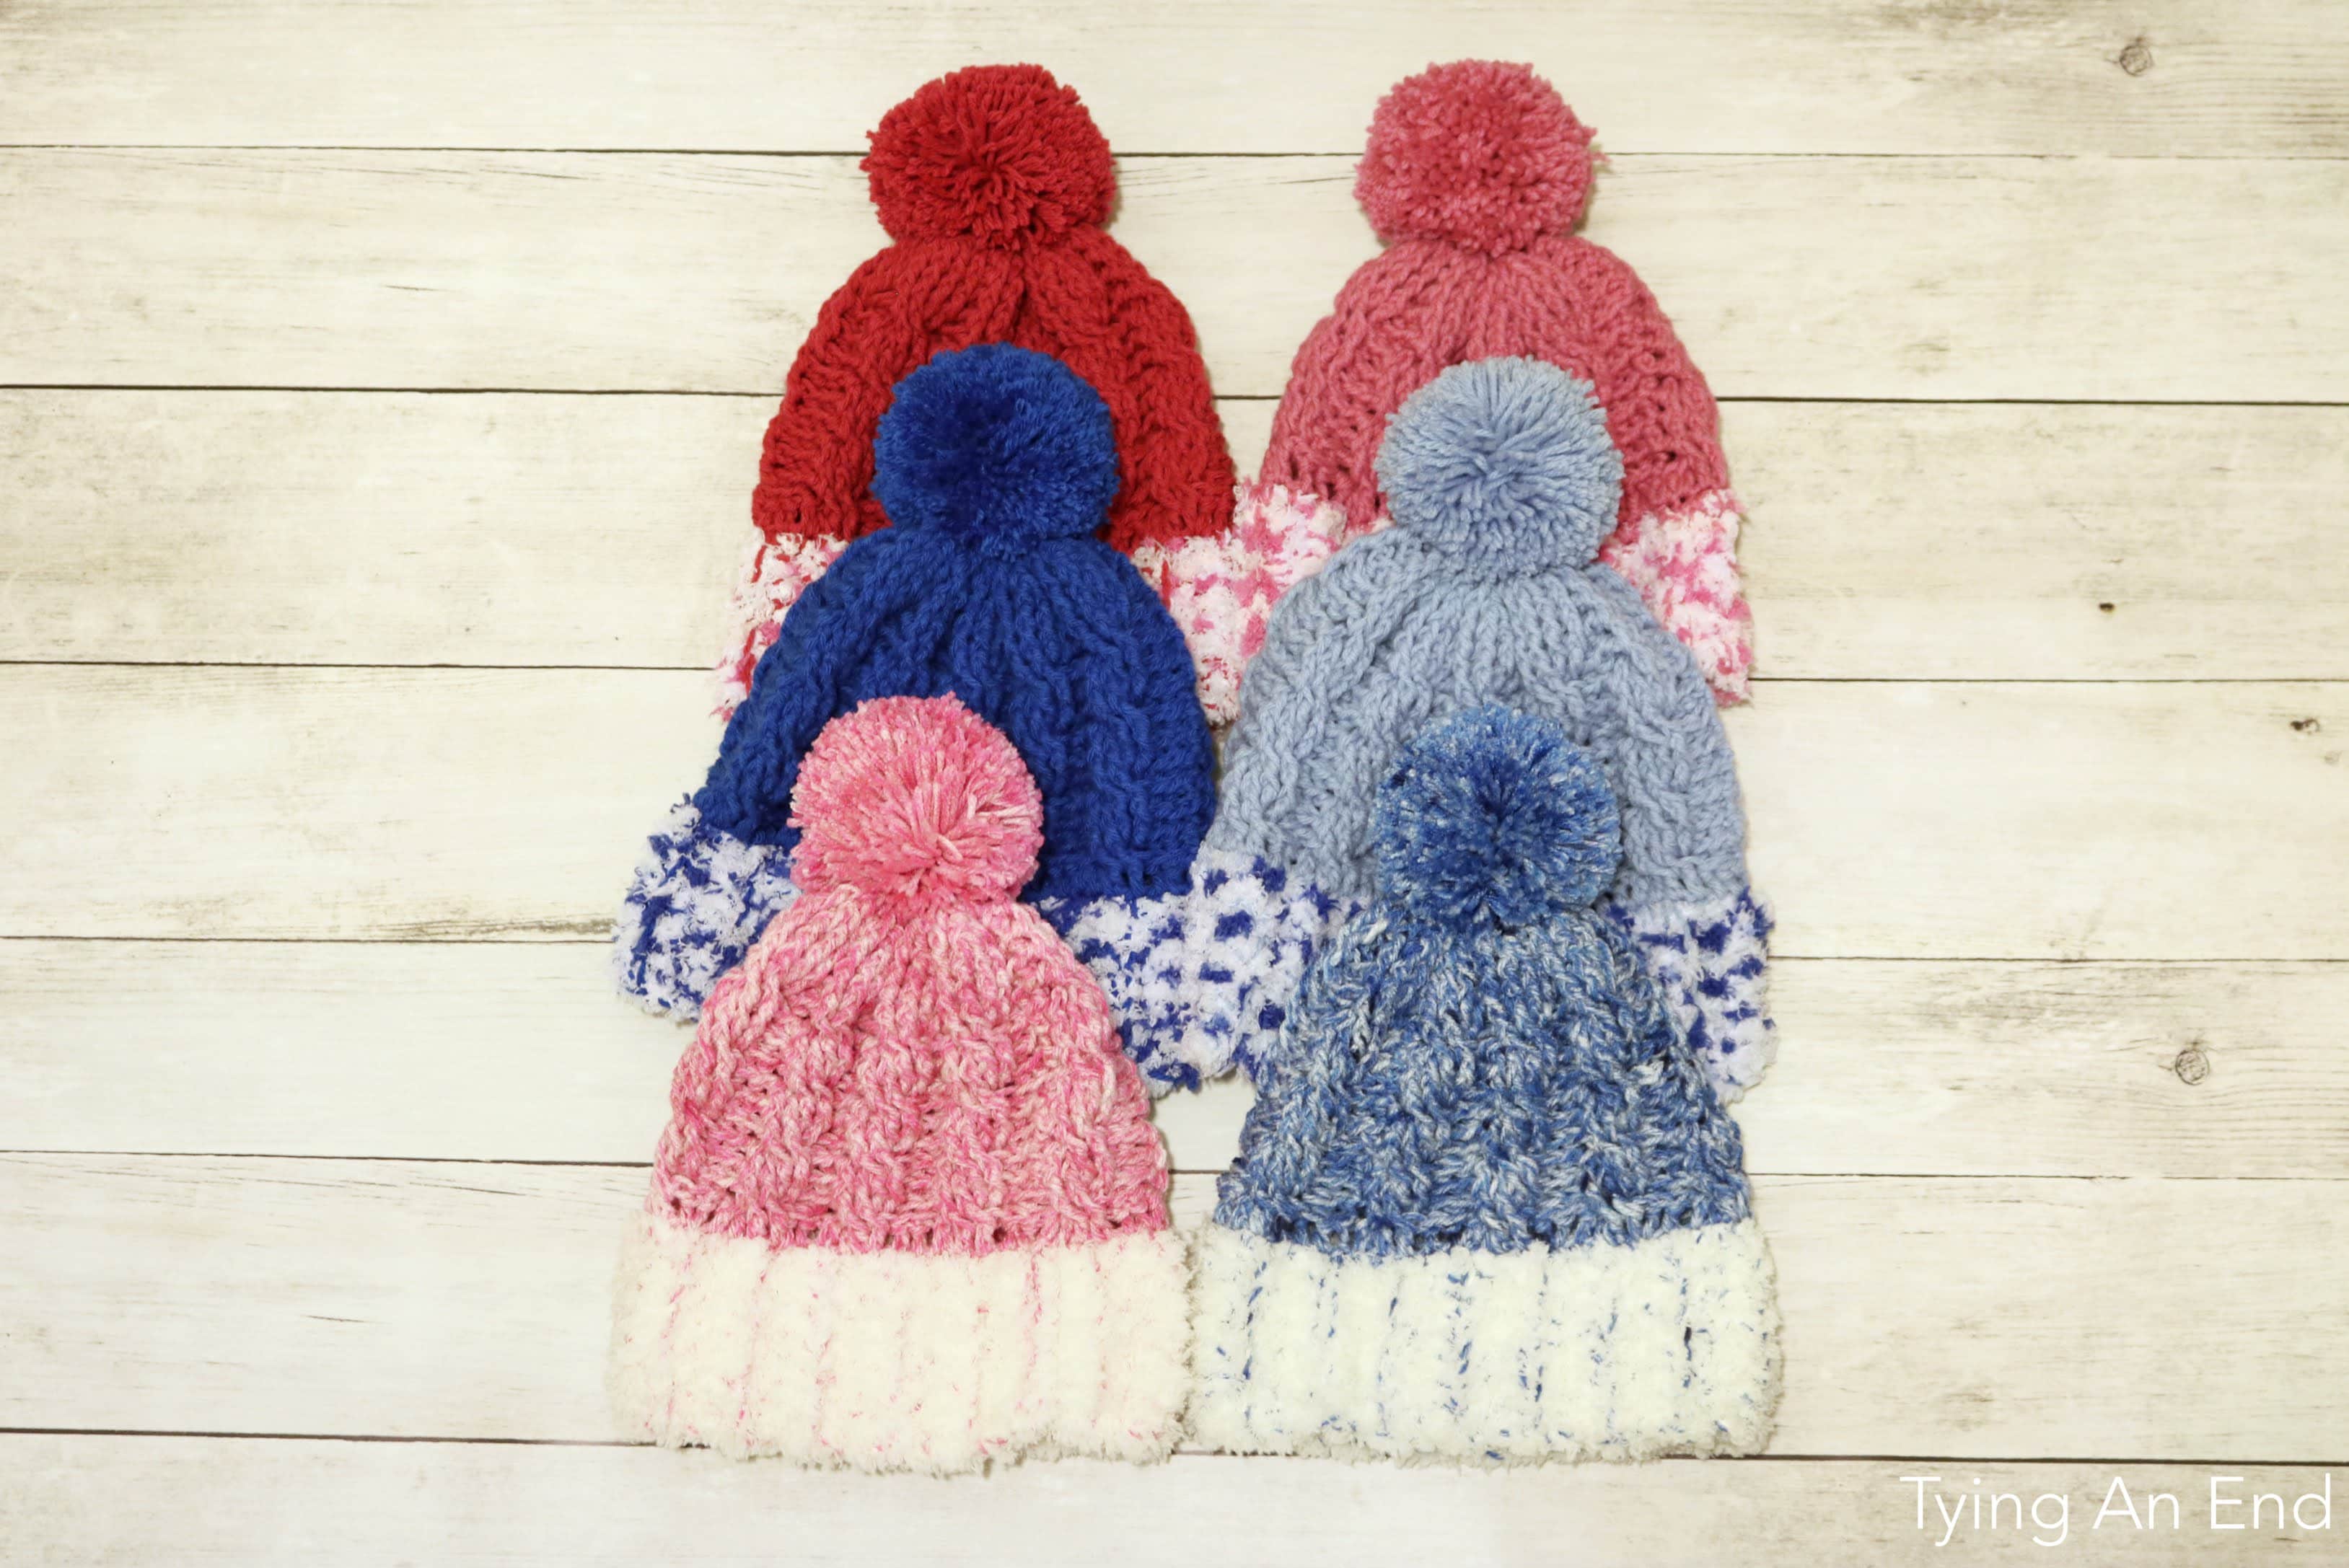
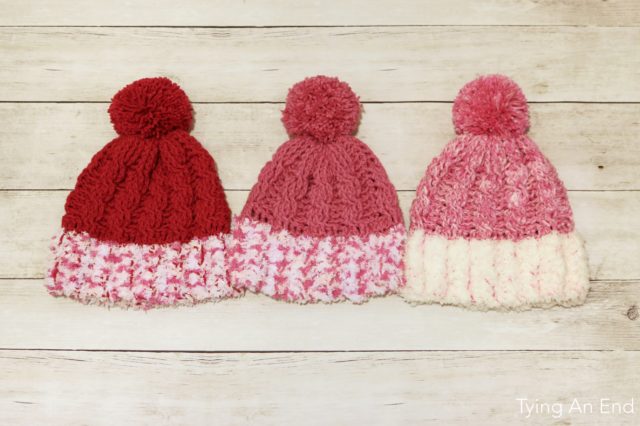
I finished these red/pink and blue beanies last week for my friends’ children! 2 for Emma and Ellie, and 2 for my other friend’s children, and other 2 for my older sister-figure’s boys. I wanted all of them to be different color yet have similarities.

Red/pink ones are for the girls and blue ones for the boys!
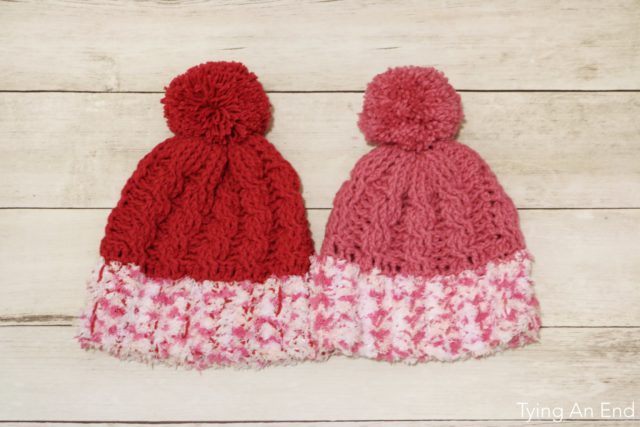

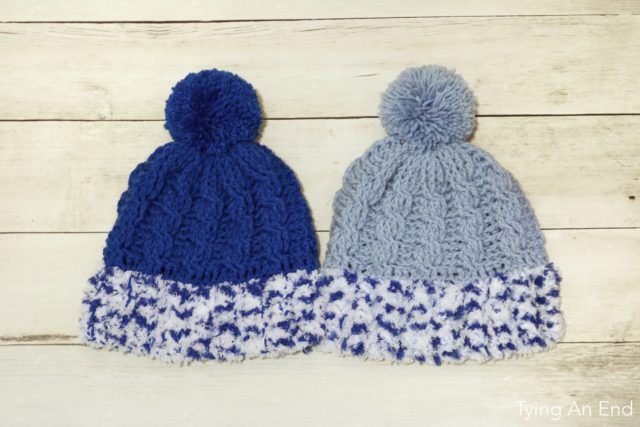
So the relations are: Emma and Ellie (left) have solid color beanie with multi-color pink brim. The boys have the blue version. And my other friend’s children have a boy and a girl so pink and blue one, but this time brim is solid cream color and beanie is multi-color. Also, younger one gets lighter color (pink for Ellie and sky blue for the younger boy) and older one gets darker color (red for Emma and blue for older boy) I used Bernat Pipsqueak for brim and Red Heart Super Saver and Big Twist Yarn from Jo-Ann for beanie.

Pompoms were made with Clover Pom Pom Maker! I could tell my pompoms were not as round as I wanted them to be, but it looked good enough…I need to practice more!
Because Pipsqueak was bulky yarn (weight #5), I had to do some calculations and adjustments so that beanie didn’t get too tight. I actually did many froggings so that these beanies fit perfectly on kids’ head, and it was totally worth it! I can’t wait to see all 6 of them wearing my beanie together!
Thank you for reading!

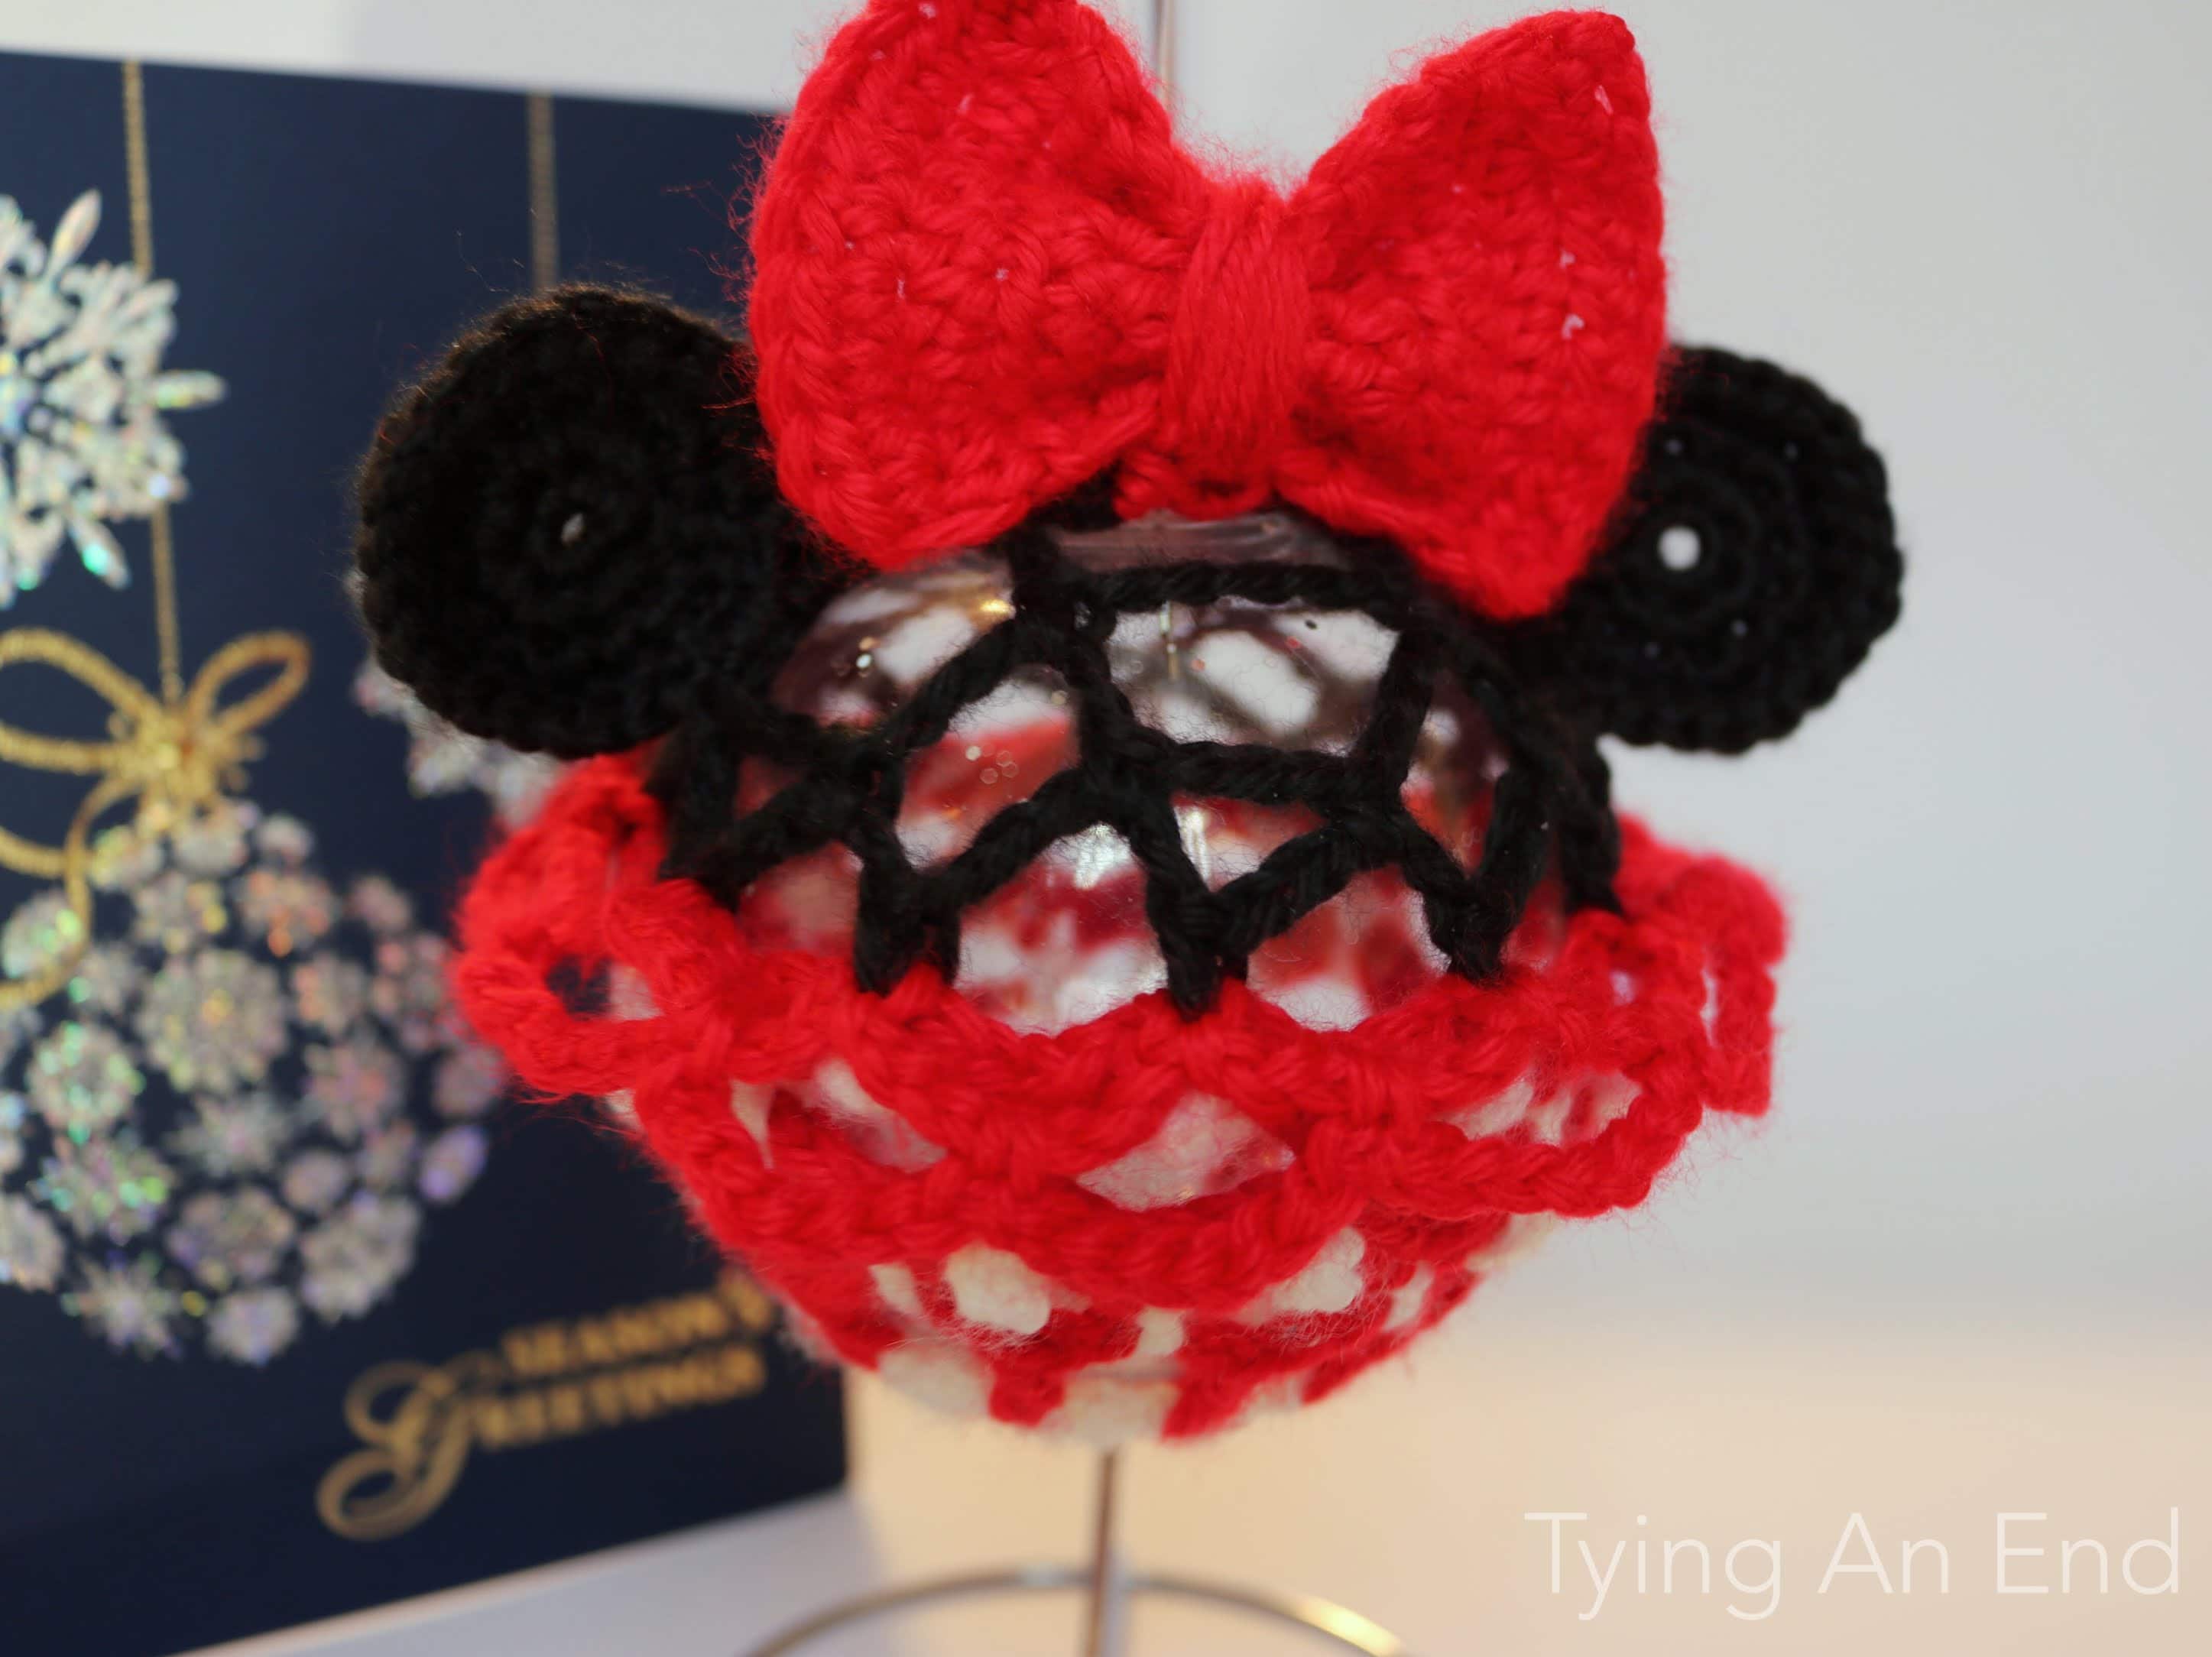
Minnie Christmas Ornament

You May Also Like
Faux Double Crochet vs CH 3 Double crochet
Pig Crochet Patterns for Chinese New Year