Faux Double Crochet vs CH 3 Double crochet
I hope everyone had a wonderful Christmas!! I had nice relaxing Christmas with my family and friends.
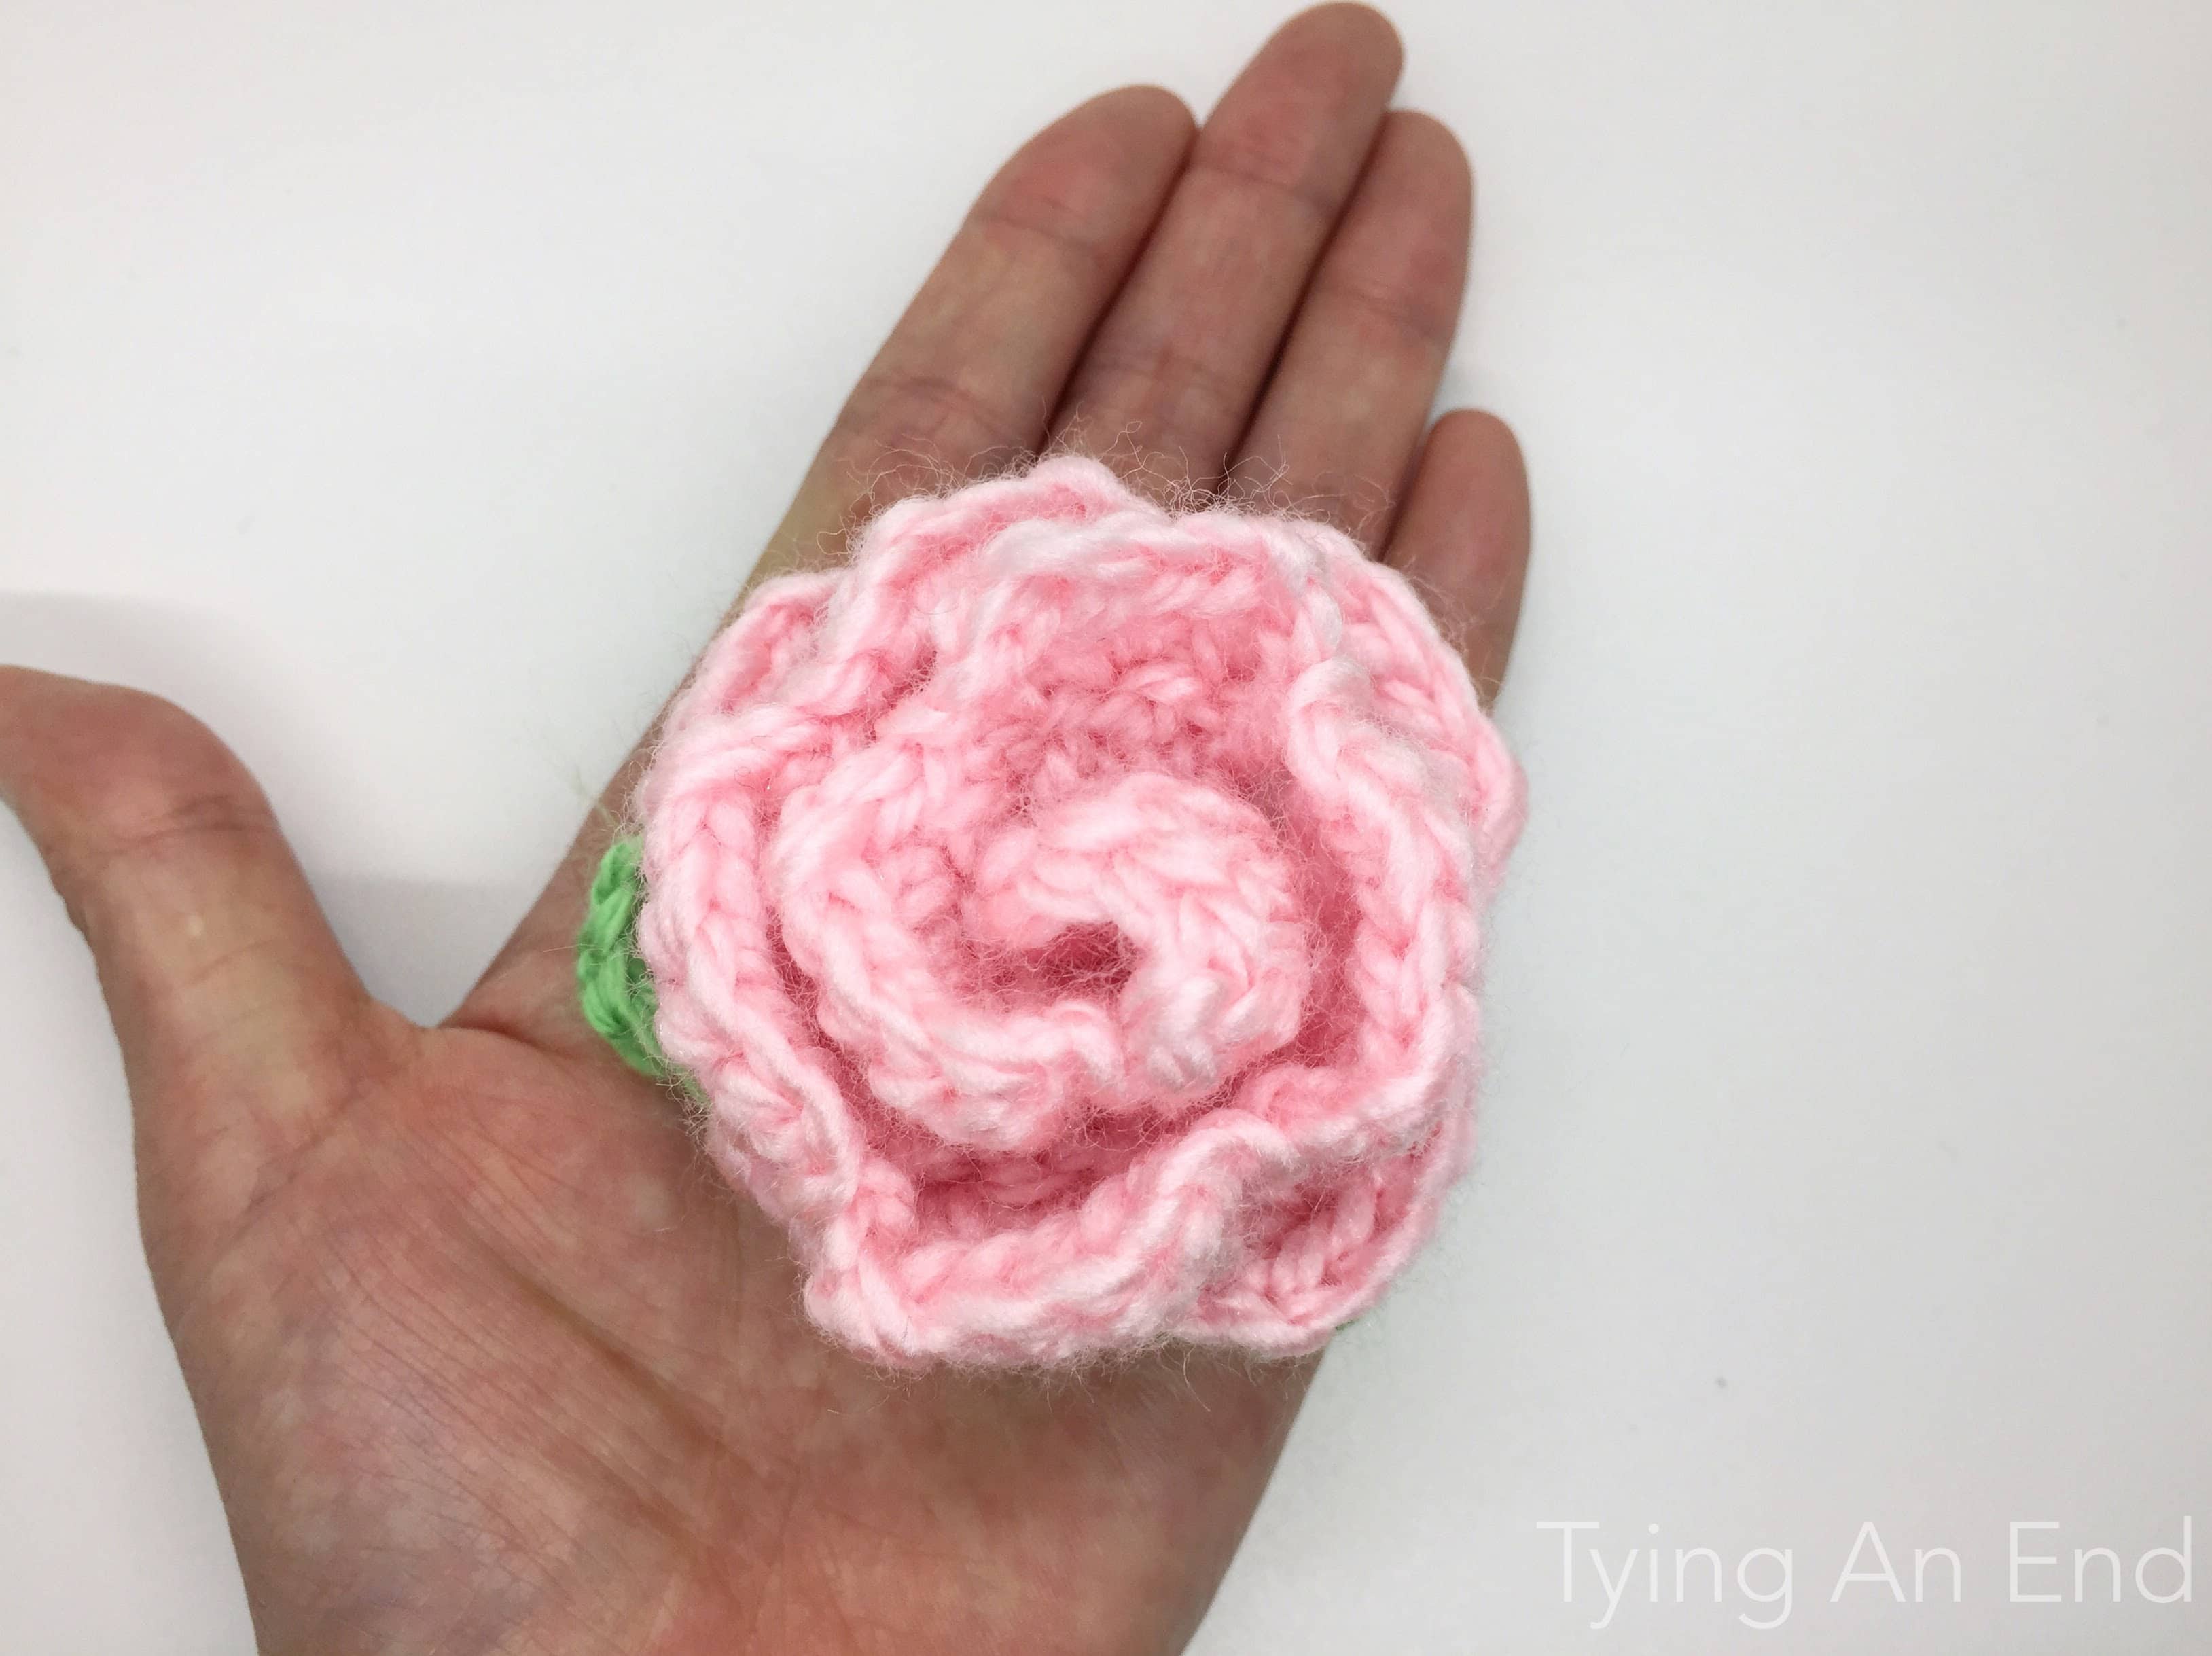
As 2016 is coming close to an end, I want to finish off with one simple project.
My friend asked me if I can make her twisted headband because she heard I made a super scarf to our mutual friend. So as I was searching for twisted headband pattern, I couldn’t really find the one that I wanted to use. I gave up on looking for headband pattern, but instead I started searching for stitch pattern that would look nice for headband. Then I came across to this one image on Google and I visited original source.
It was a pattern using DC (double crochet) and FPDC (front post double) so at first I was just skimming through that page. However, I decided to read it through more carefully and I realized that an author was using this stitch called “faux double crochet” instead of typical CH 3 as 1 DC in 1st stitch of each row!!
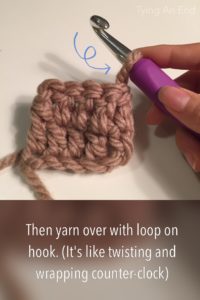
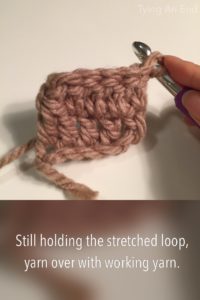
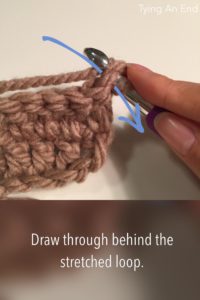
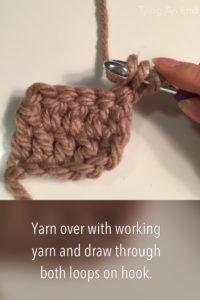
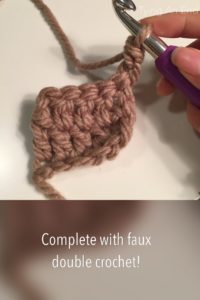
I never heard of this stitch before so I Googled how to do it, and it was very simple stitch. To simply put, it’s twisting once and yarn through both loops, just like regular DC.
I love this new stitch I found! I wish I knew this way earlier!! Each end of the row does not look saggy anymore when you use this stitch. I love how tight it gets!
 double crochet by Tying An End")
Can you tell the difference from image above? That’s how different it is! (I didn’t stretch it out or anything!) For me, if I do CH 3 as DC, space between CH 3 and next DC is going to be really big, just like the photo above, so I usually do CH 2. However, I never really liked how it looked. I’m never going back to typical CH 3 anymore!
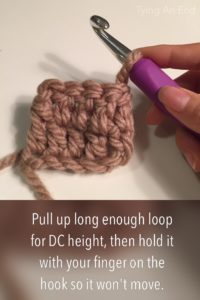
This was jaw-dropping for me so I want to share how-to. It takes couple practices but it’s simple. Here are step-by-steps!

Enjoy!
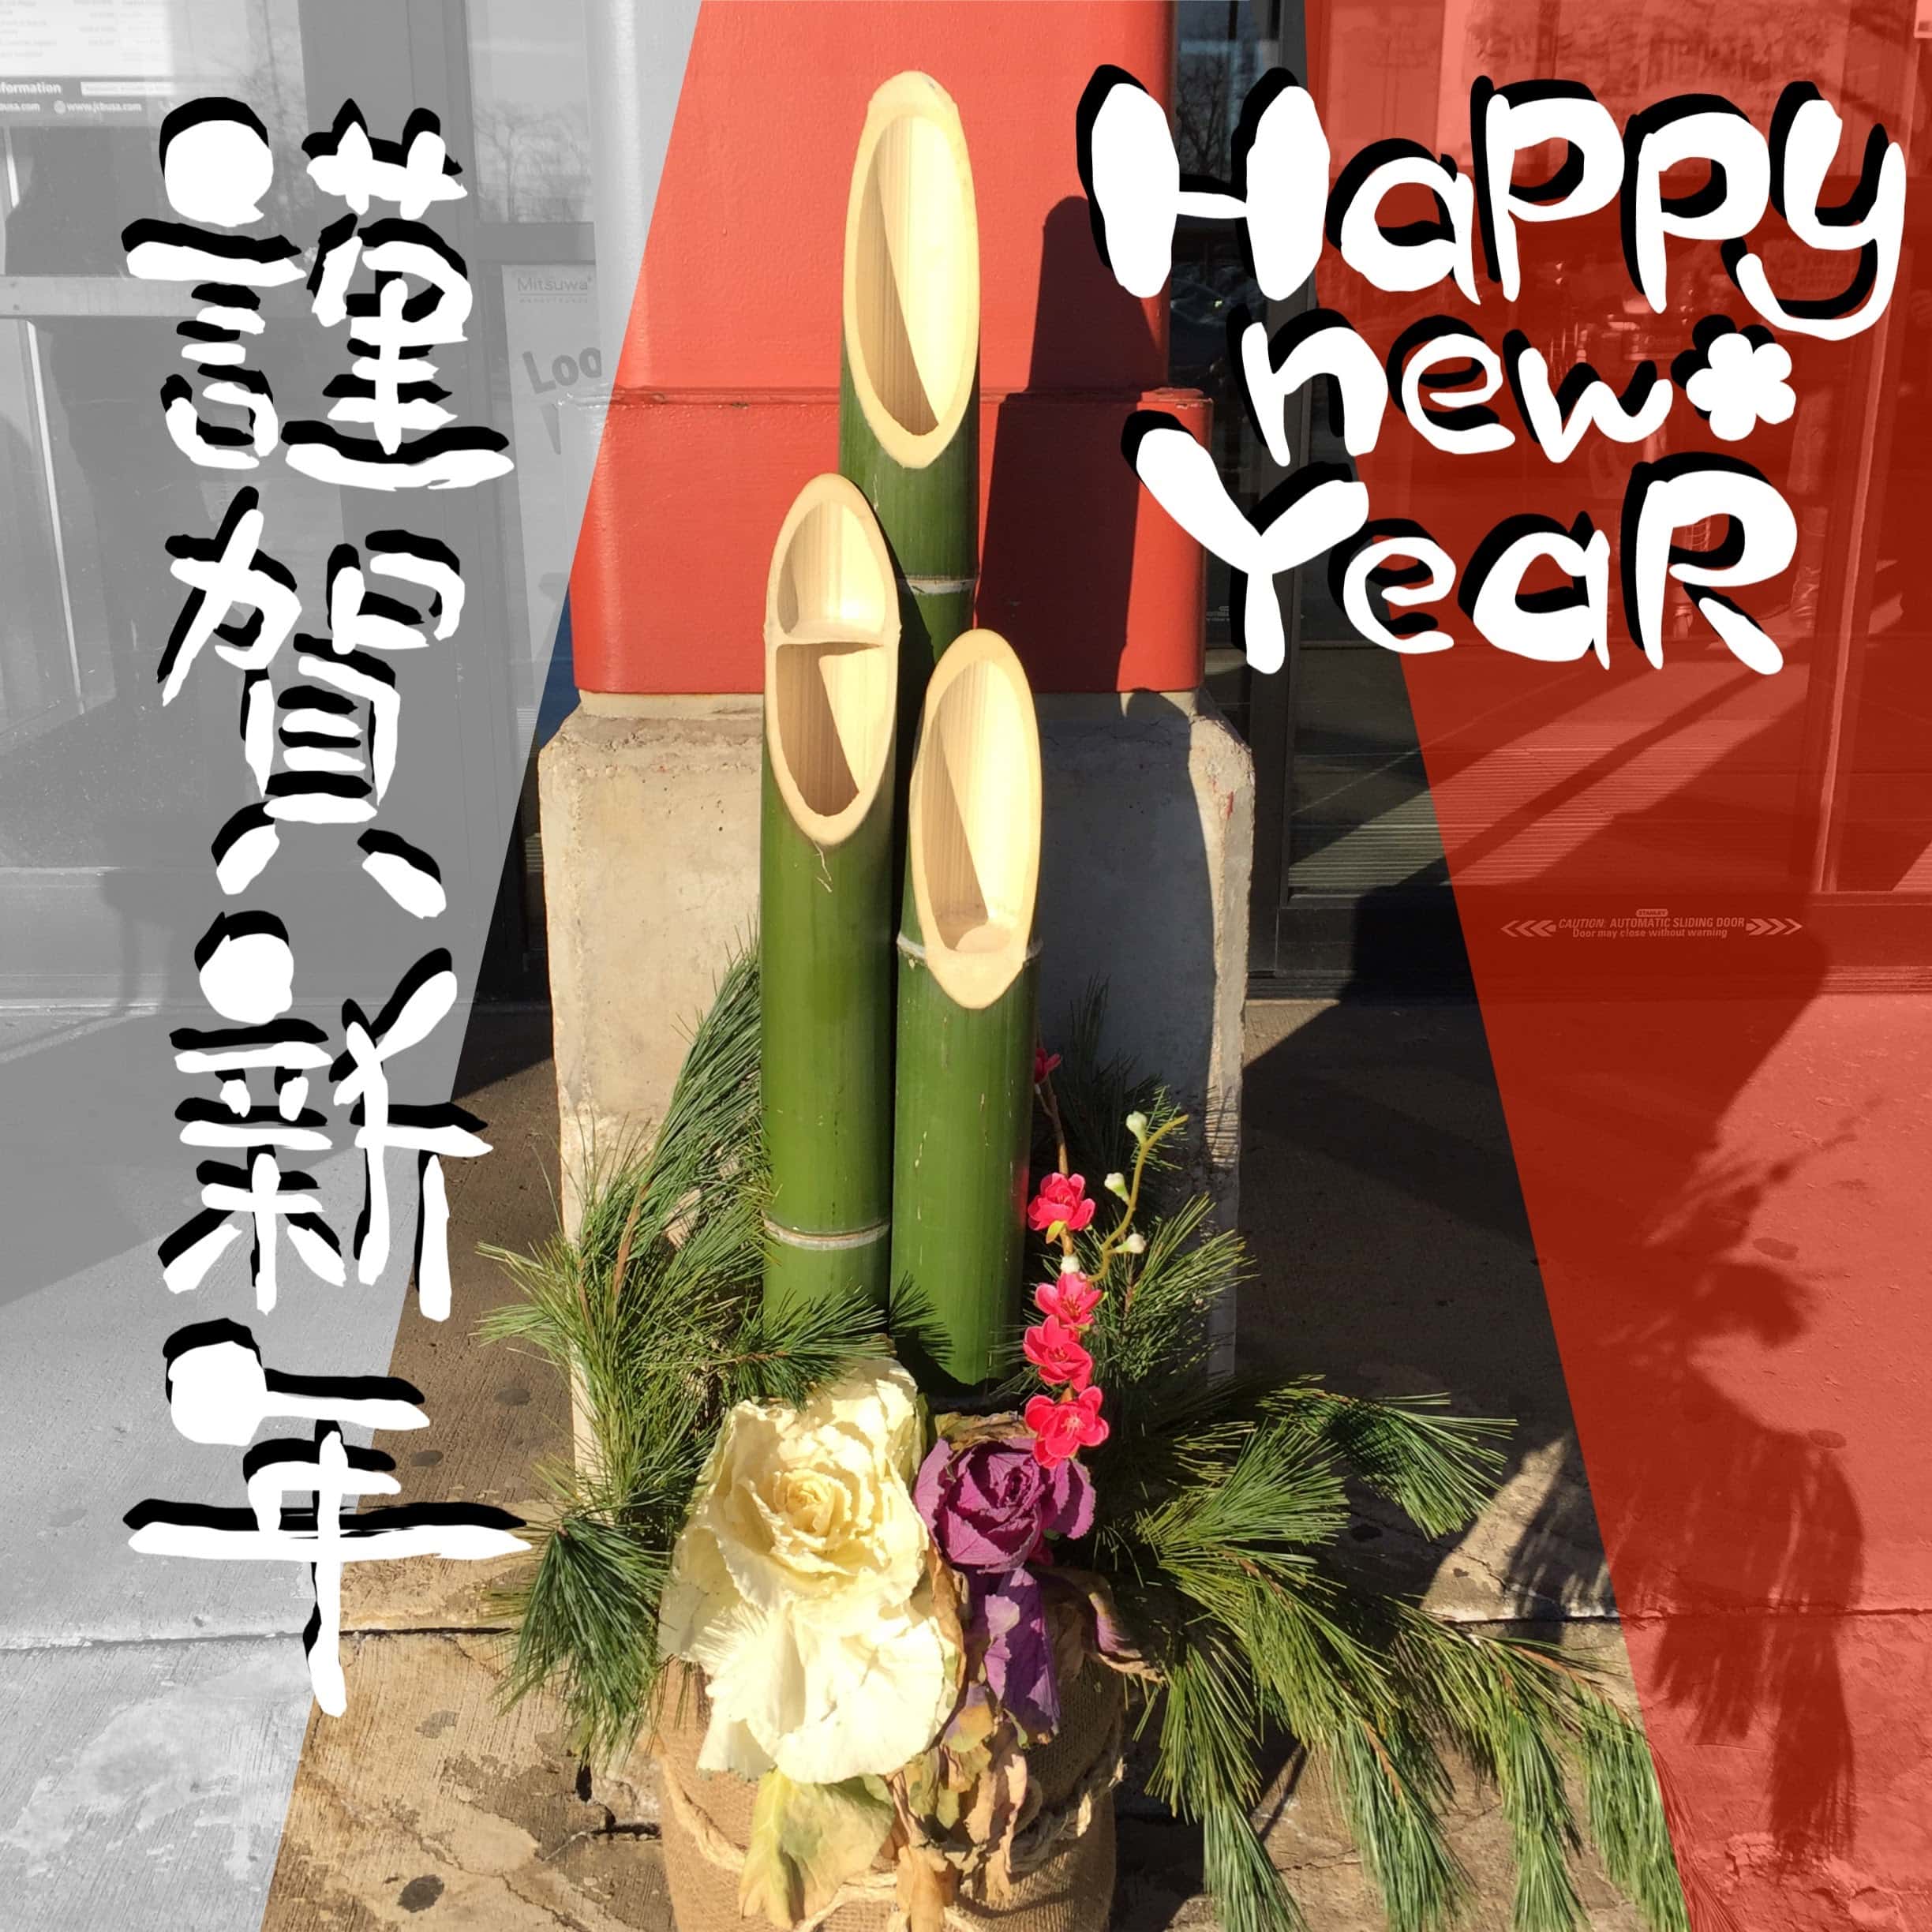
Happy New Year!
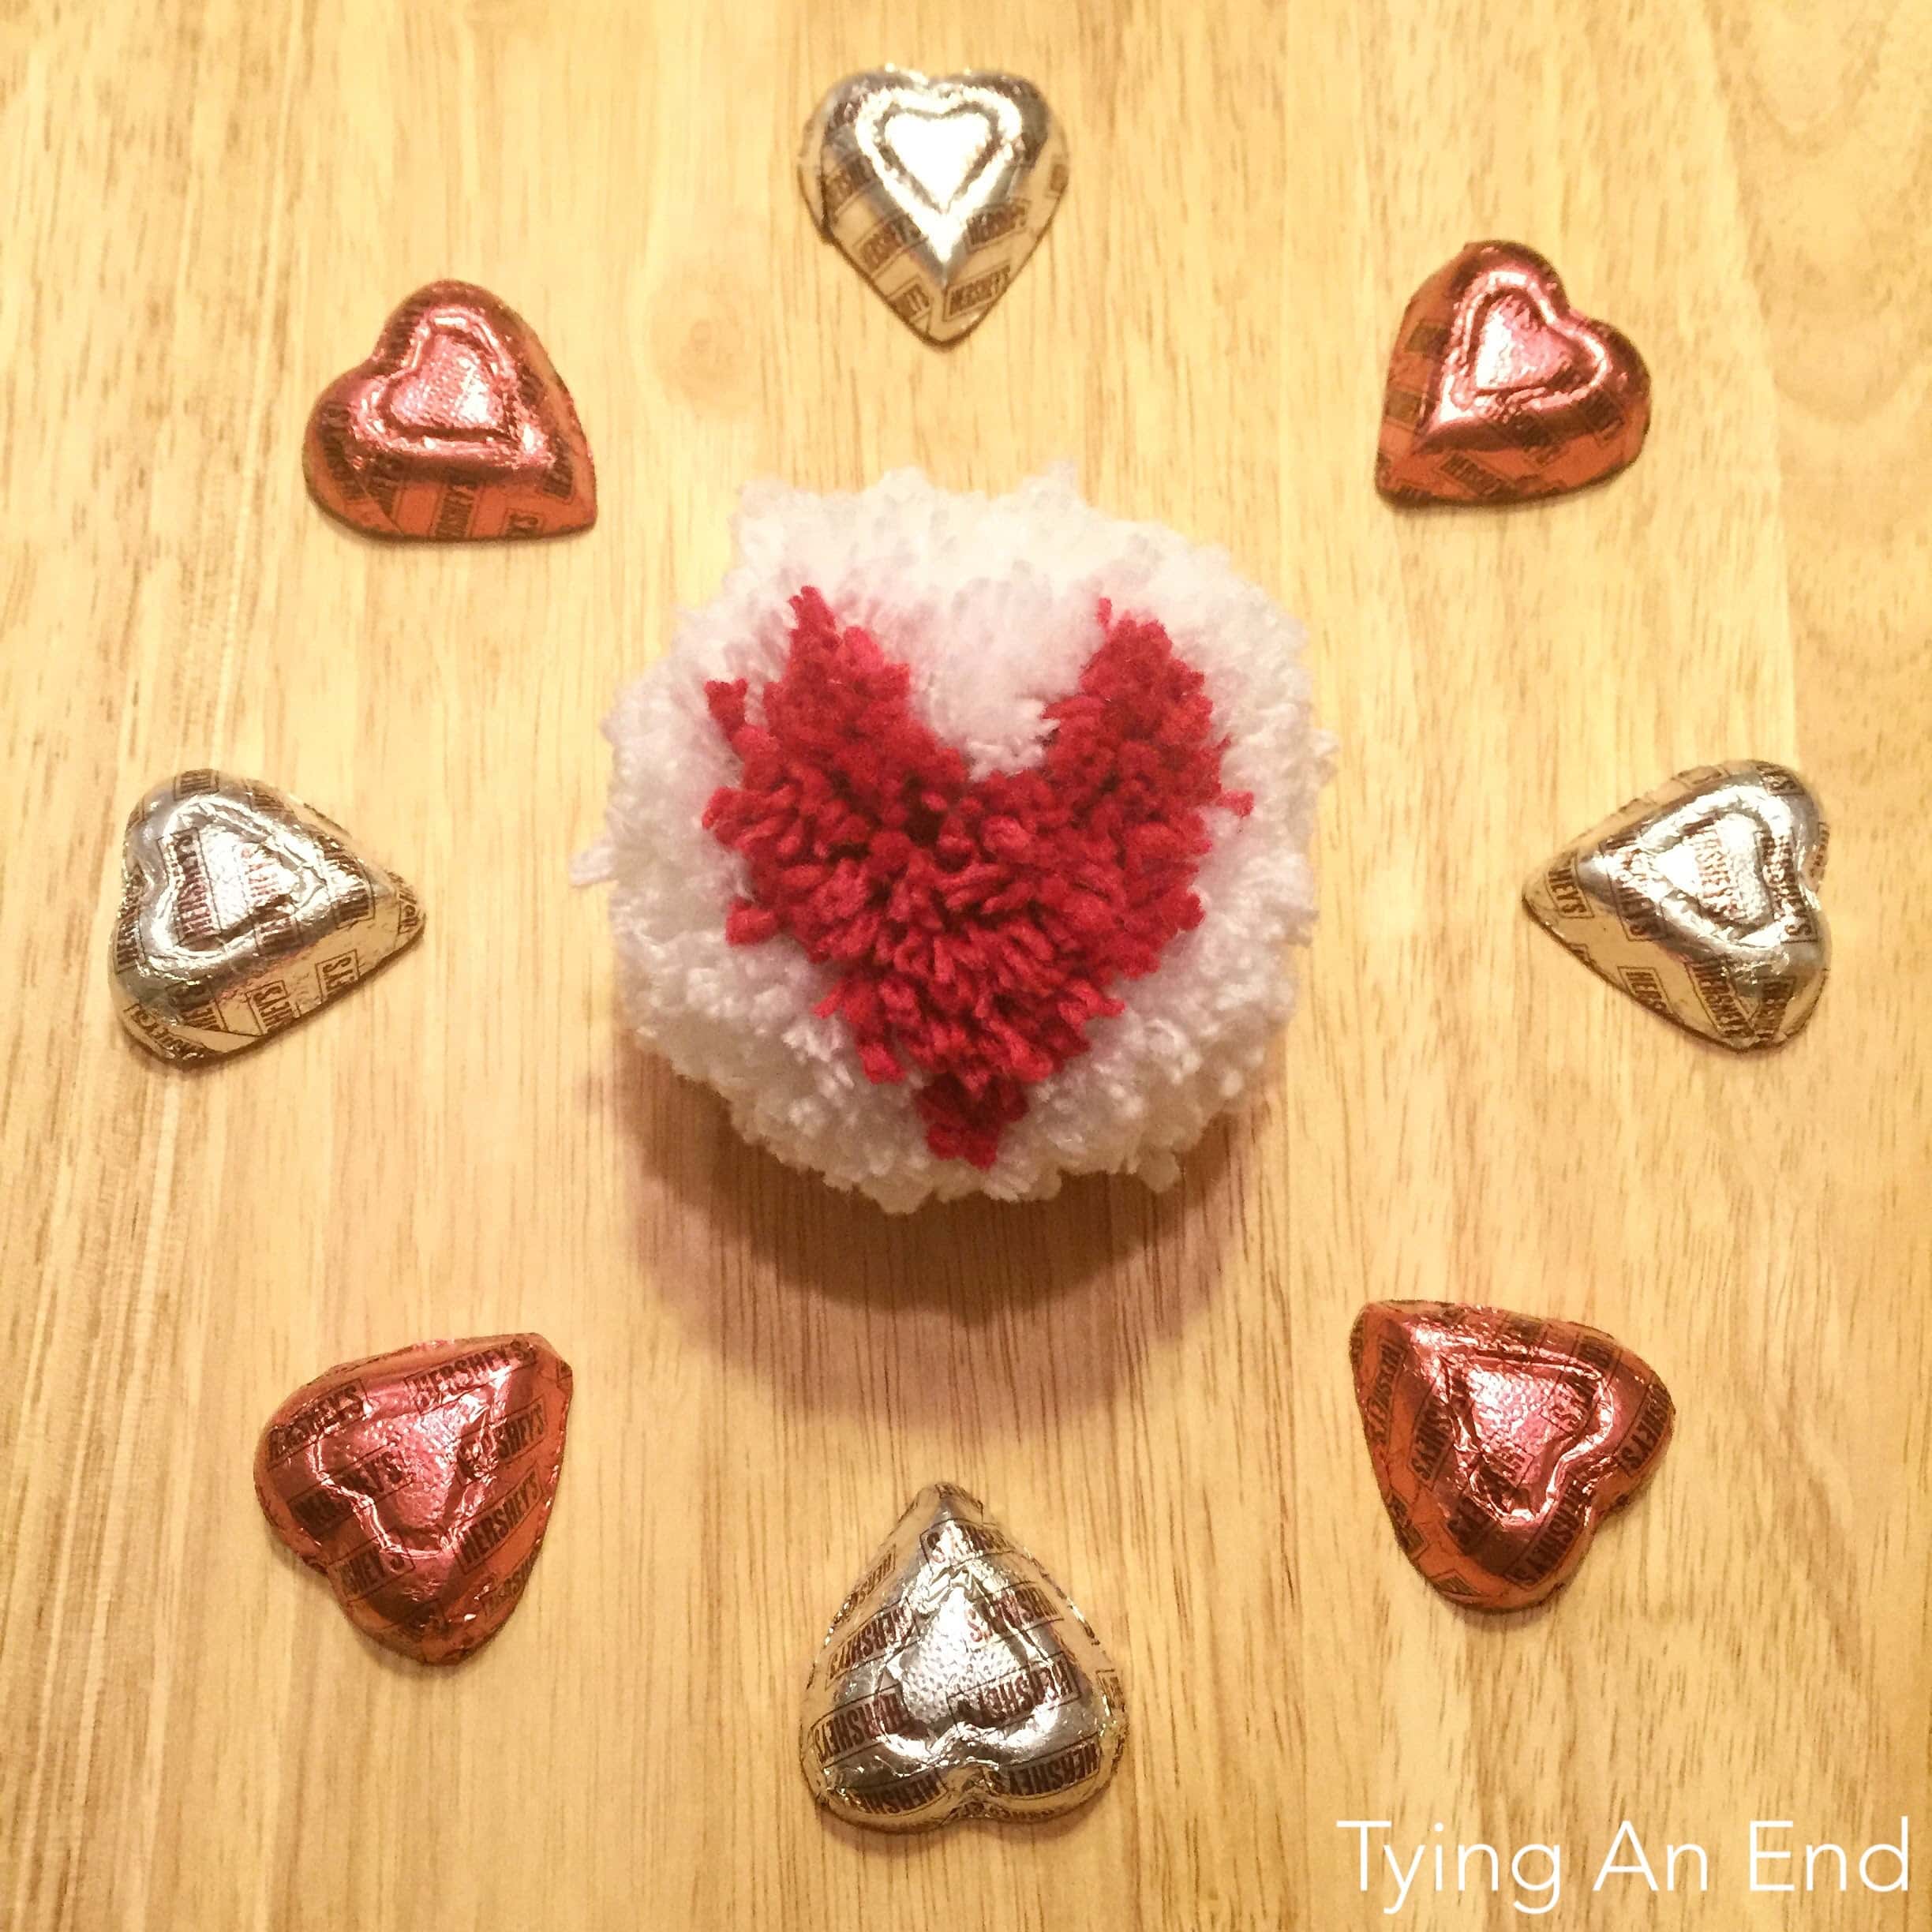
Heart Pompom
You May Also Like
Crochet in Public
Alchemy Cardigan CAL by Make and Do Crew – week 2