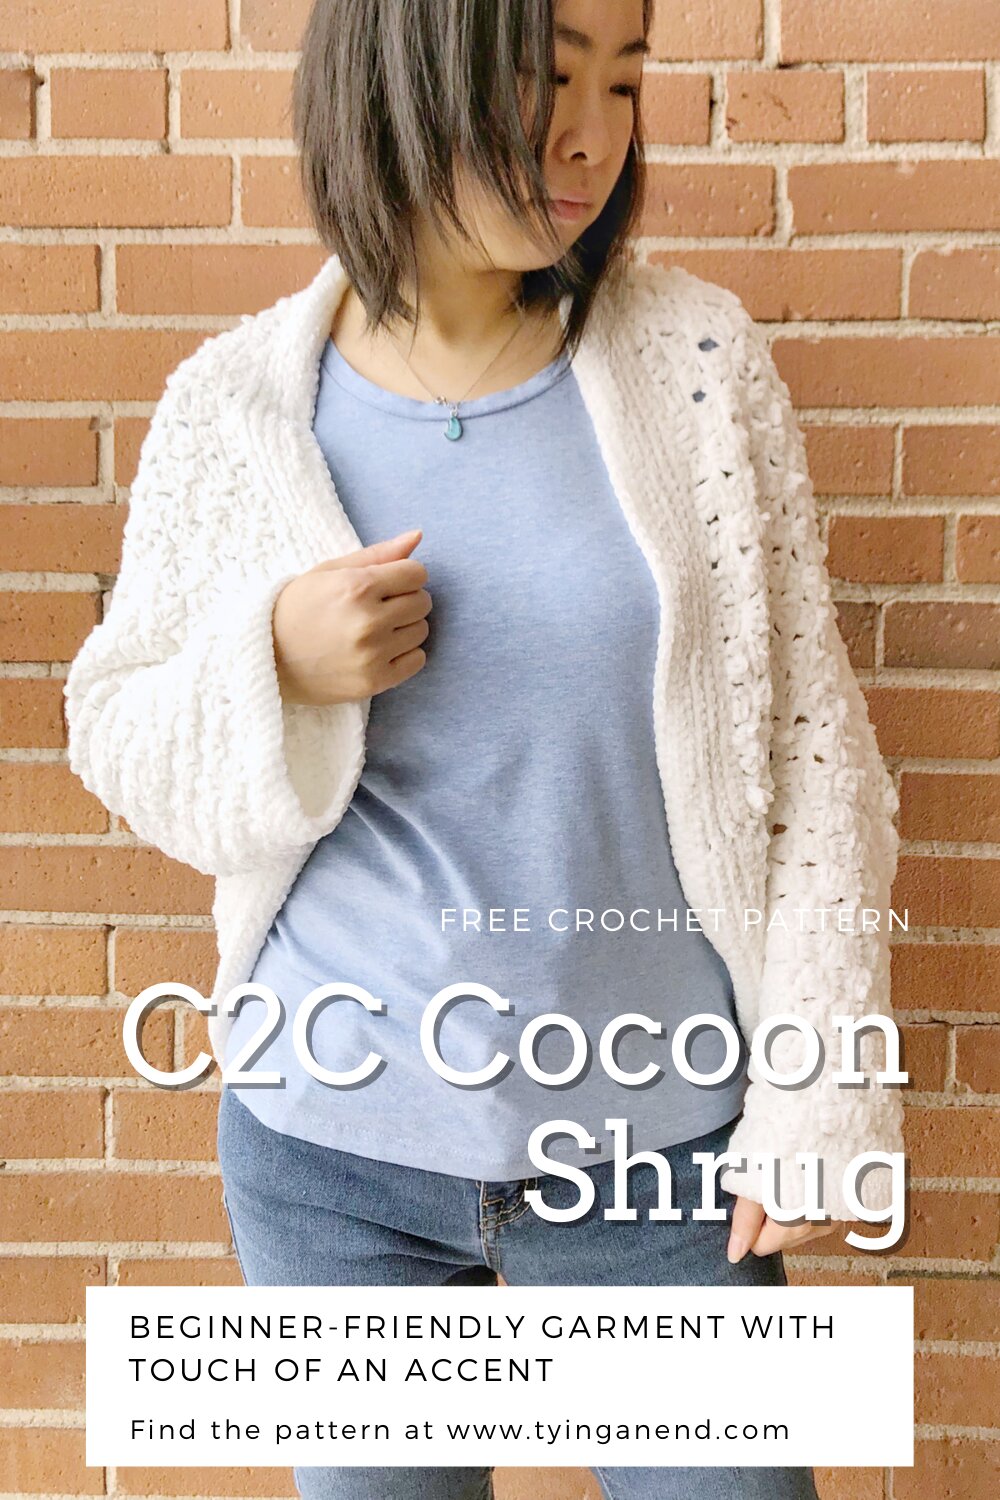
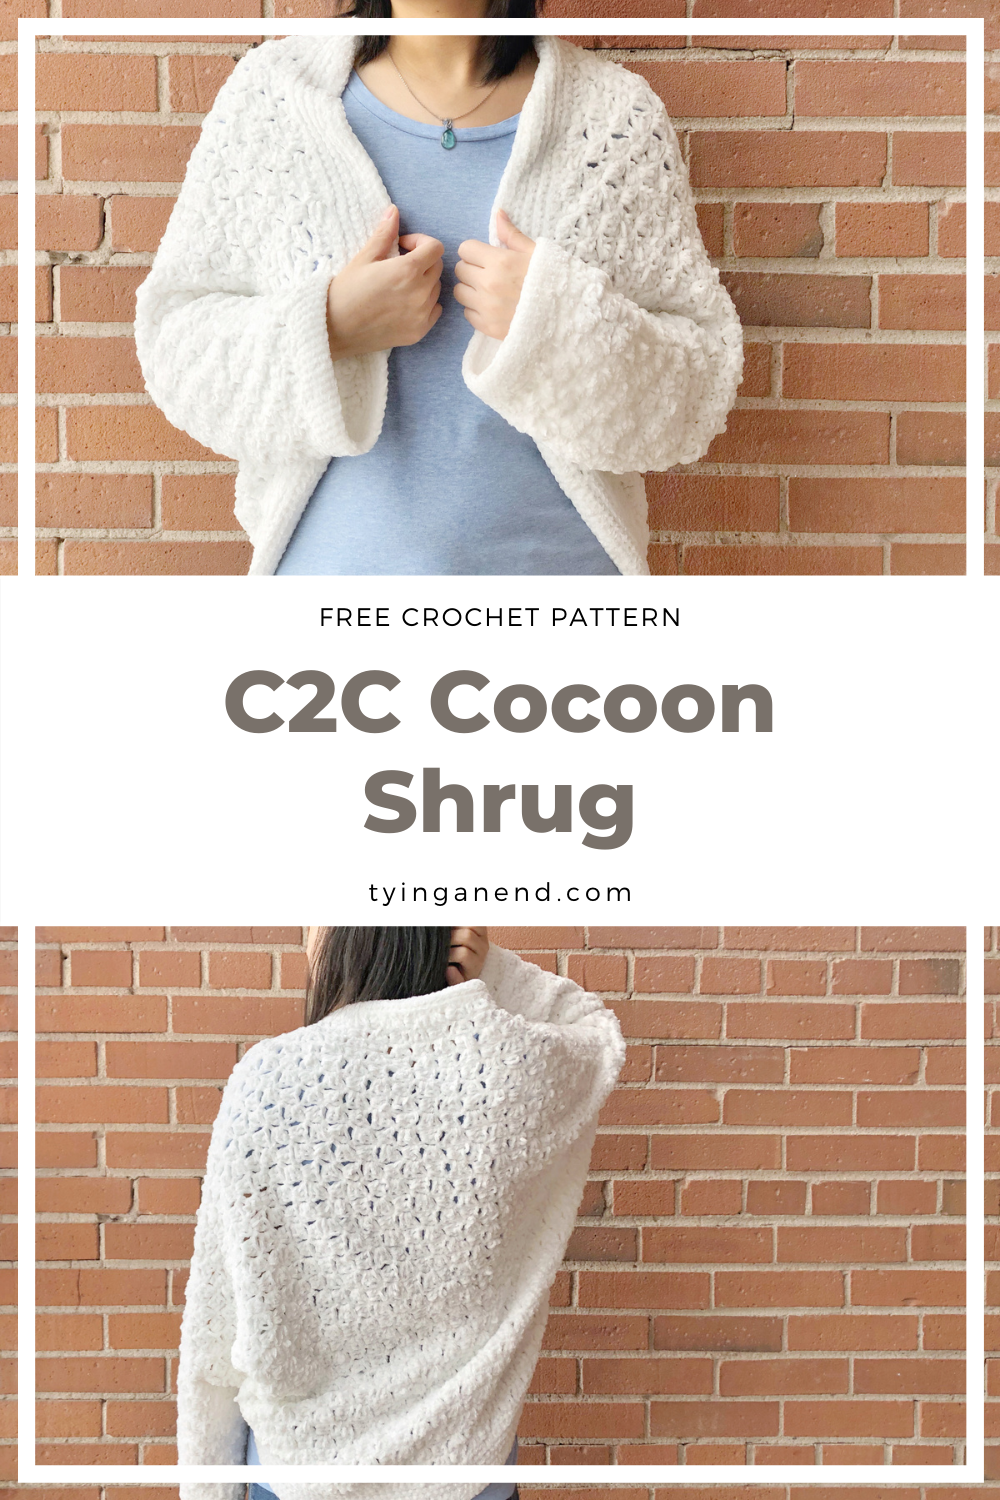
C2C Cocoon Shrug
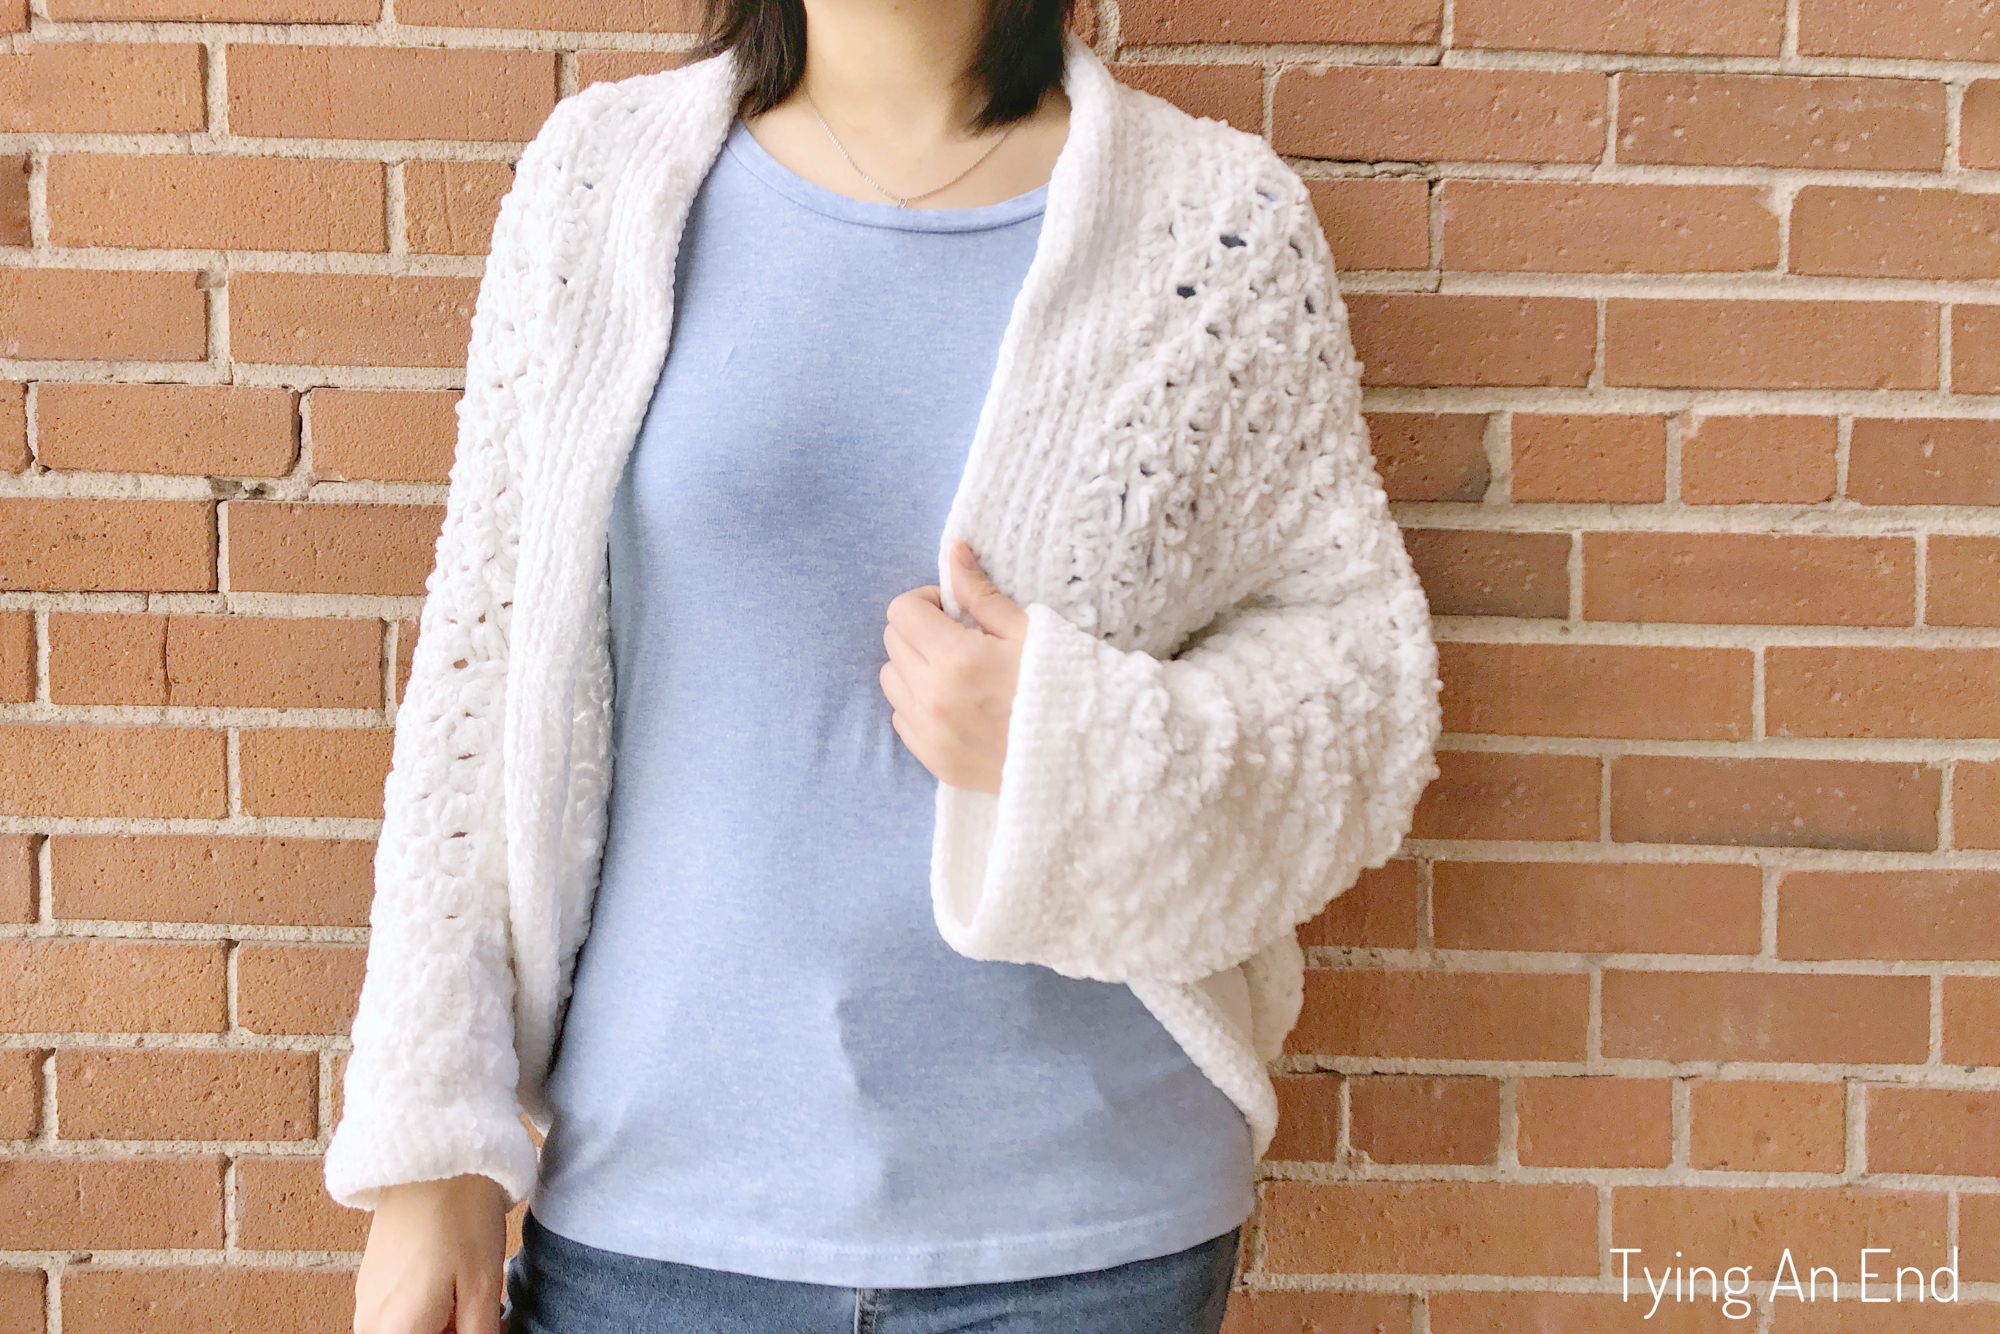
For all those C2C lovers. You’re going to love this shrug! Made with simple rectangles seamed together with touch of detail with ribbings and collar. Get the free C2C Cocoon Shrug crochet pattern below or you can purchase ad-free, printable PDF on my Etsy, Lovecrafts, or Ravelry!
Disclosure: This post contains affiliate links. If you make a purchase through one of those links I receive a small commission. It’s an easy way to support this blog at no additional cost to you.
I’m really excited to share today’s pattern with you! It has been one of my goals I wanted to accomplish since I started my crochet design journey. Whether it was physically involved or just being out there and spreading your words of ideas, I’m really grateful for those who were involved in this pattern release!
Pin it now, crochet later
Inspiration
I’ve always wanted to design my own garment in crochet. In our crochet/knit communities, there are so many talented designers out there, and I’m always amazed by their designs. One of the designers I love is Jess from Makes and Do Crew. If you don’t know her, I highly recommend to check her website out! (and Instagram too!) She produced so many garment designs (like Alchemy Cardigan and Canyonlands Boho Crochet Top), and one of her popular design style is a cardigan made from rectangles and hexagons. One thing I would like to avoid as much as possible when making a garment is seaming. So making a garment from a rectangle really cuts down the length you need to seam each piece. Going through Jess’s designs really helped me with the direction I wanted to go with my design.
Due to the time constraint I had for this design, I needed to make something that is quick and easy. Like I mentioned, I never designed a garment before so I didn’t want to stress myself out and make something overcomplicated. I’ve made both crochet and knit garments before so I know it can take quite some time to finish. (Check out my knit raglan sweater and crochet pullover I made in the past) When I made Cocoon Shrug for my friend, it was very simple and straightforward. It was so comfy and I wish I could keep it. From there, combining with C2C, which is another fun crochet construction, would be perfect match!
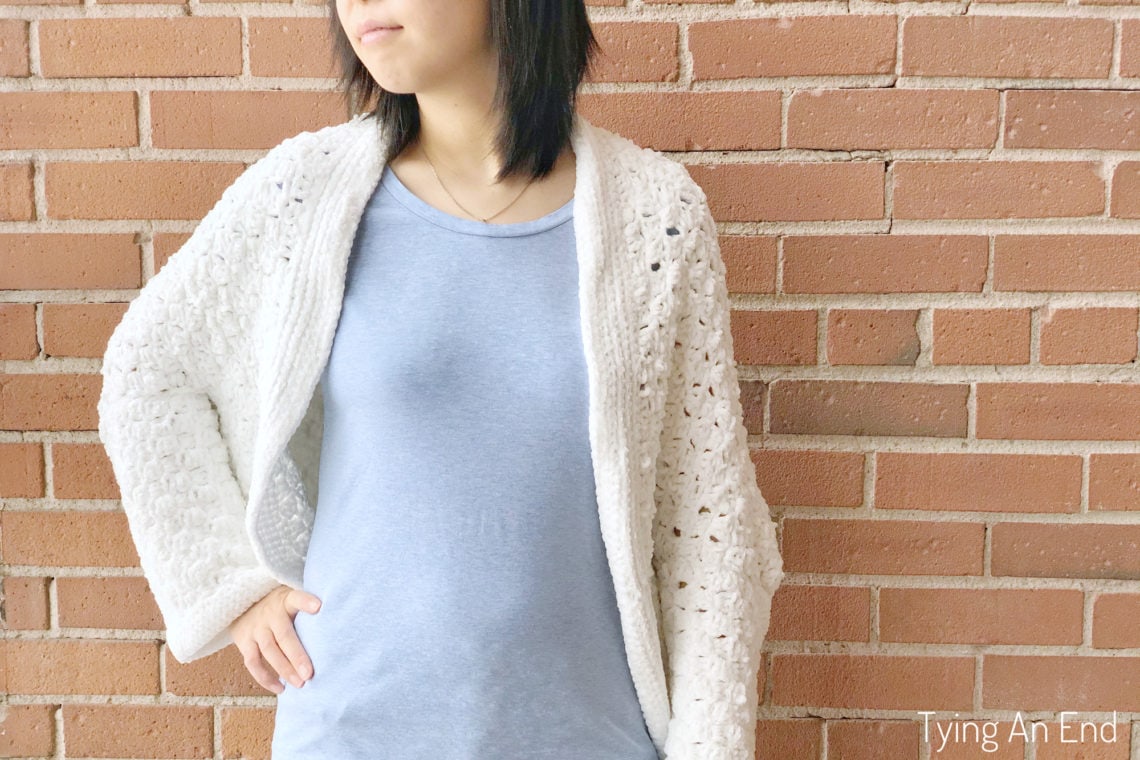
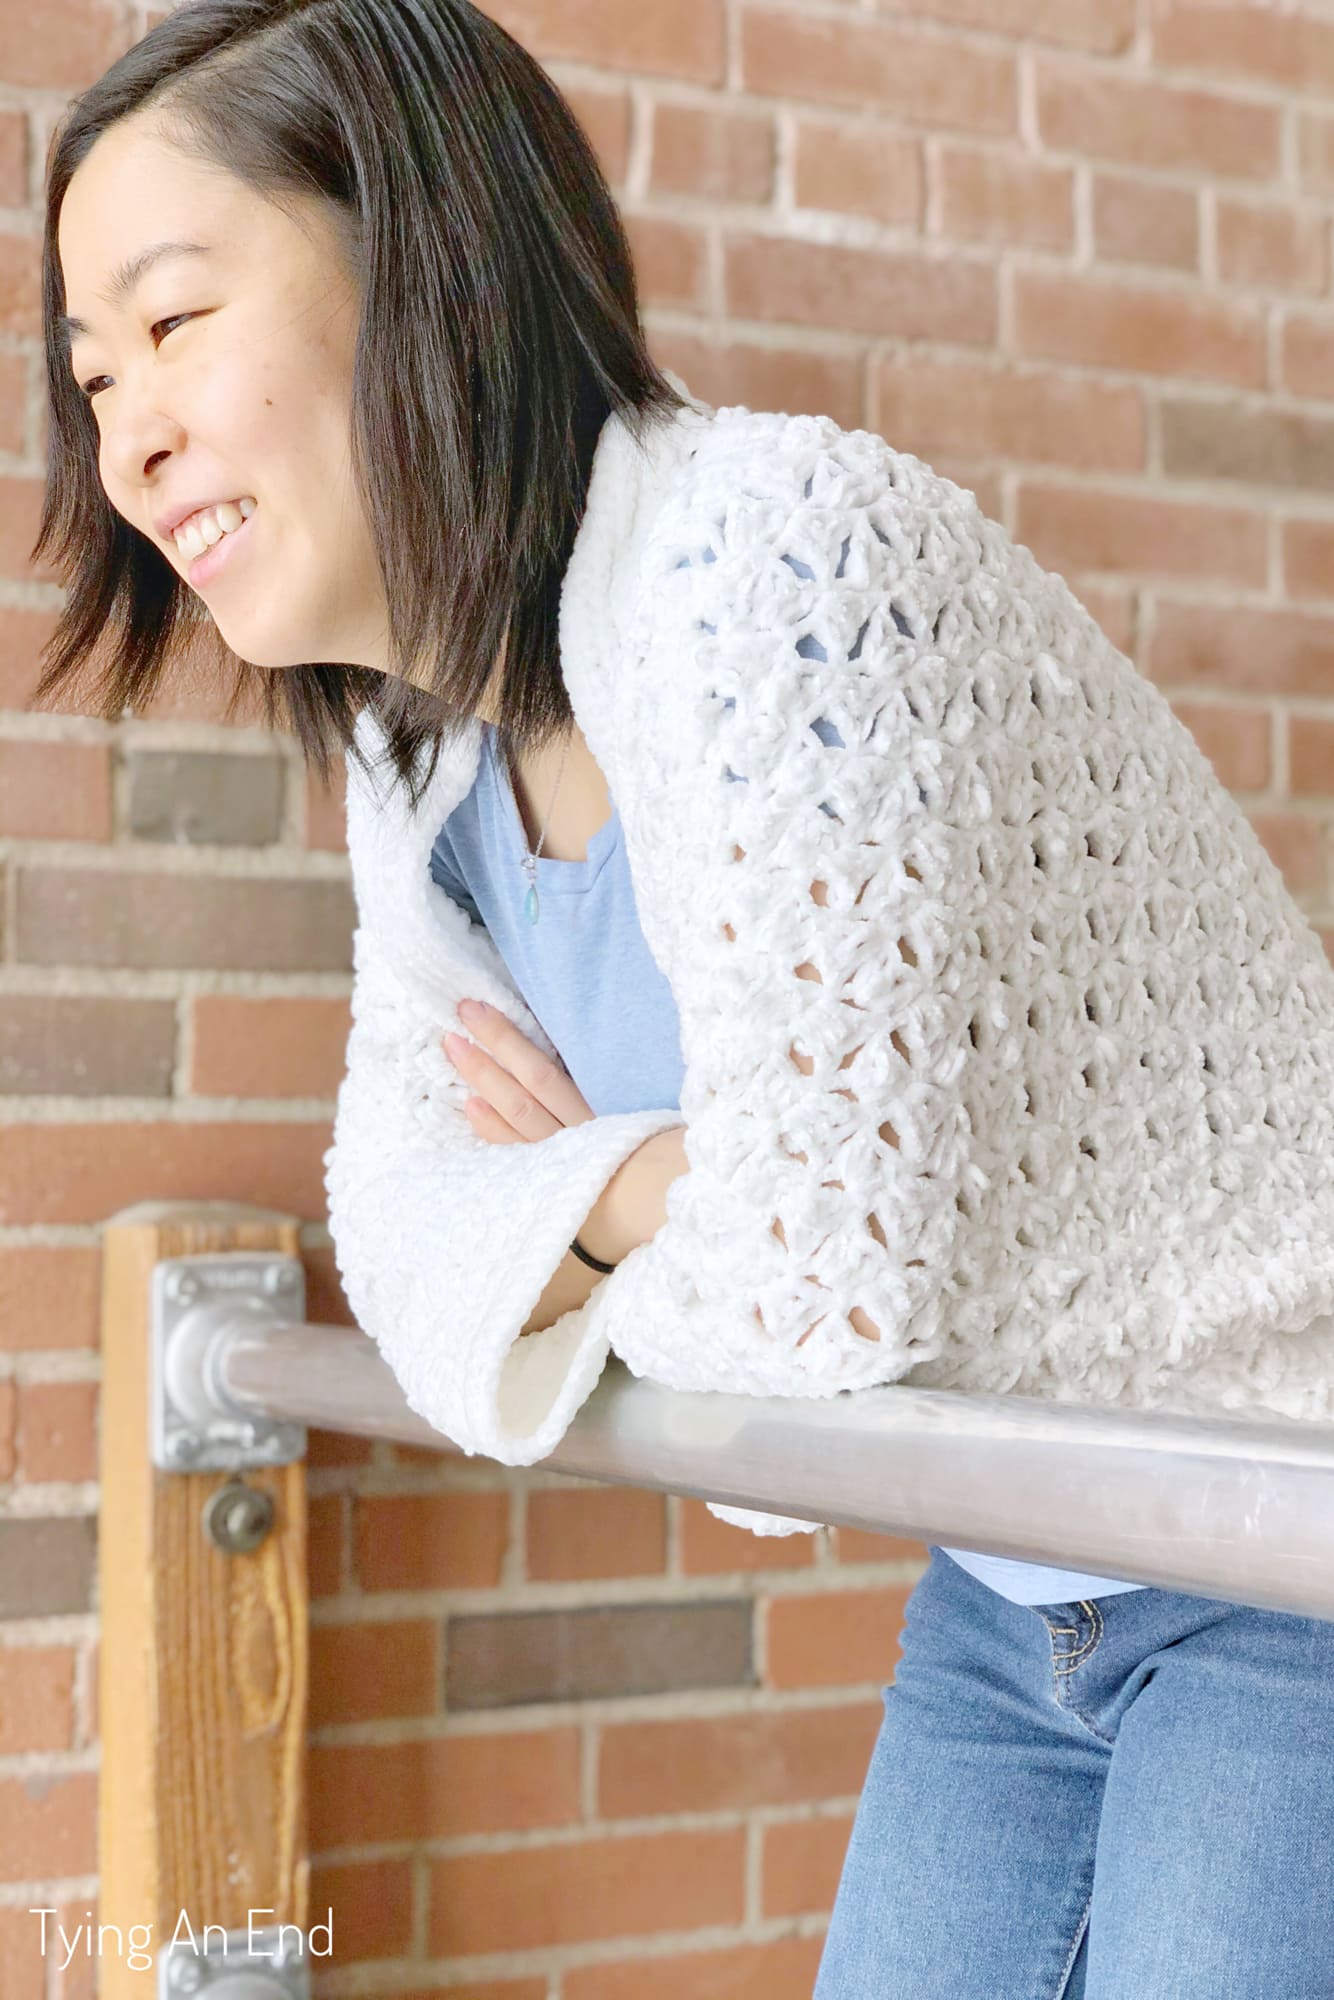
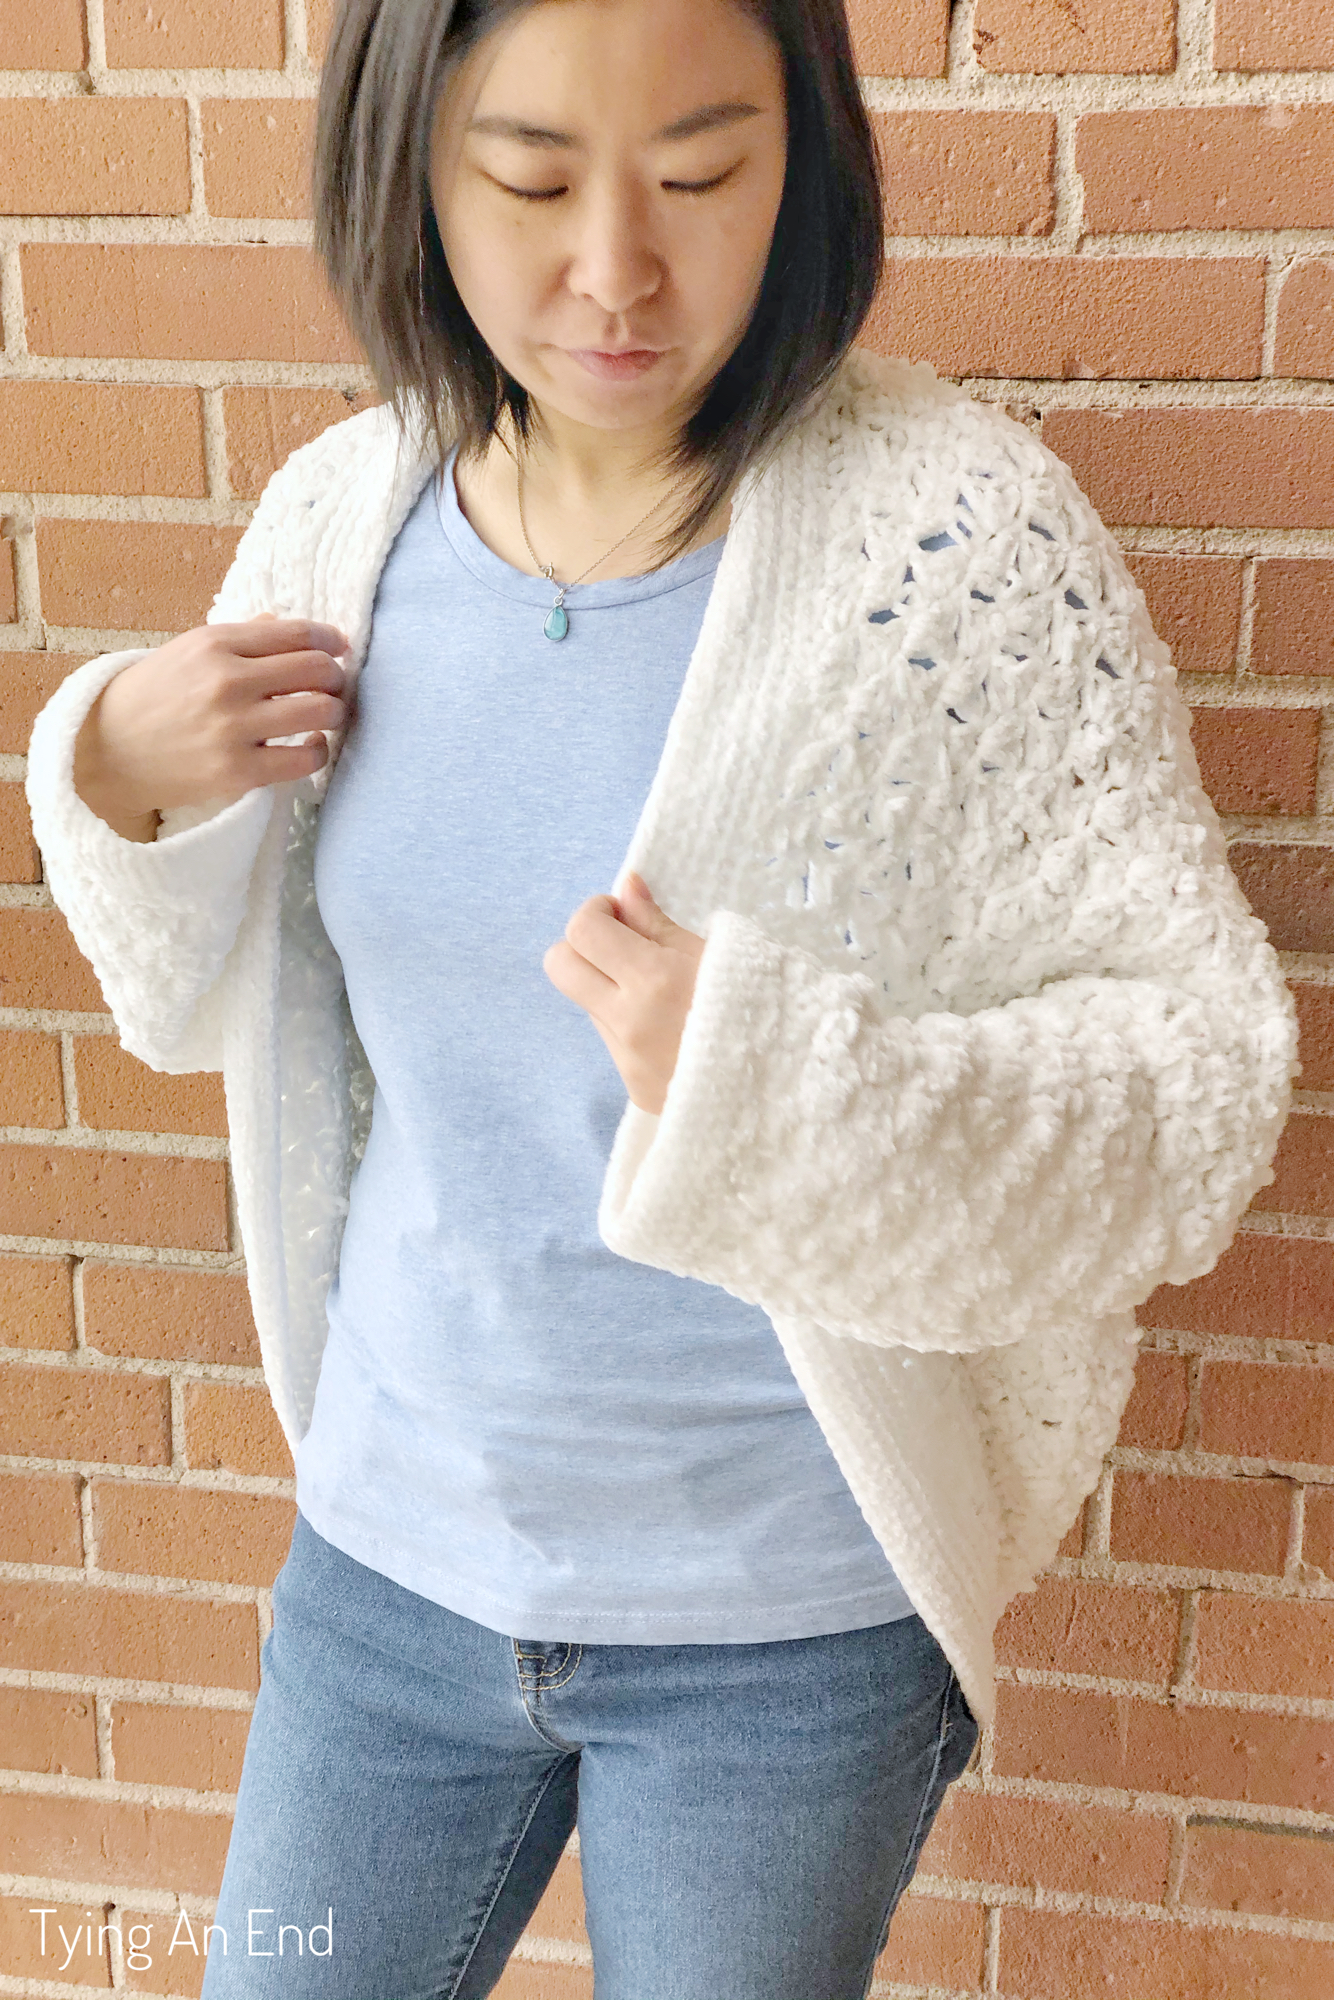
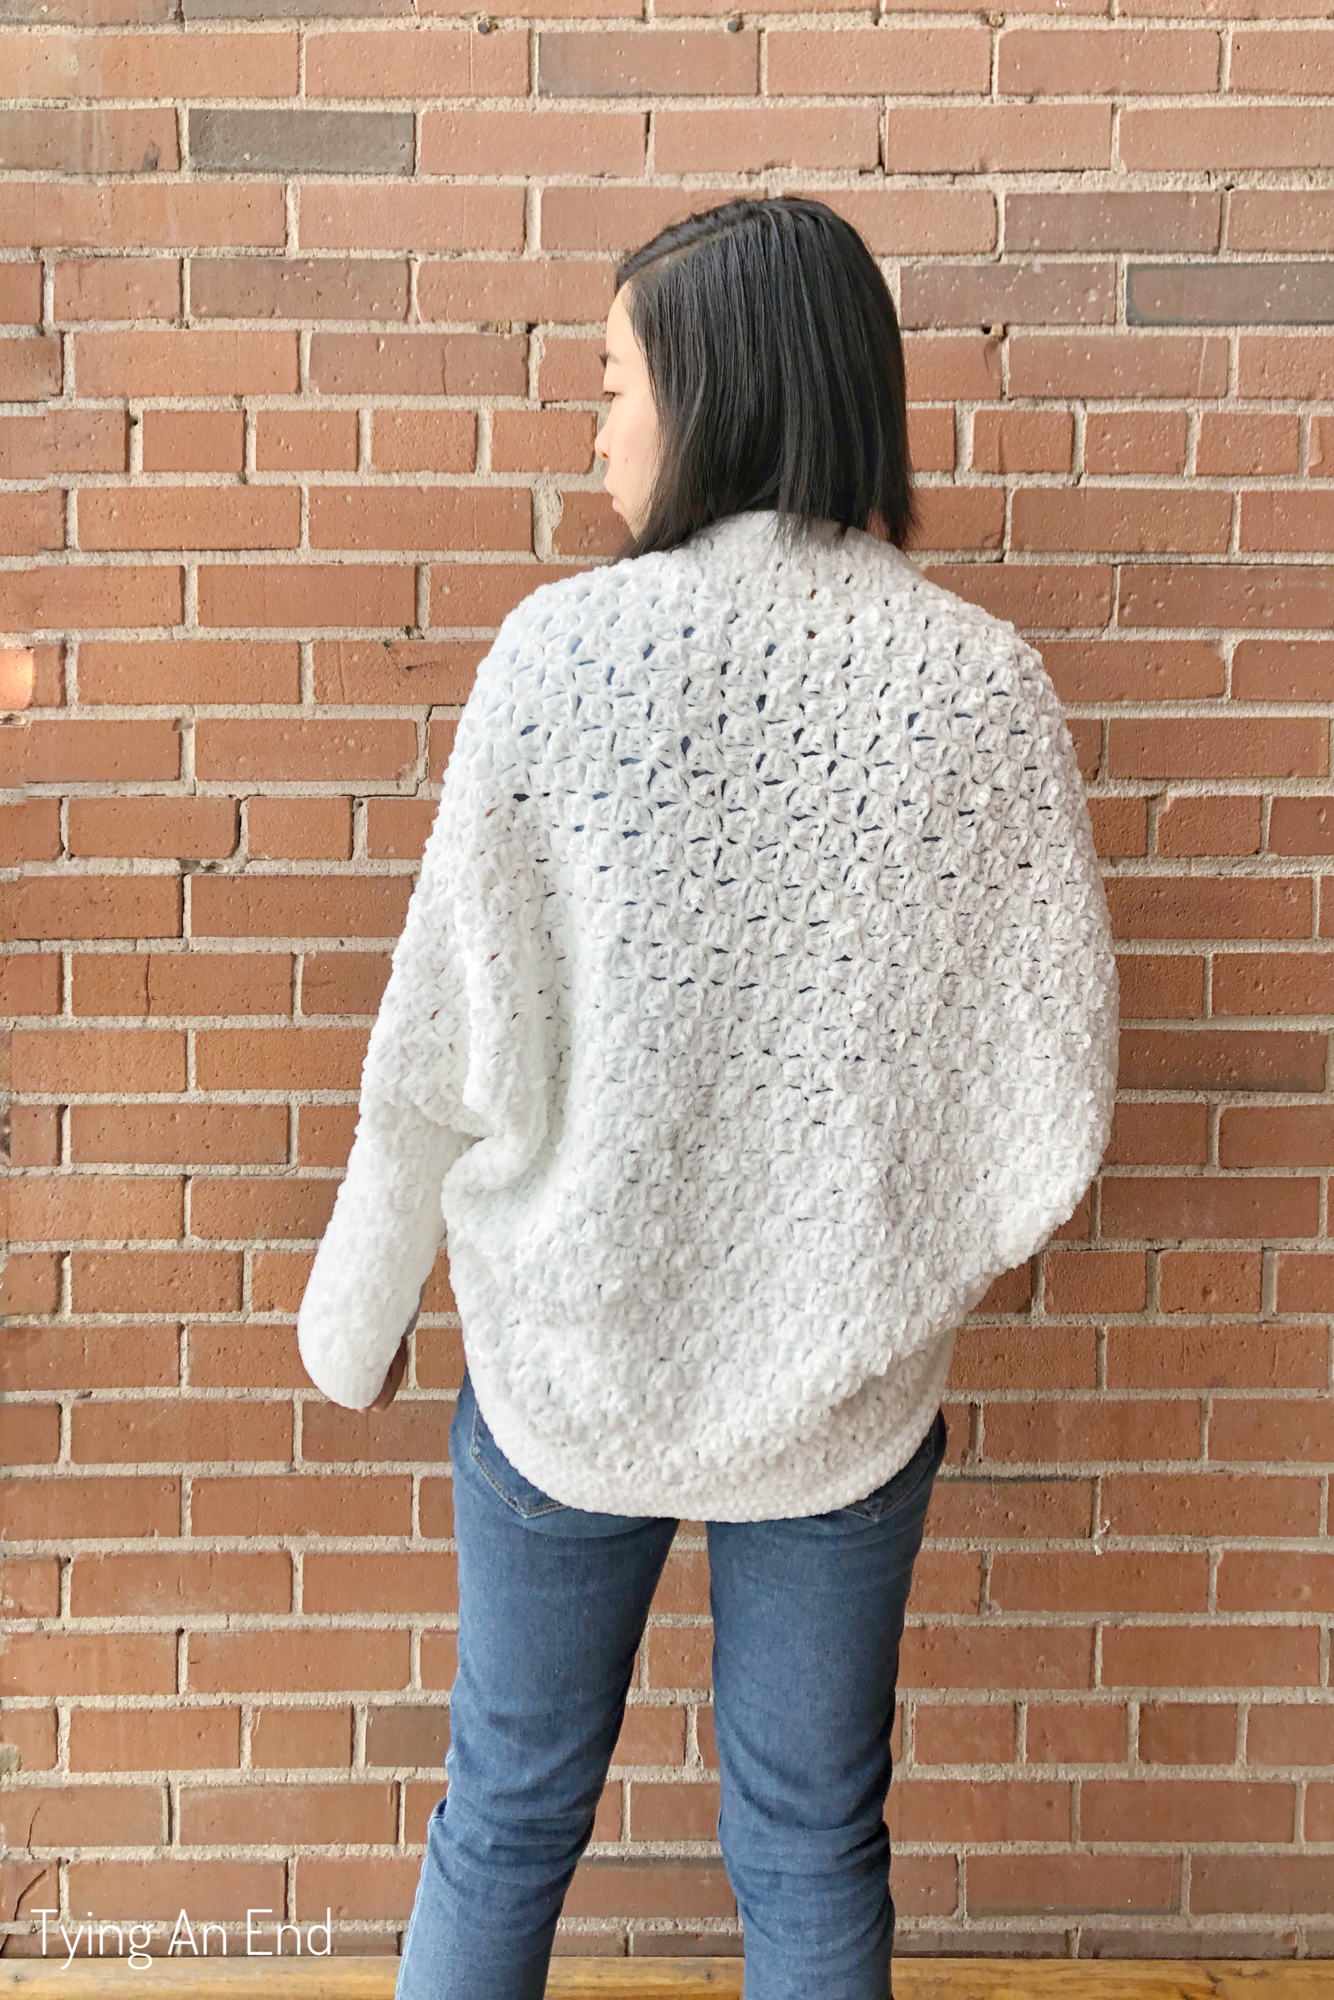
The Look
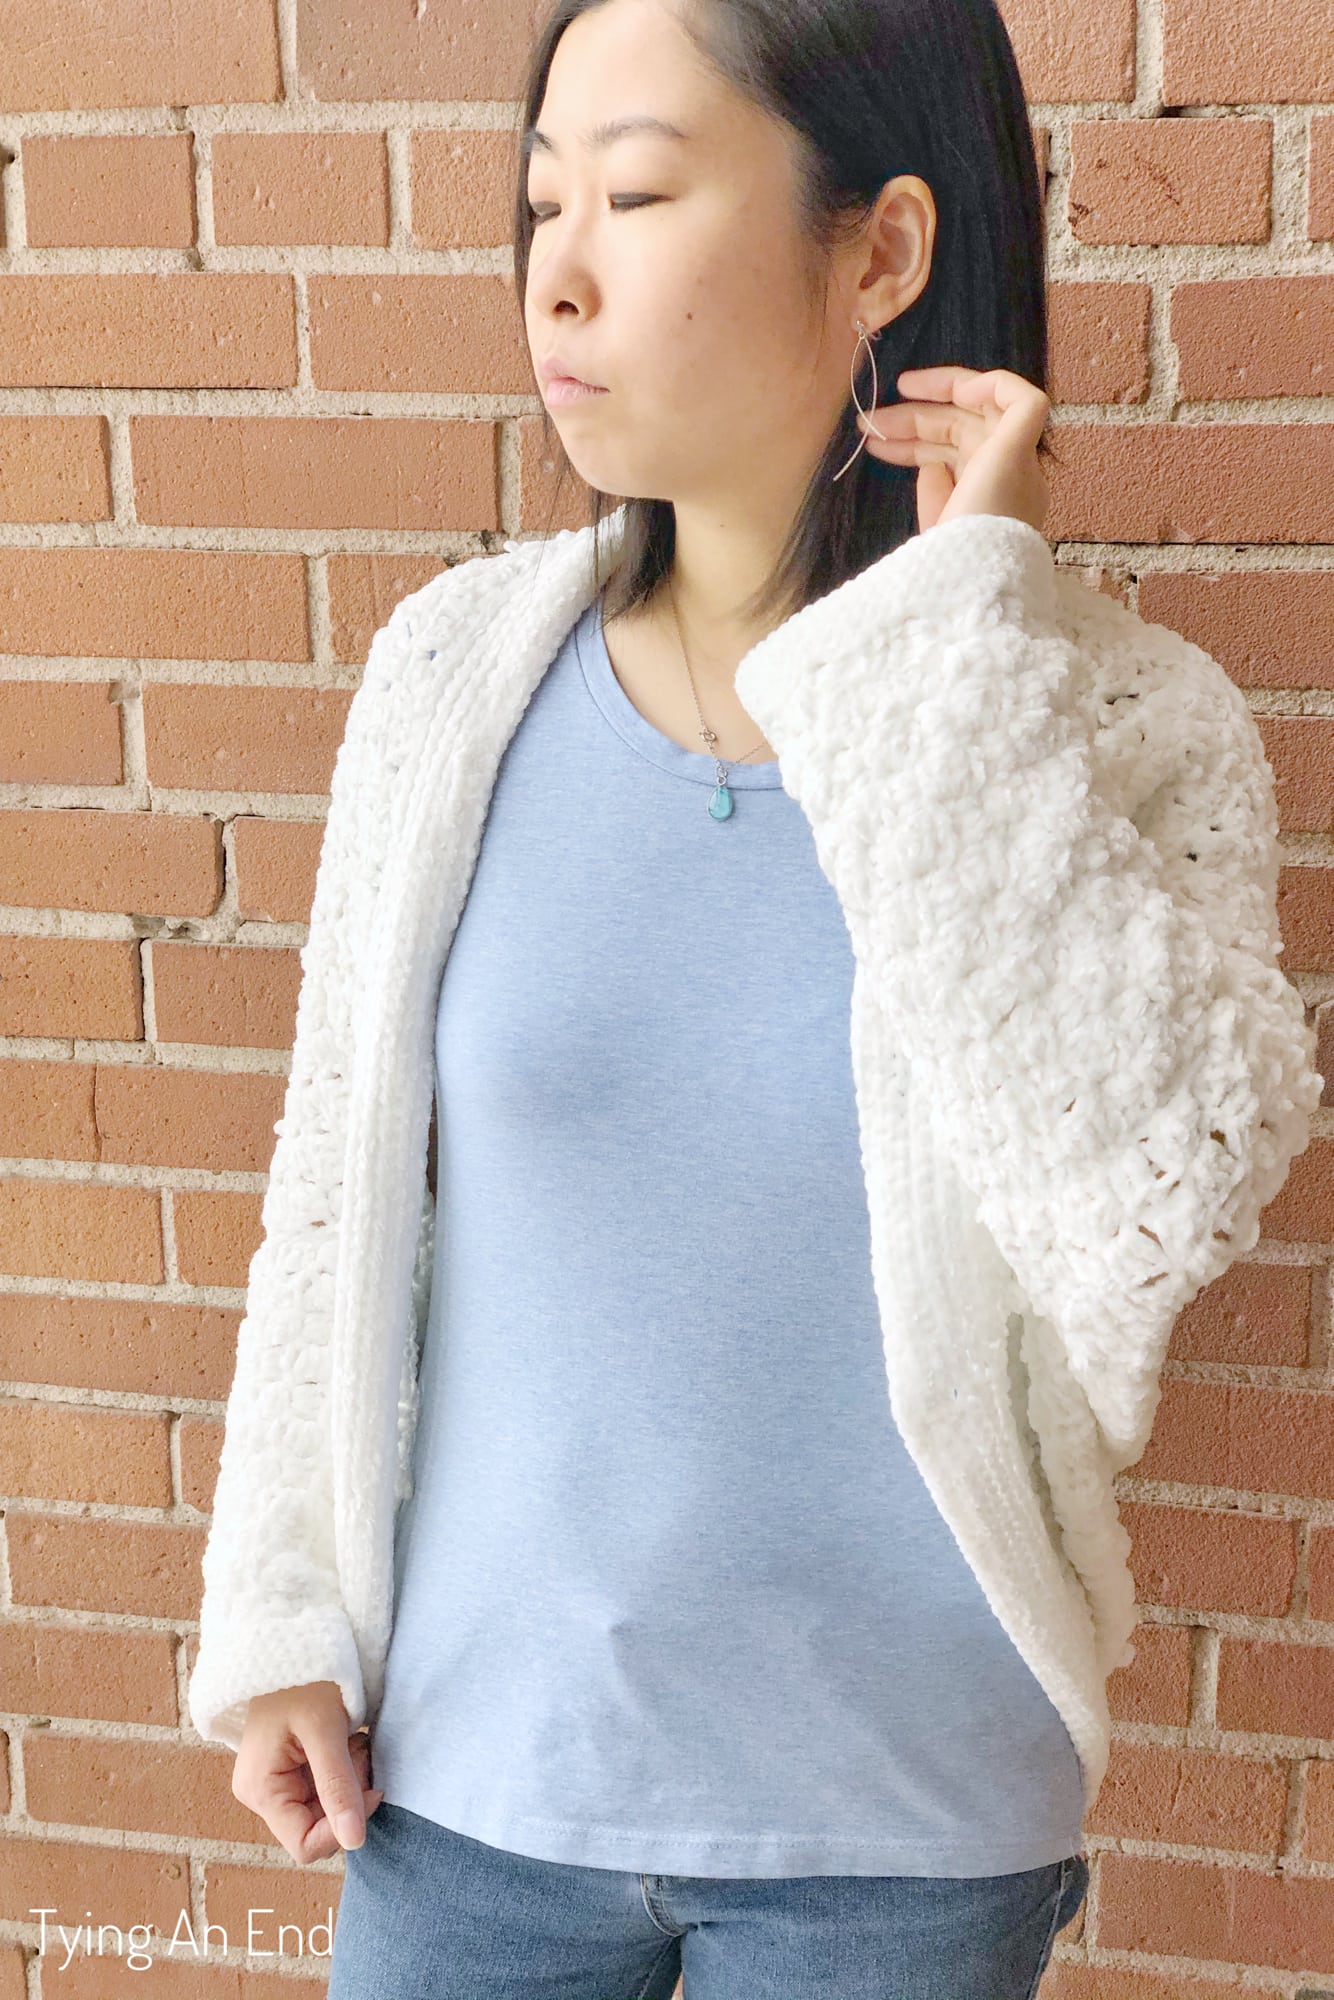
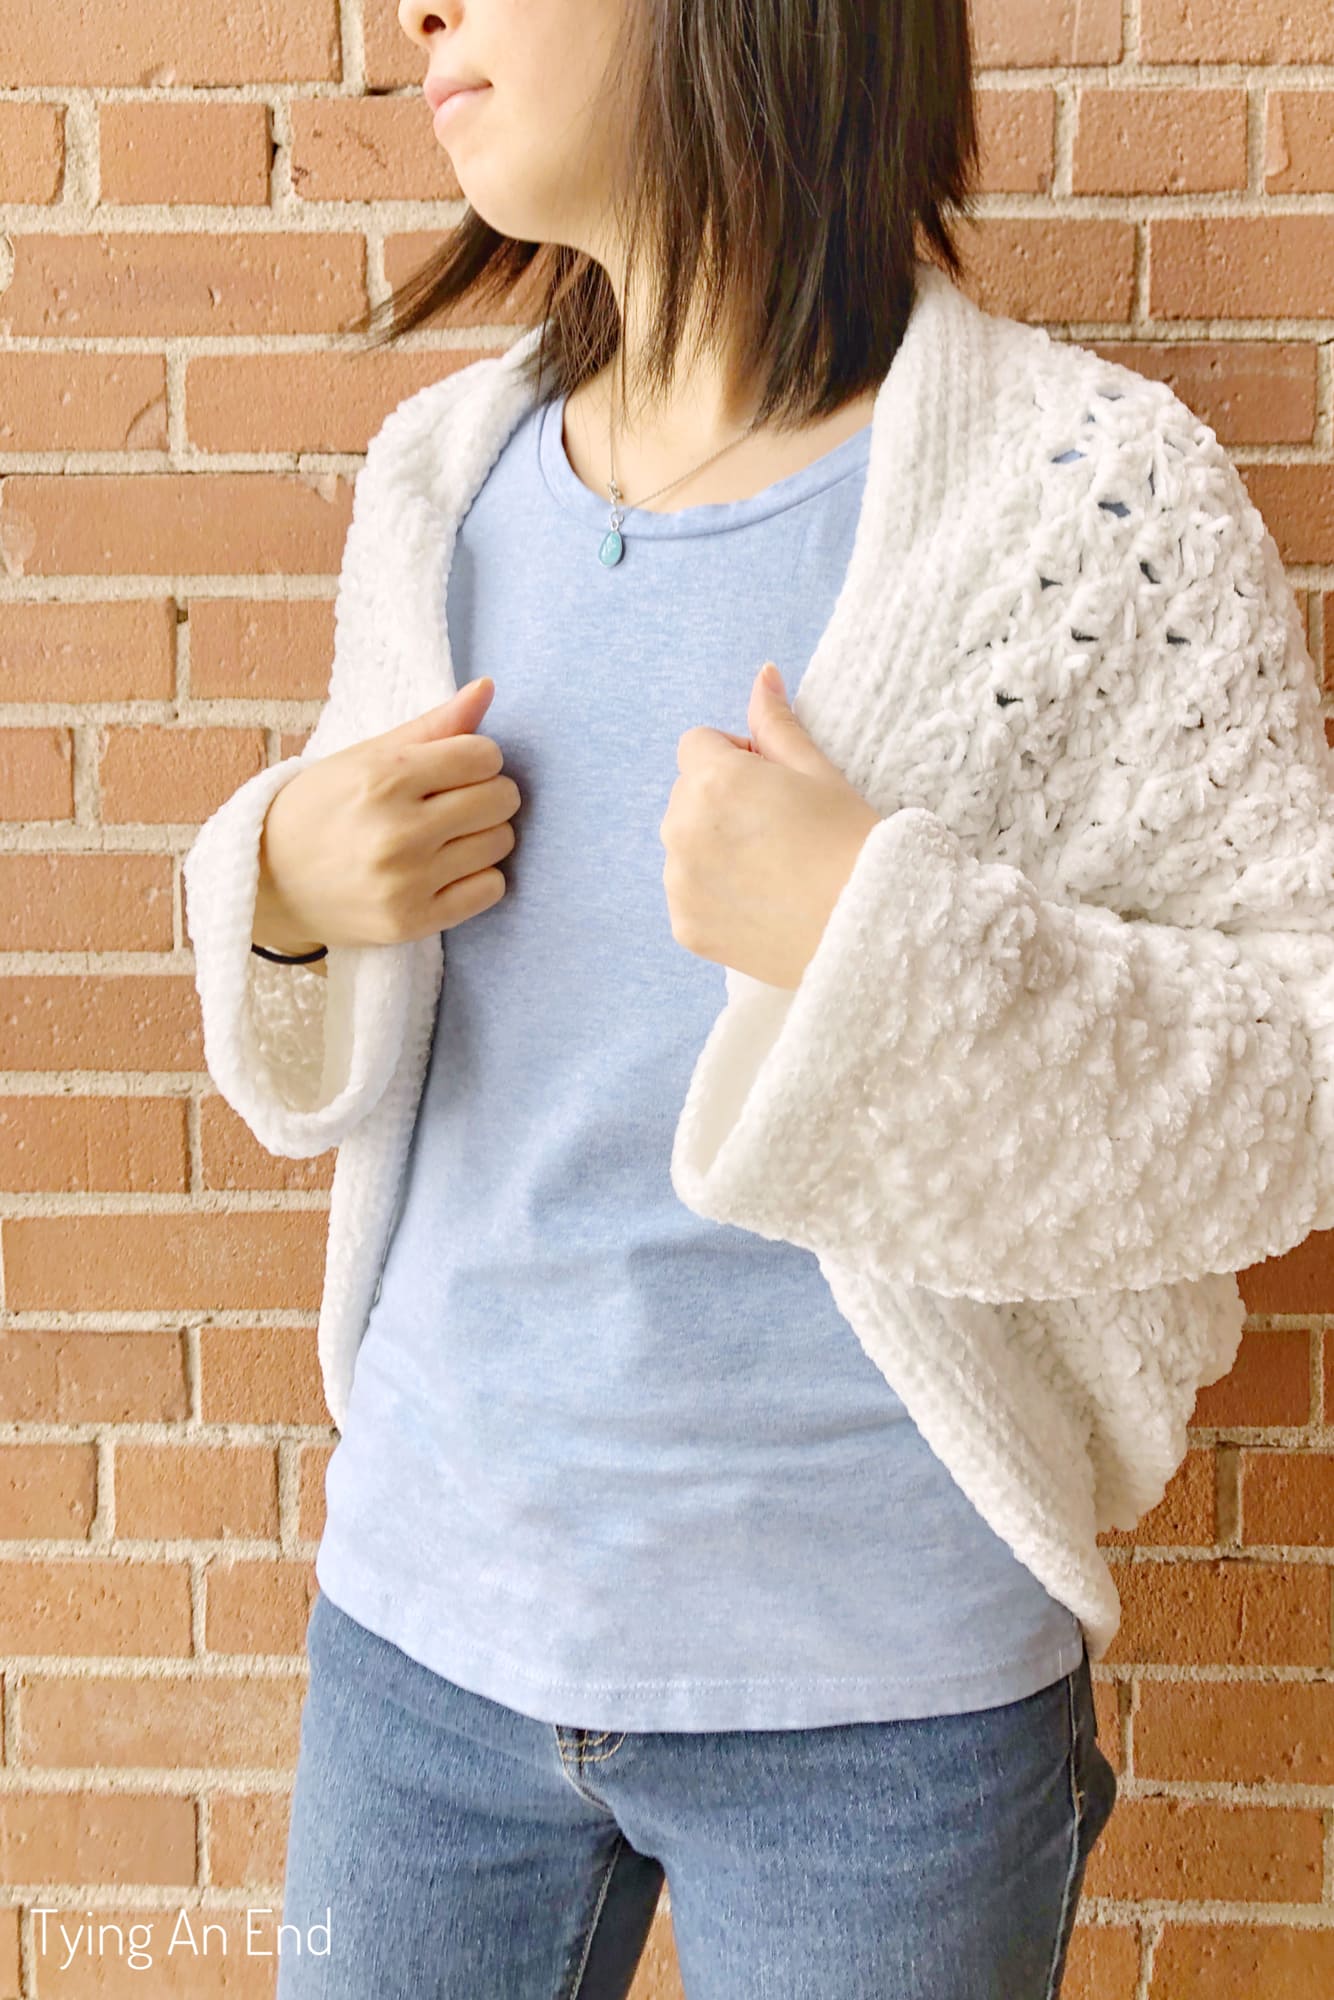
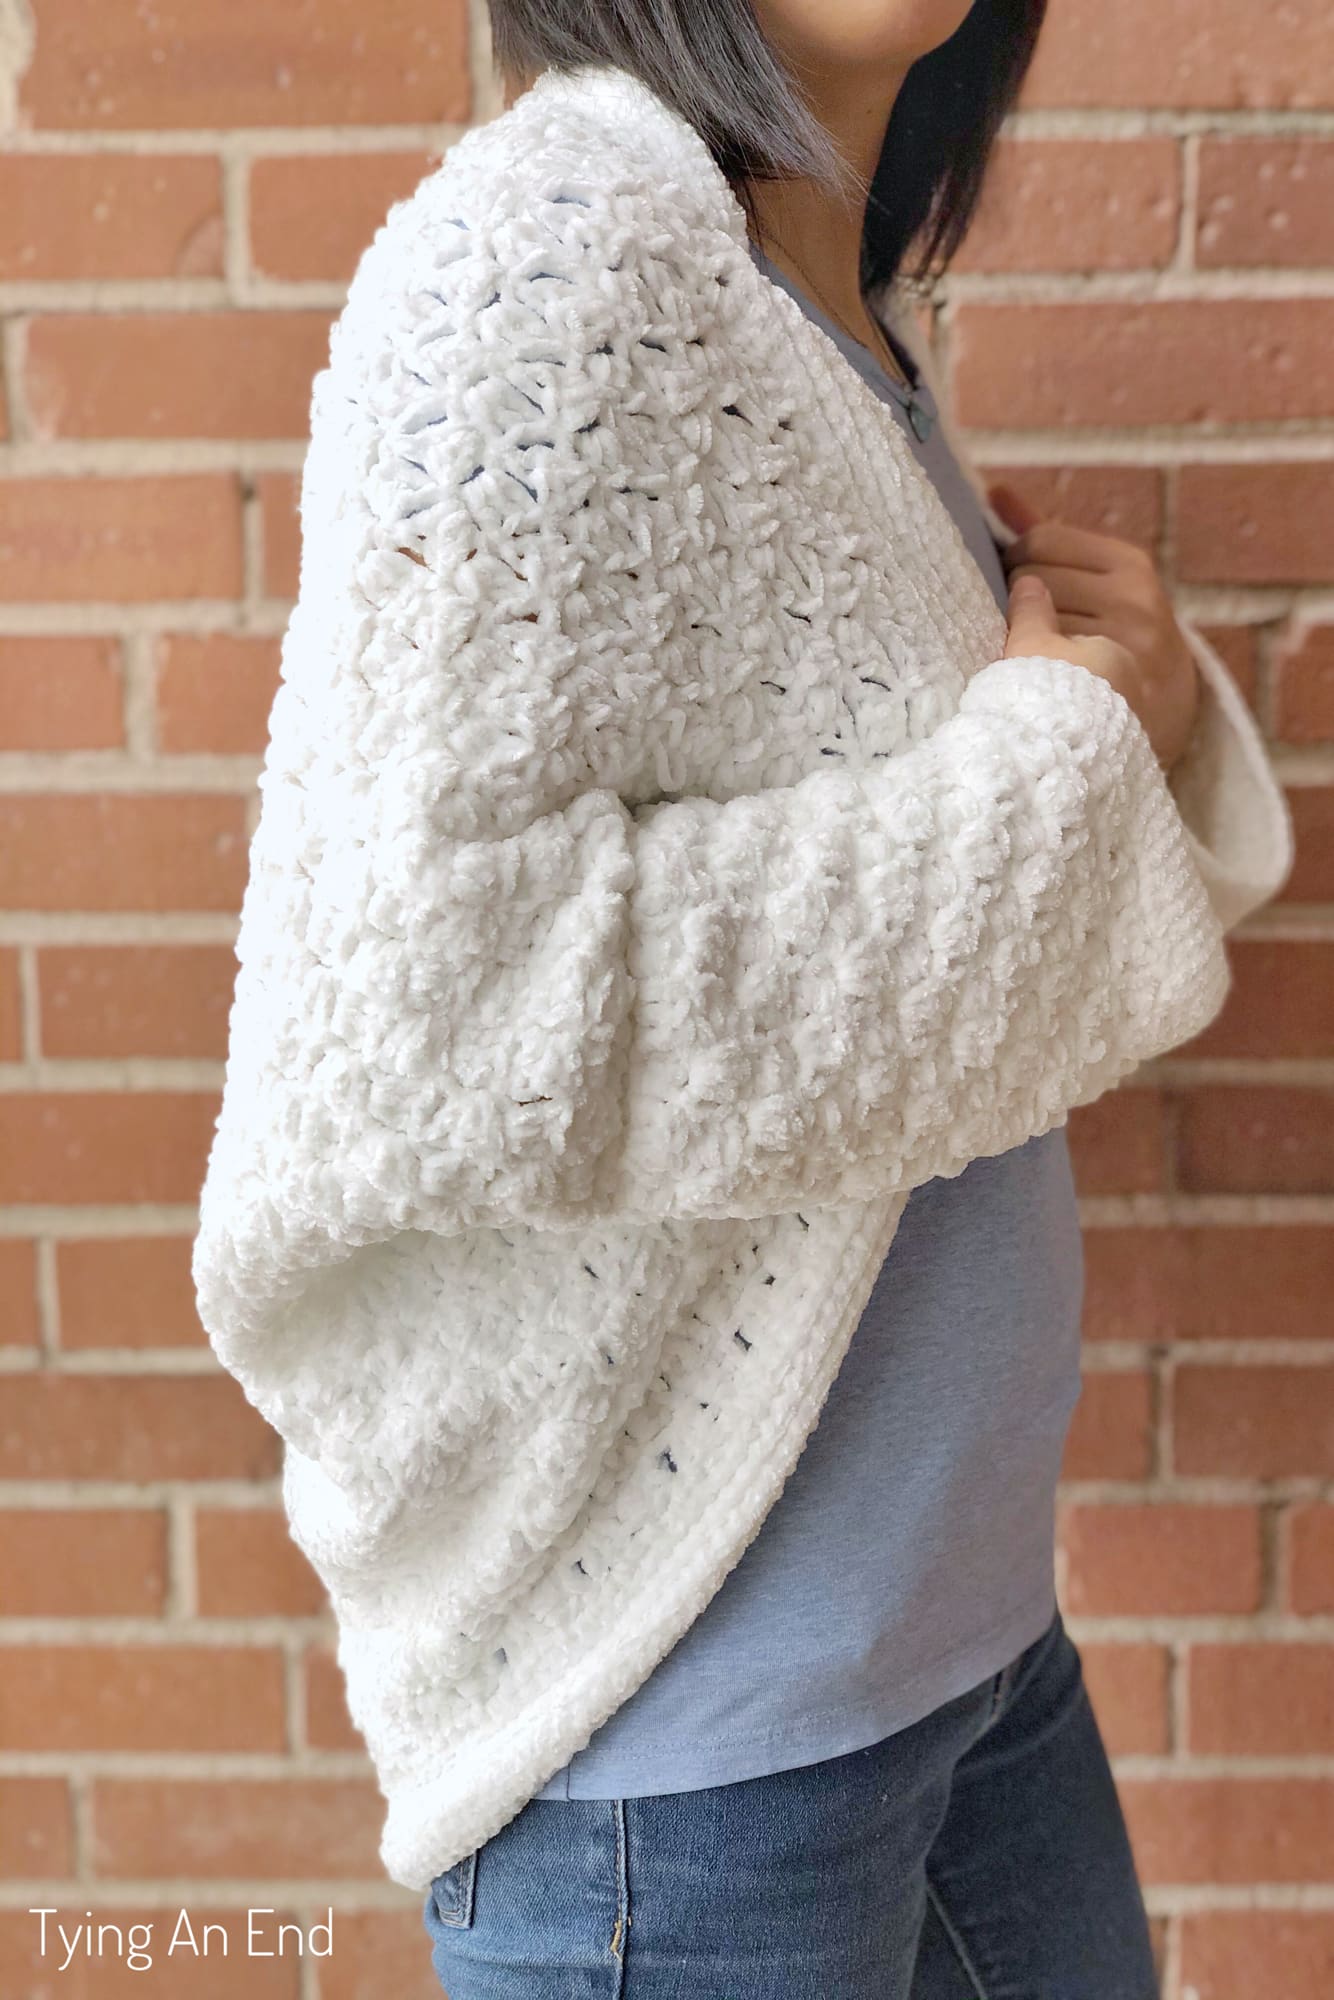
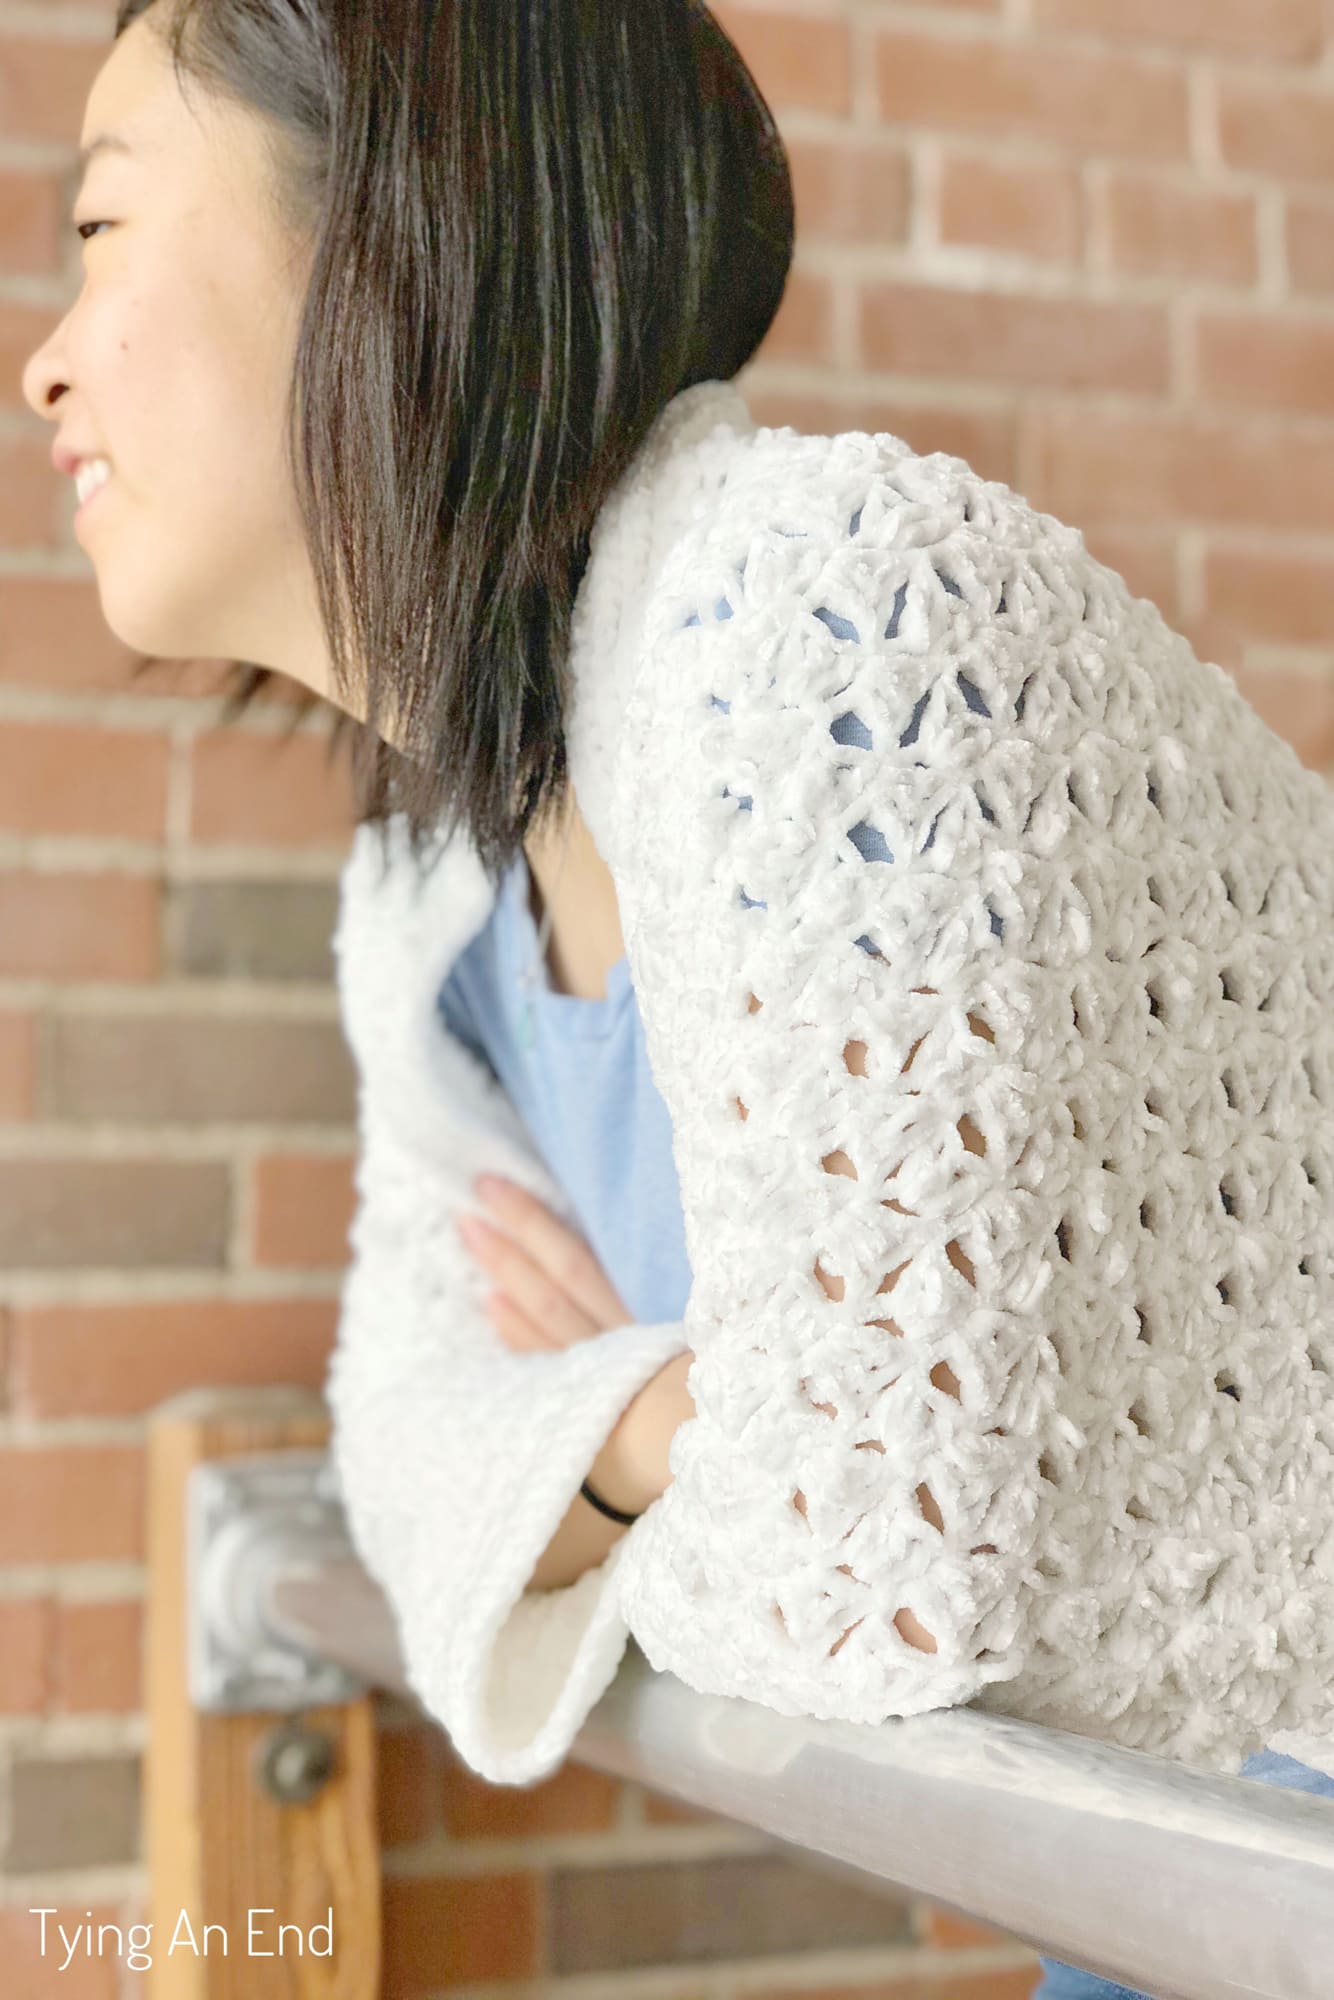
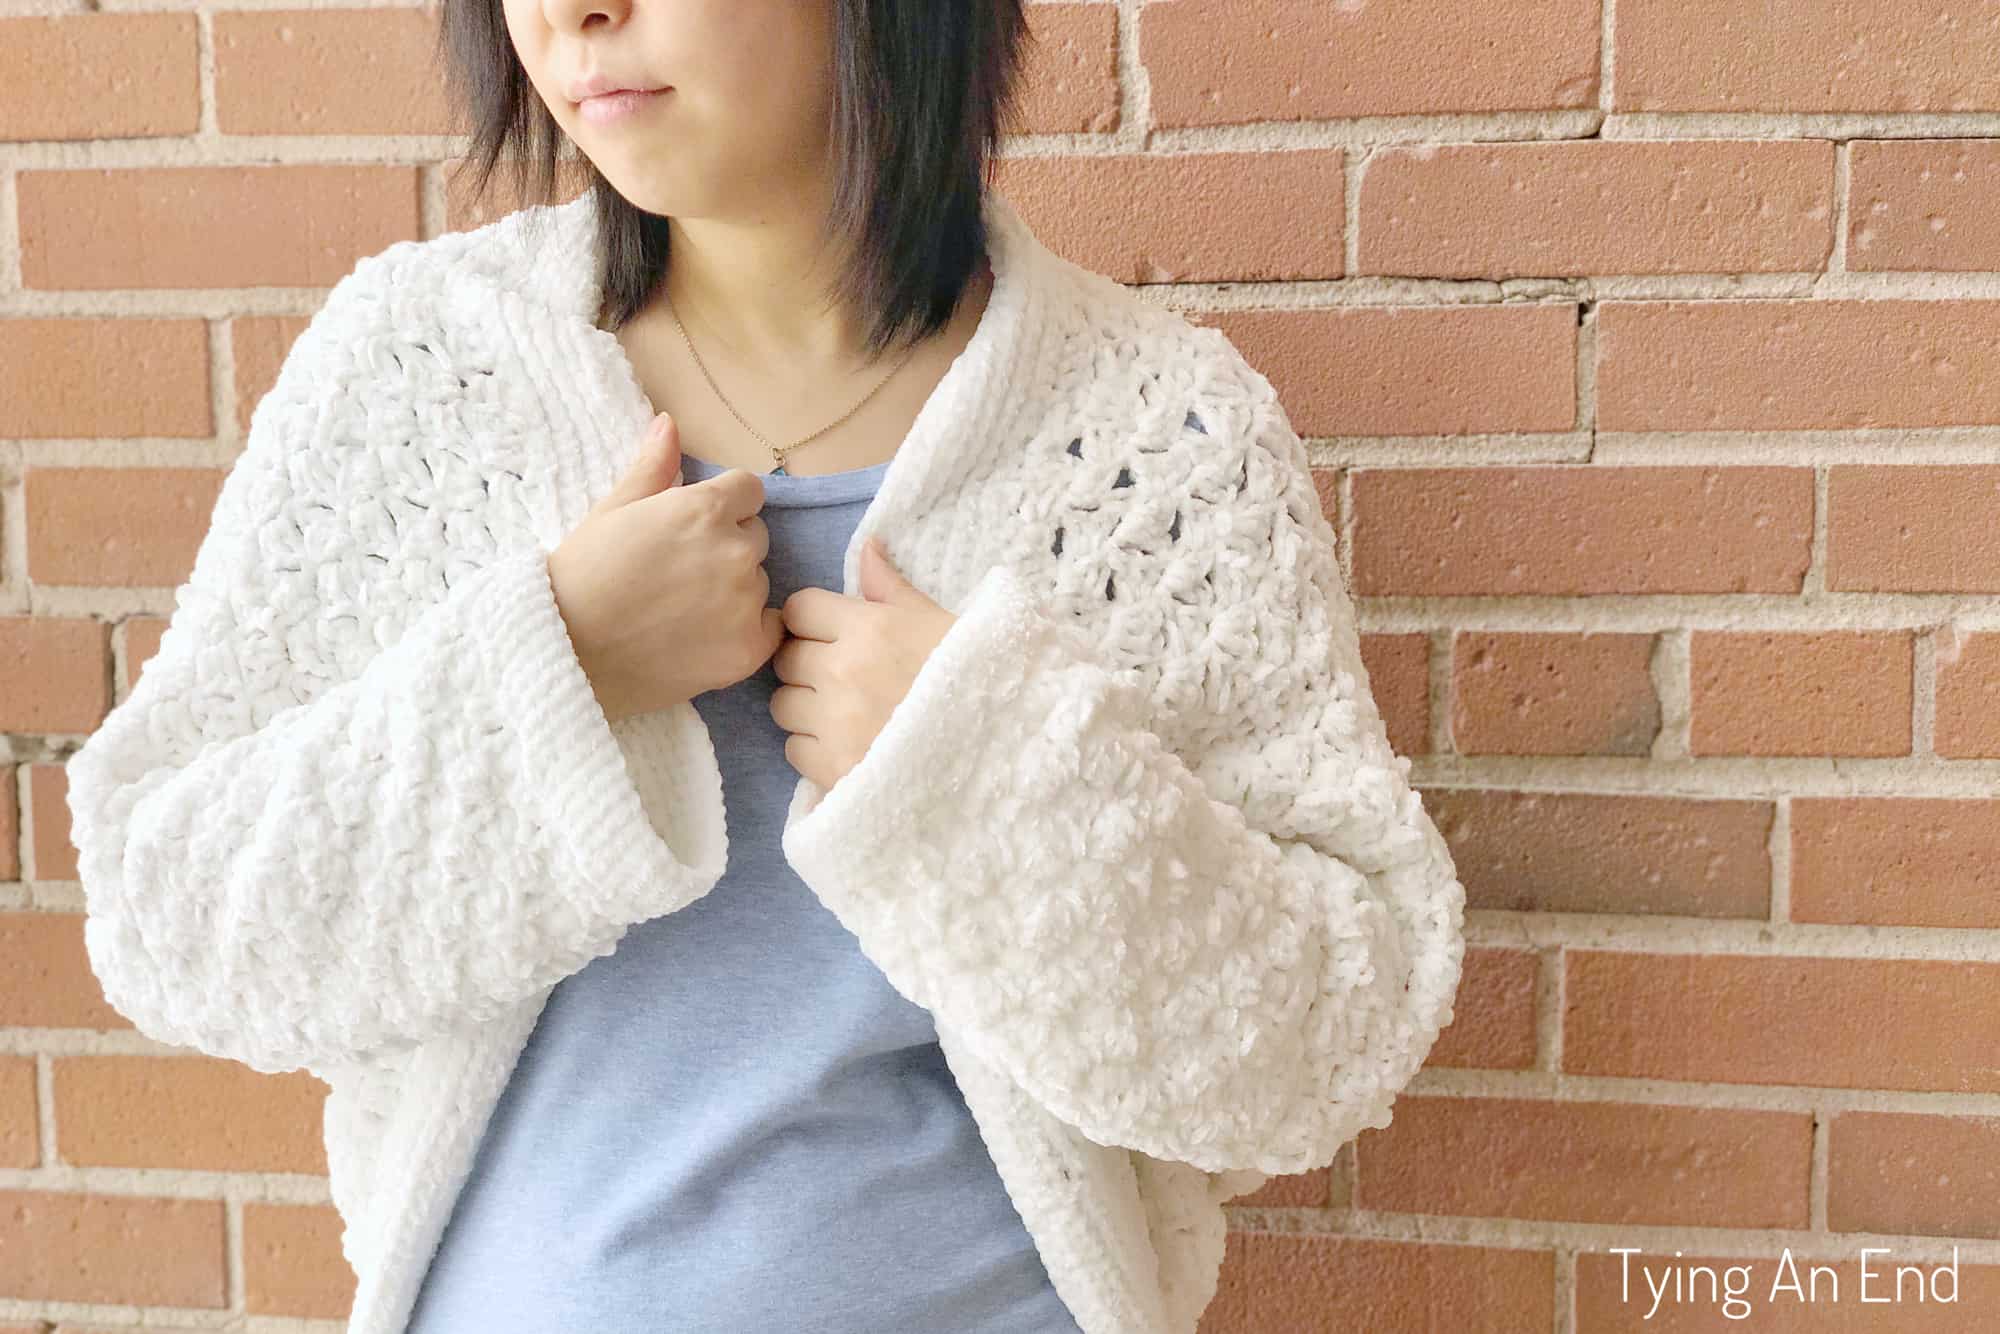
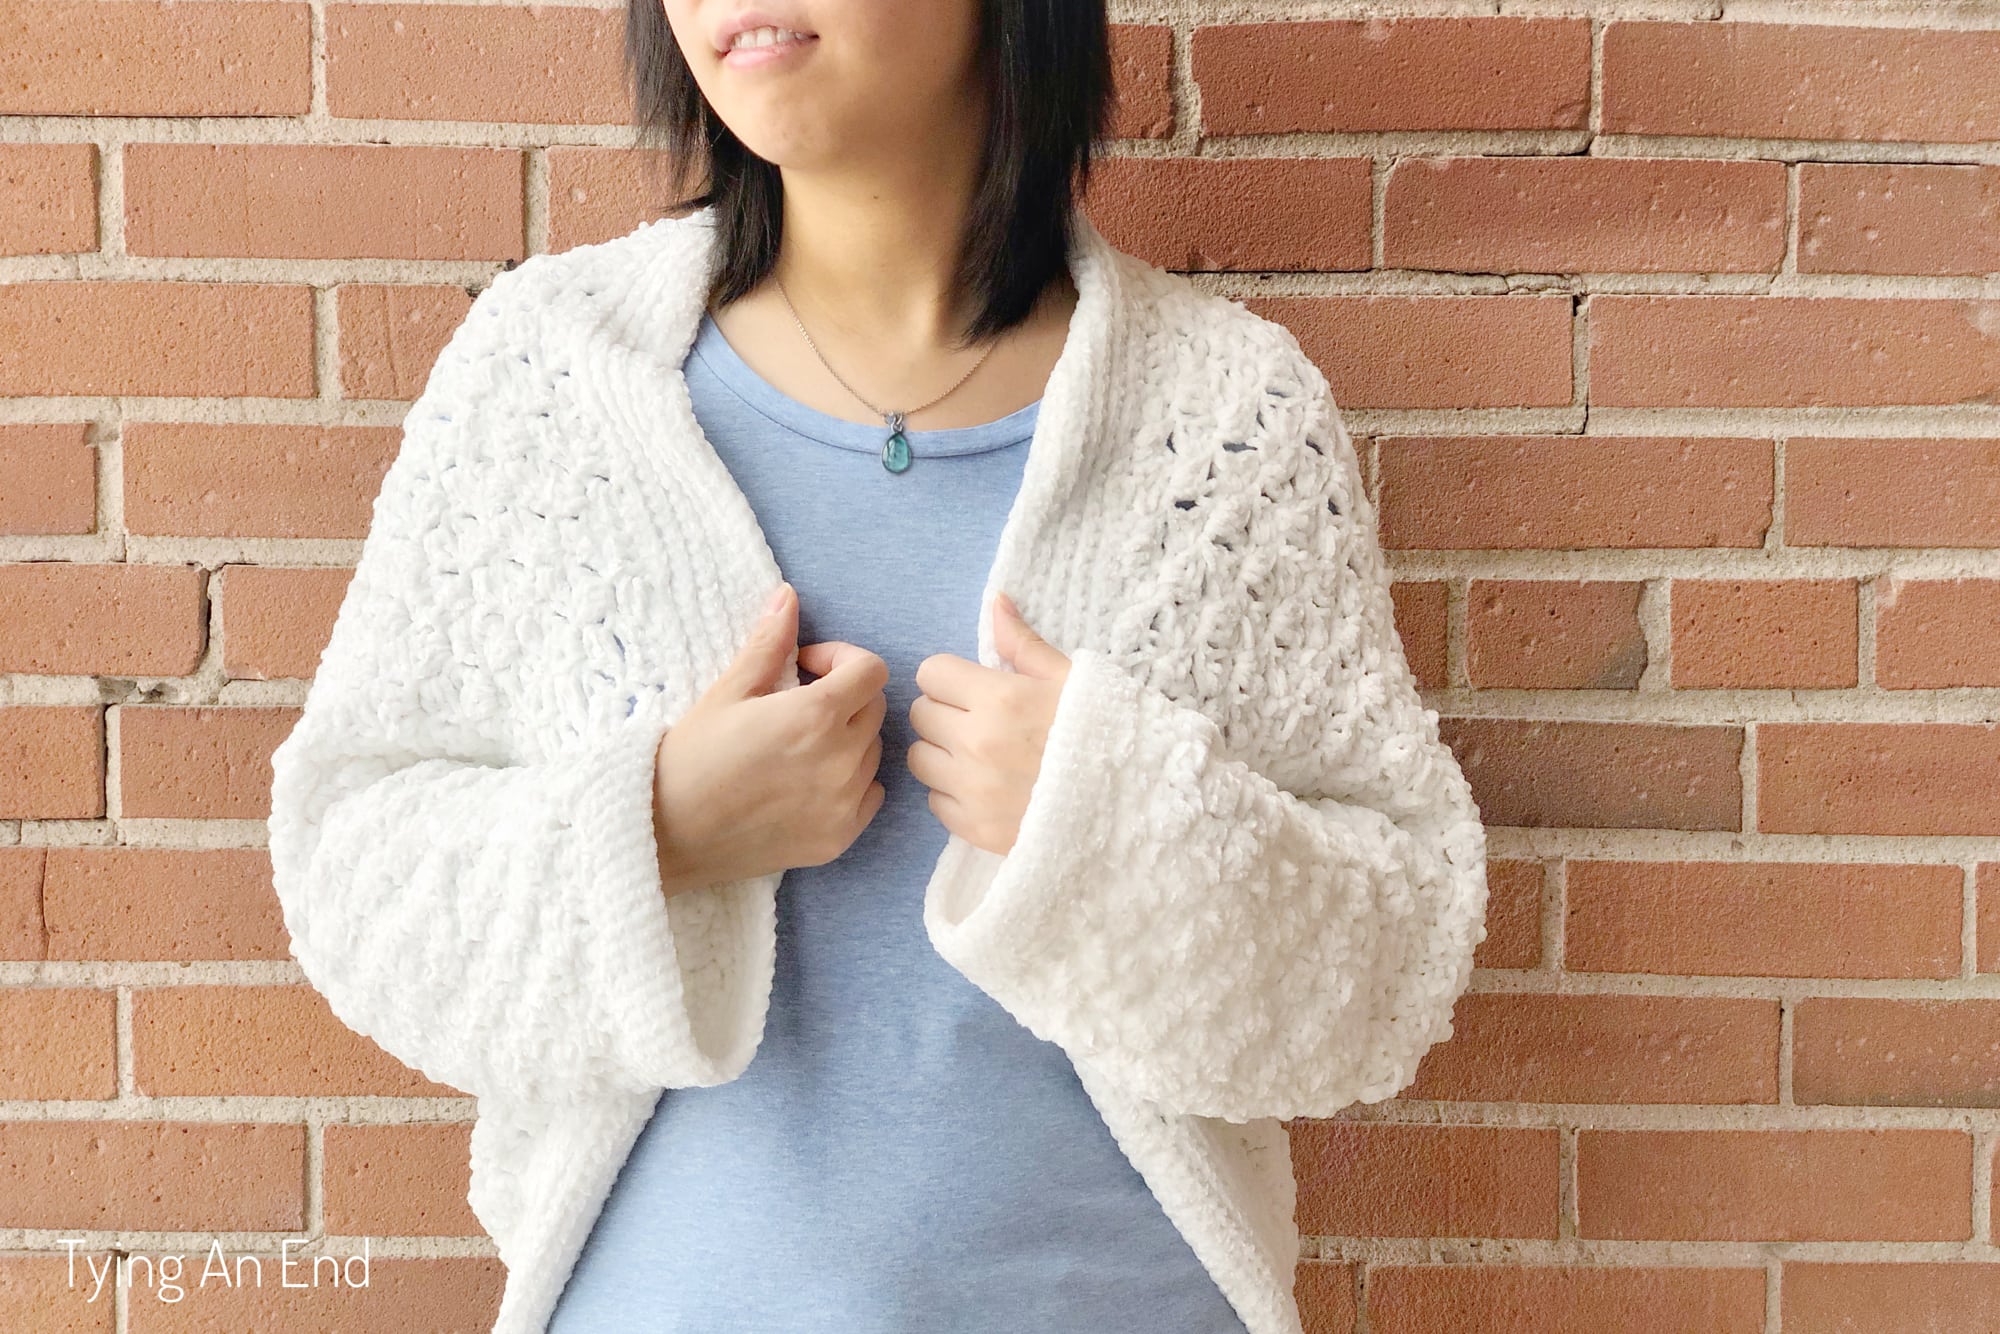
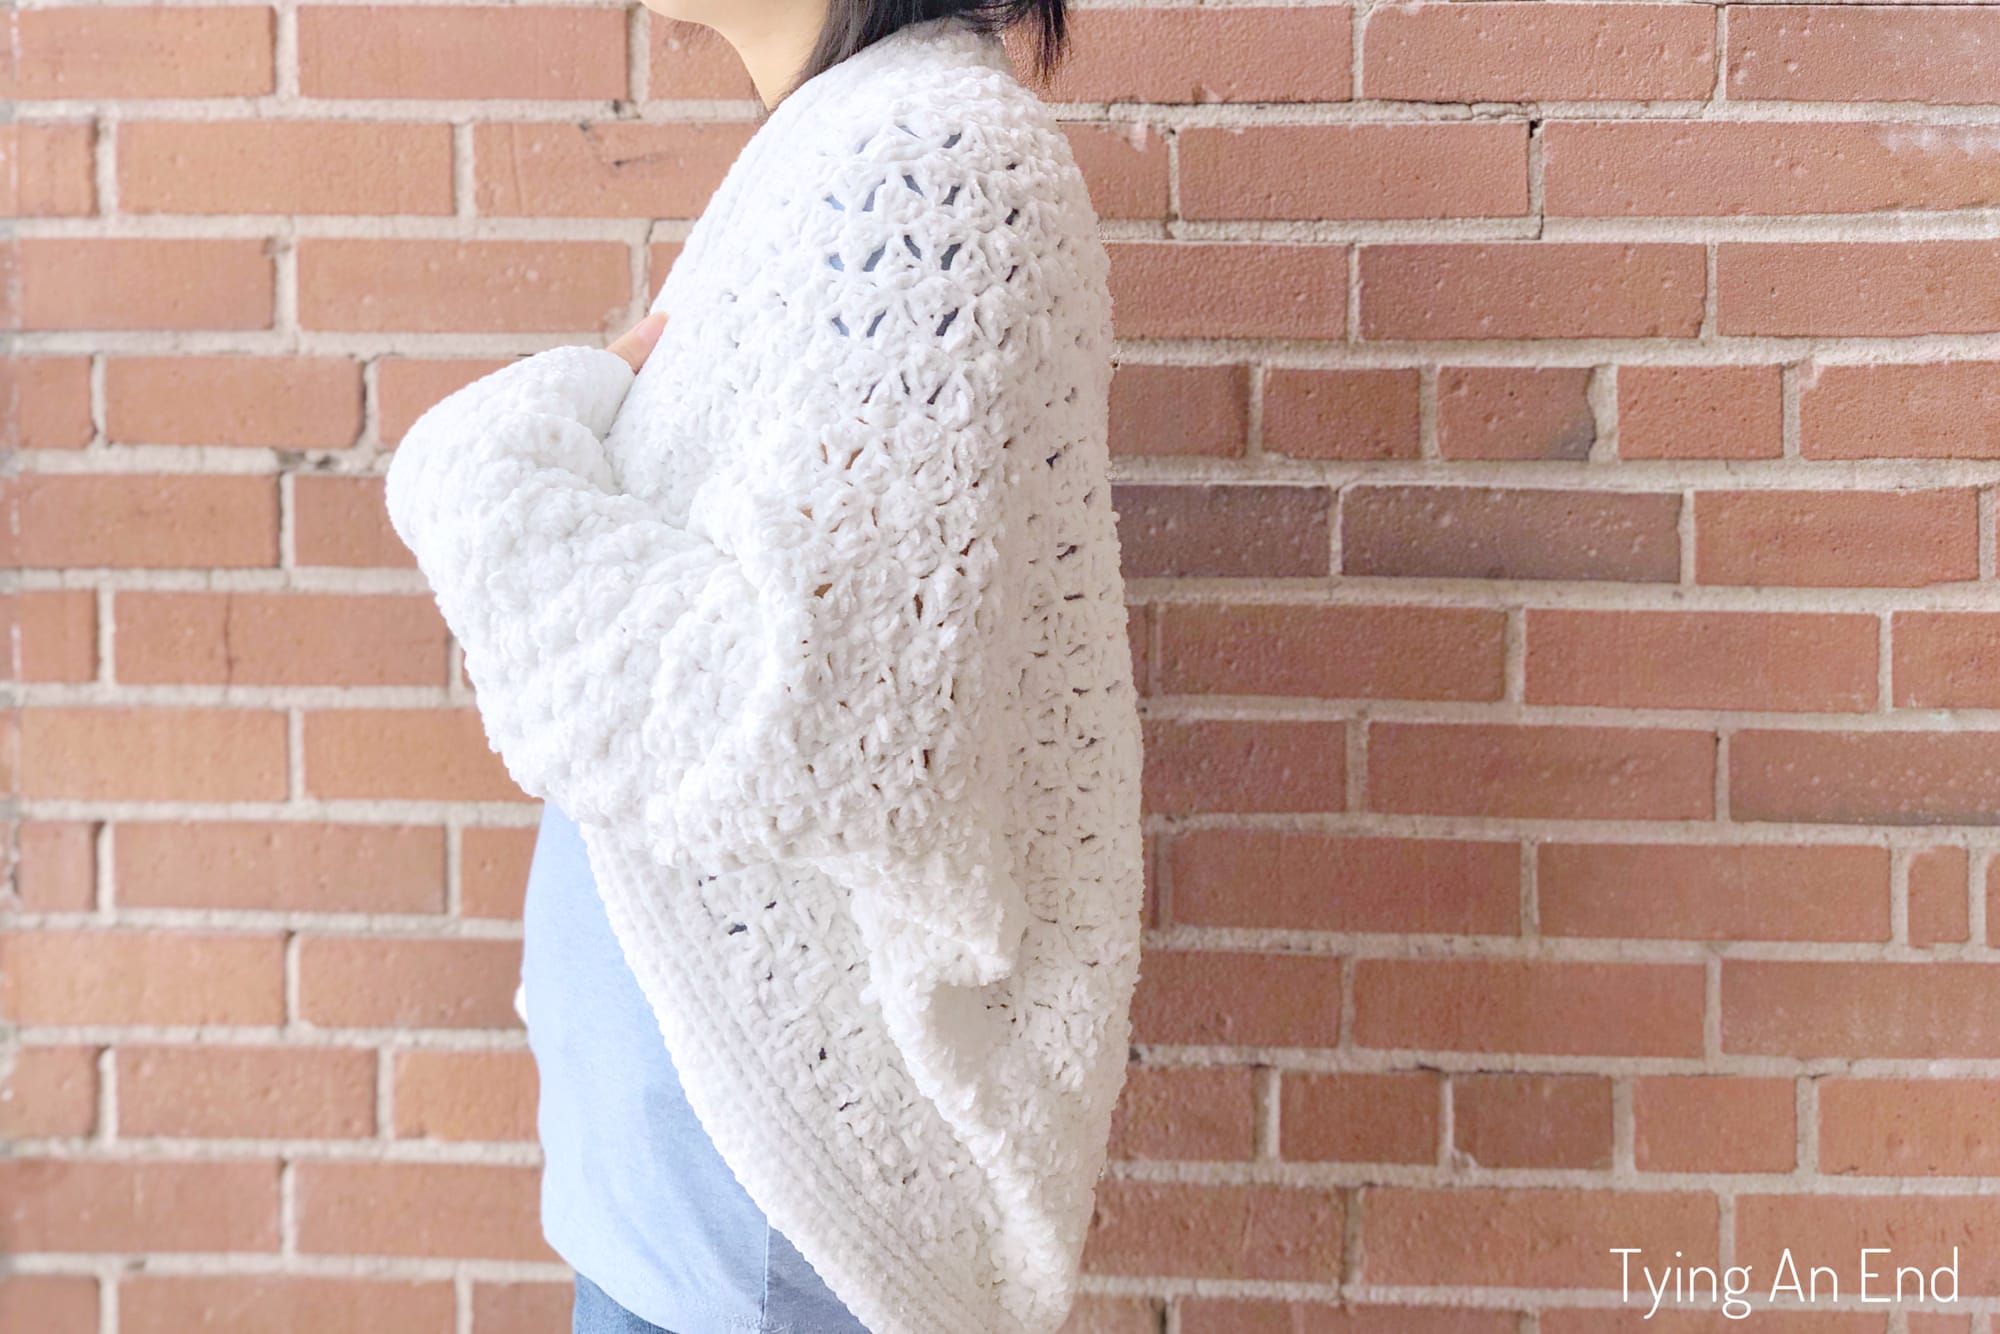
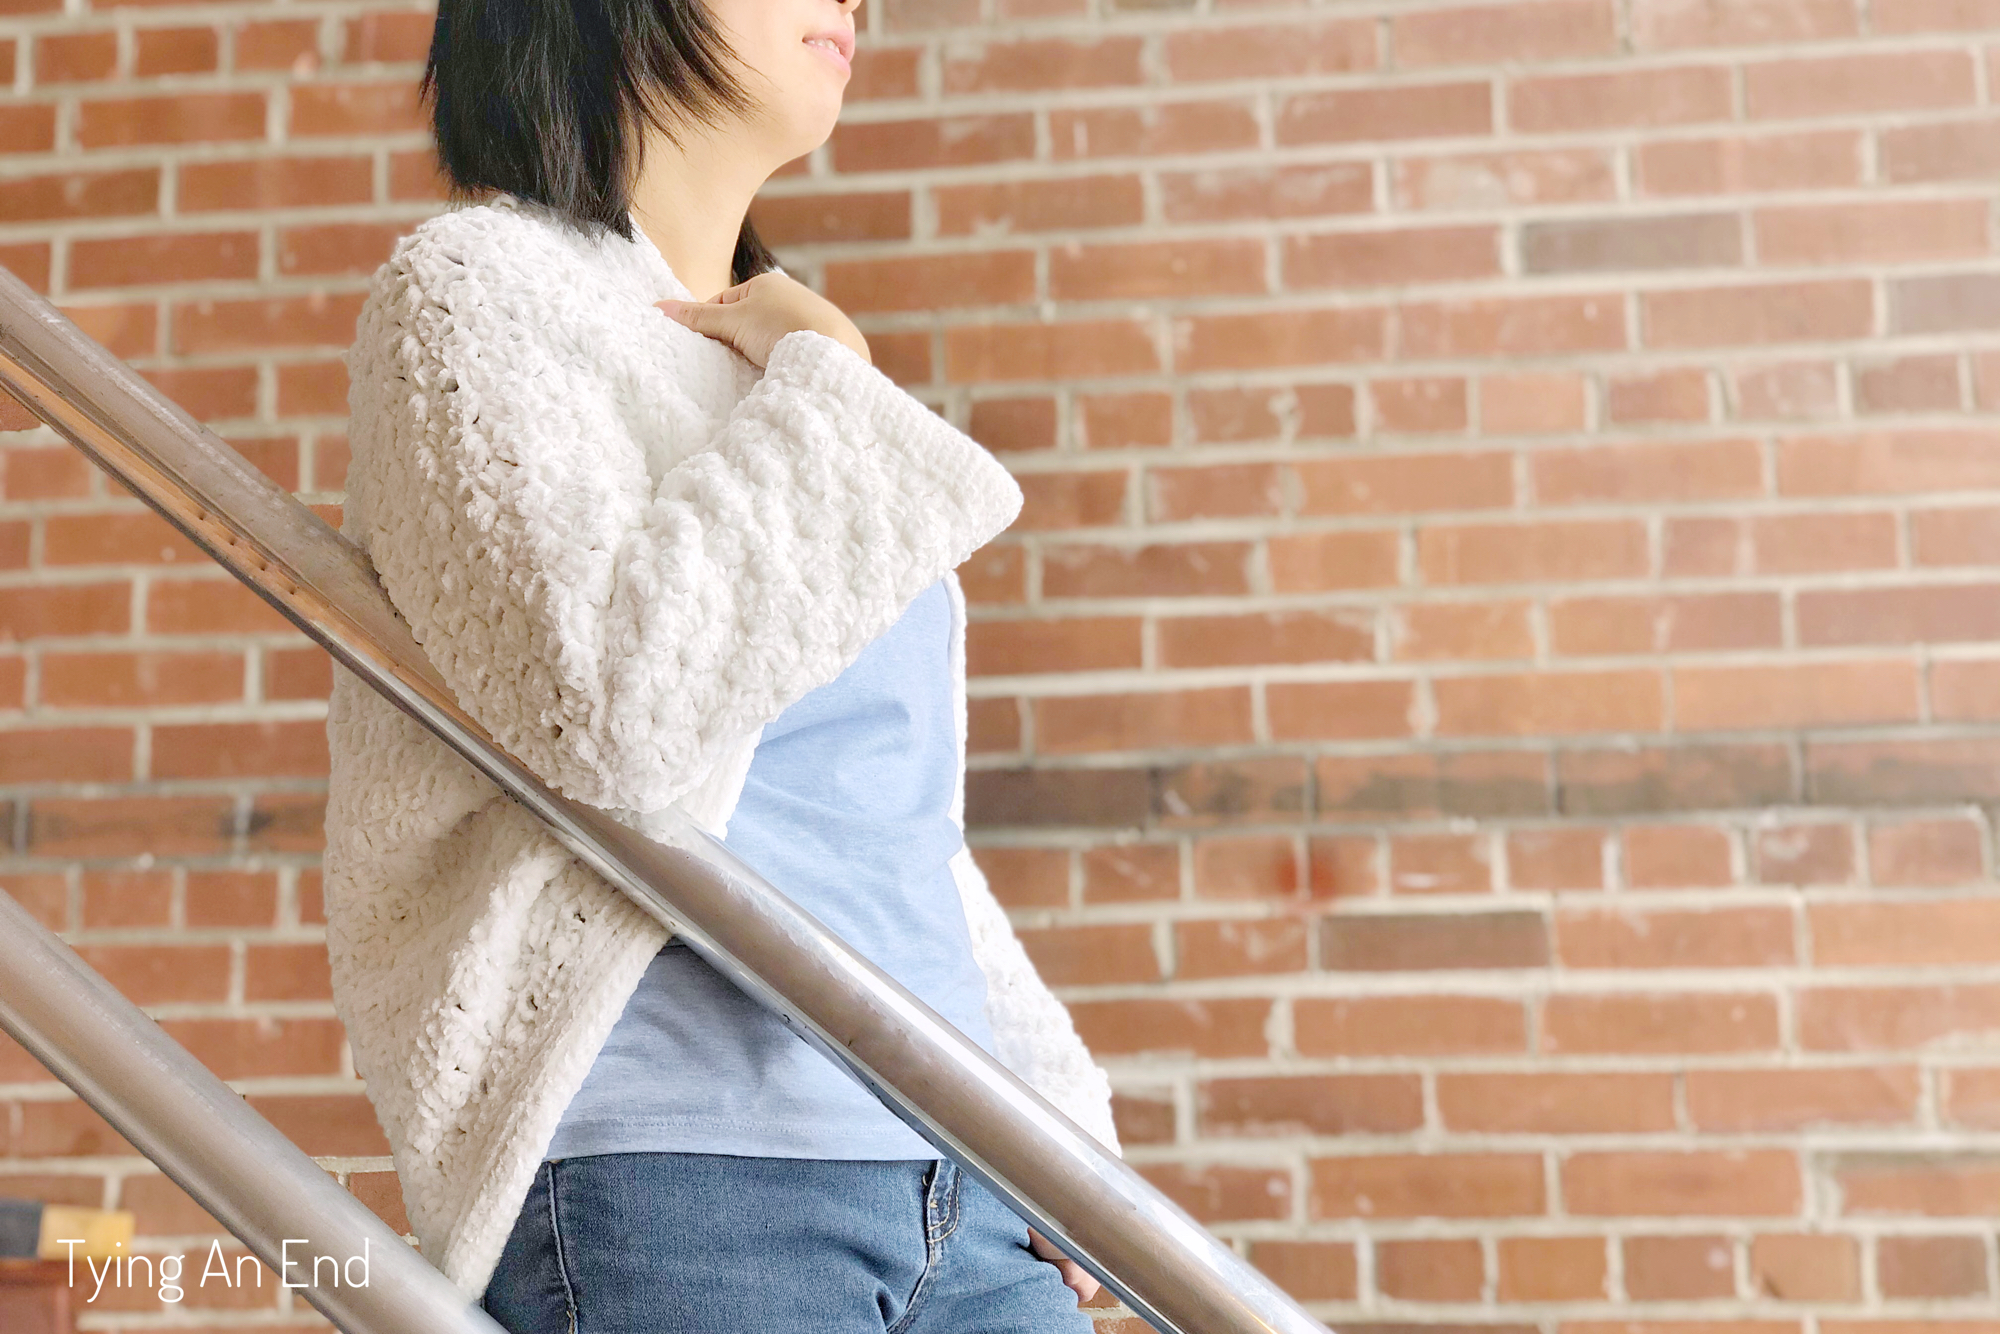
This cocoon shrug does stretch a little when you wear it, so it gives tiny bit of “airy” look. You can definitely opt out this look when you choose to crochet with smaller hook. Collar is about 2″ (5cm) tall which adds little more dimension to the front of your body. I was thinking of adding more rows around the neck to be able to bend out the collar. I bet that would look nice, too! You can make it without sleeves to have a short sleeves-look!

A Yarn I Used
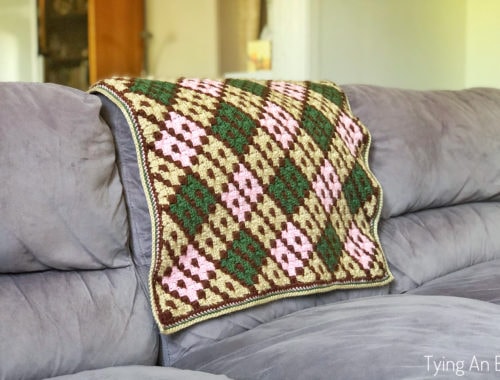
I used Bernat Baby Velvet for the first time and it’s gives such a cozy feeling! My sister used this yarn to make a blanket for her co-worker, and there was some leftover so I chose to use this yarn for the project. If I were to explain in words, I say it’s much softer version of Bernat Blanket yarn. The yarn is made with 100% polyester and washable.
After completing my shrug and wore it several times, I noticed few places with loops coming out. I know I didn’t miss any stitches so I had no idea why that happened. I searched online, and I found out that it’s called “worming”. It happens to silky, slippery yarns like velvet and chenille. (You can read more about it in the blog post by My Poppet Makes and Heart Hook Home)
I am a tight crocheter so it only happened to few places where I could hide them, but if you’re loose crocheter, I’m pretty sure lots of loops will appear eventually. I recommend either change to different yarn or go down the hook size to make tighter stitches (recommended hook size for this yarn is 5mm so maybe to 4.5mm or 4mm might work). You can even make a square (maybe a size of small hand towel) and do rubbing test to see how much loops will appear. Please note that if you change the hook size, your gauge will change. In this case, you can ignore the gauge and make your rectangles to the size indicated in the pattern.
It just sucks that this yarn does not work well with lacey stitches and lose tension. For the best look, loose crocheters most likely have to go down multiple hooks down so worming won’t happen. I’m making another one with few hooks down so now I’m having much tighter stitches and squares. Hopefully no worming happens this time!
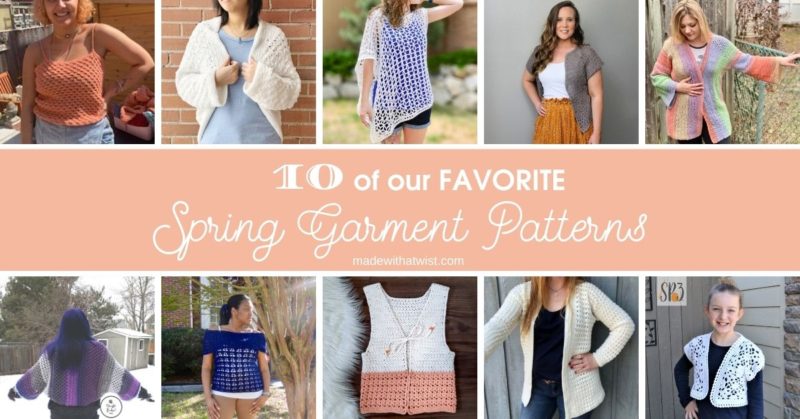
Part of 10 Spring Crochet Garment Blog Hop
This pattern was part of 10 Spring Crochet Garment blog hop on Made with a Twist (MWAT). Free download period is now over; however, you can grab in-expensive, ad-free pattern bundles!
How This Blog Hop Works
Most common event period for the blog hop is about a month. Everyday there will be 1 (or 2 sometimes) designer will be featured on the host’s blog page. A reader then needs to go to the designer’s page in order to get the pattern. This year, MWAT is hosting a blog hop every month, but it happens only 1 day per month. So good side is that you get all the designs in 1 day, but down side is that event period is really short.
What If I Missed The Download?
My pattern is always available for free on the blog here! If you would like a PDF pattern, please go to my Etsy, Lovecrafts, or Ravelry! store for purchase! You can also purchase the pattern bundle right now for only $10!! That’s only $1.00 a pattern! (Price will go up to $16 on 2/27)
C2C COCOON SHRUG
CROCHET PATTERN
MATERIALS:
- Bernat Baby Velvet [1 skein = 492yd/450m, 10.5oz/300g, category 4 worsted weight] **Please read a section about the yarn before moving forward**
- S & M: 2 skeins in any color (photos shown: Snowy White)
- L: 3 skeins
- US H/5mm crochet hook
- 7mm crochet hook
- Tapestry needle
- Stitch markers
SIZE:
- Small – fits chest size 32″ – 34″ (81cm – 86cm)
- Medium – fits chest size 36″ – 38″ (91.5cm – 96.5cm)
- Large – fits chest size 40″ – 46″ (101.5cm – 106.5cm)
- The shrug will stretch a little when worn. It is meant to be an oversized fit.
- Using safety pins, beach towel and facial towels, you can make a mock-up version of the shrug. This will give you an idea of the overall size of shrug.
- Remember to add a collar height, which is 2” (5cm) tall.
- If you want to make a shrug longer/shorter, change the main body rectangle width.
- The model is 5’-0” (152cm) tall and wearing a size small.
In order to make pattern modification straightforward, I’ve created a chart with pattern sizing details clearly laid out in a handy little chart in the premium version of PDF. (It includes few more in-depth measurements!) You can purchase the ad-free, printable PDF of the complete pattern on Ravelry, LoveCrafts, or Etsy.
GAUGE:
Make sure to check your gauge! I crochet tight, so please use any other hook size if you do not get the same gauge using the provided hook size.
- 5 x 5 squares = 4″ x 4” (using 7mm crochet hook)
PATTERN NOTES:
- Work in double crochet C2C (corner-to-corner).
- Starting CH 1 of each round DOES NOT count as a stitch.
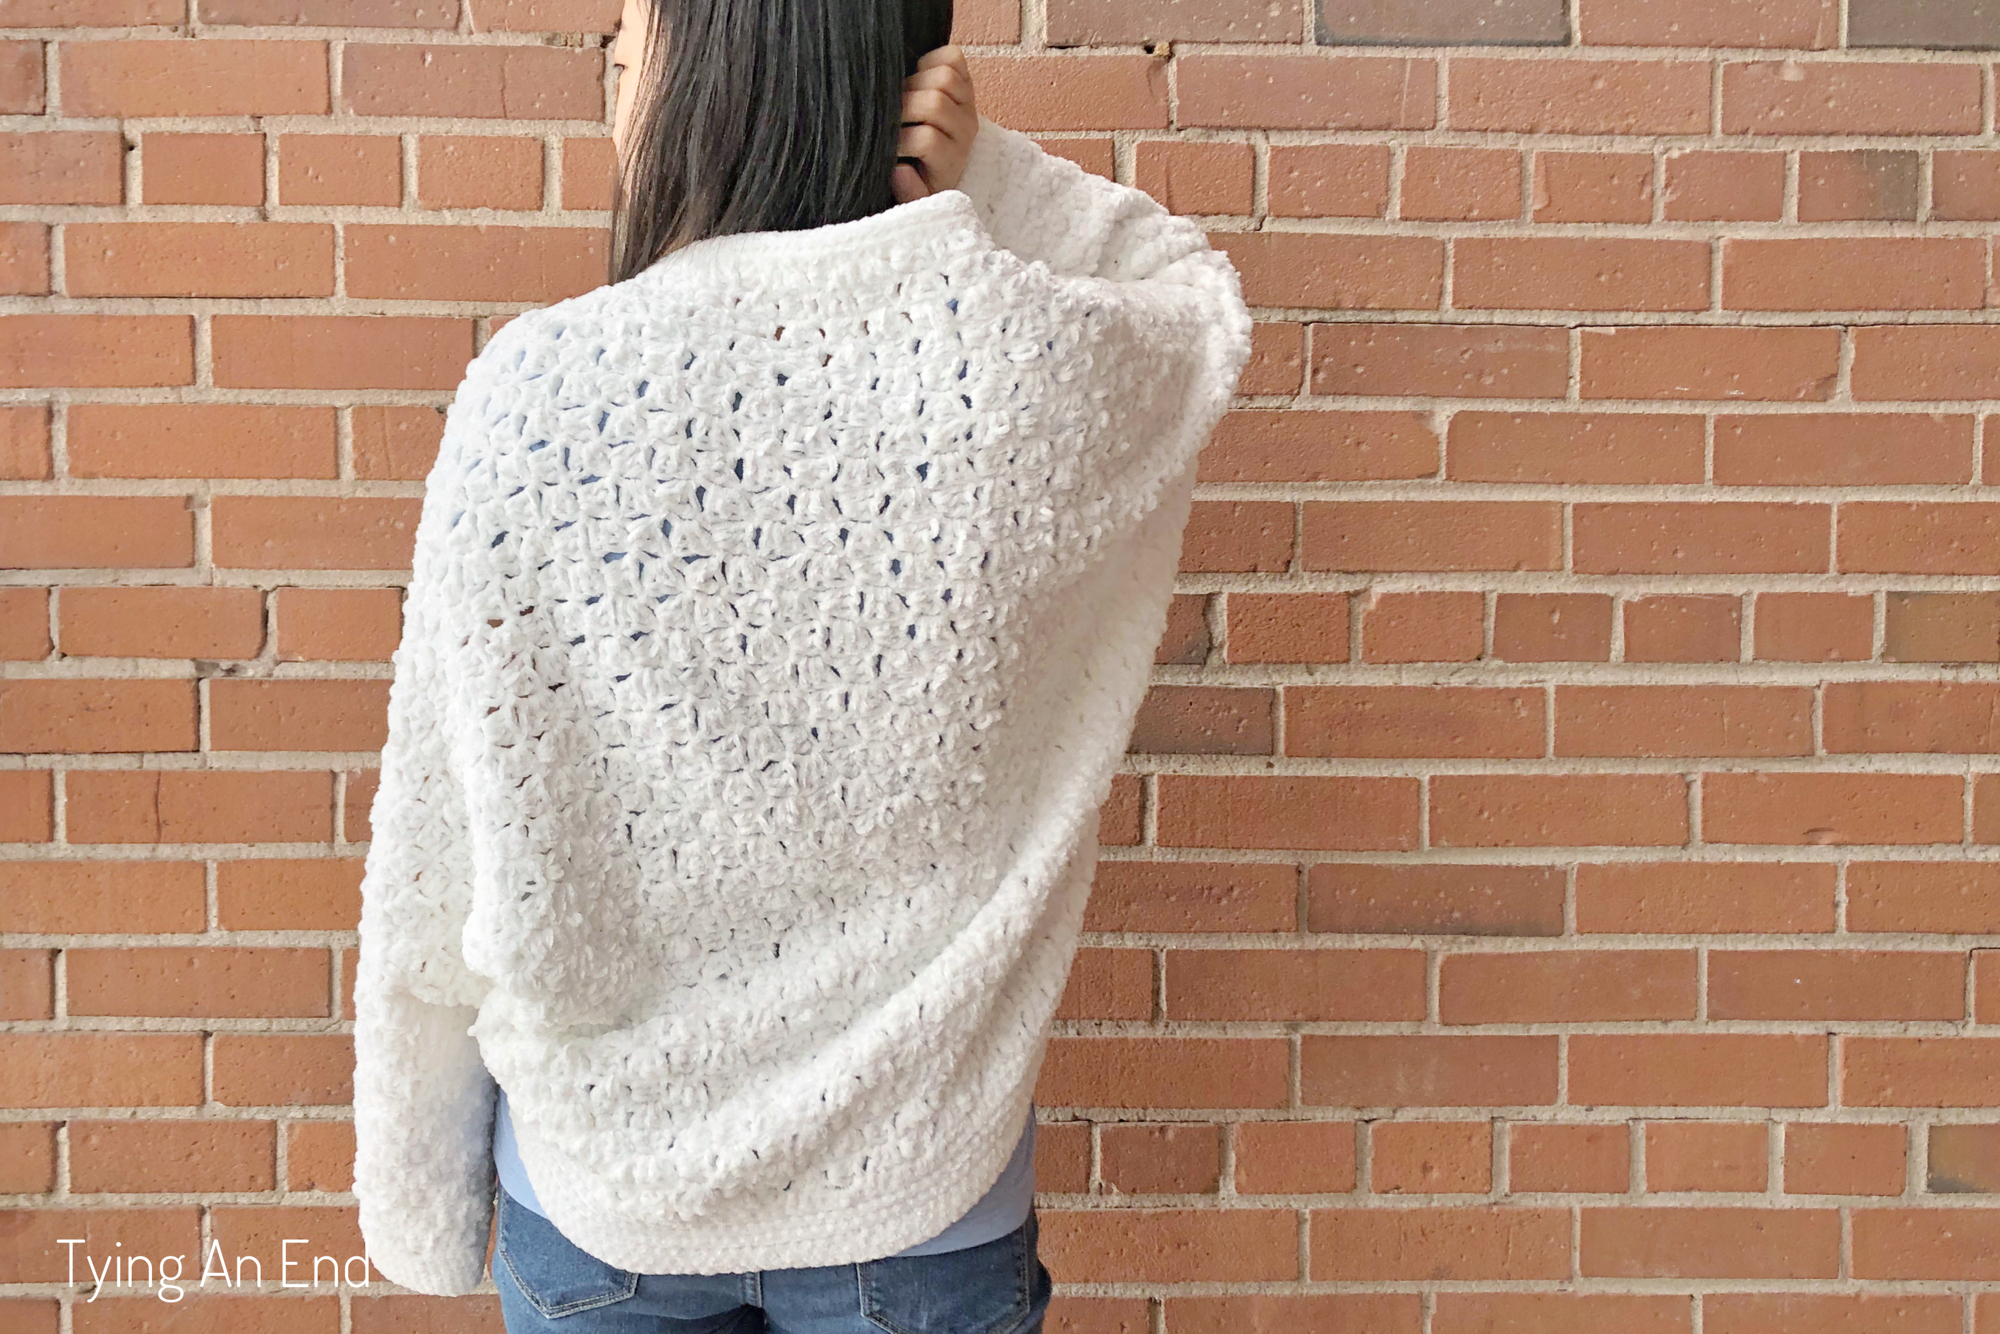
- The main body is made in one big rectangle then seamed together. Sleeves are made in a smaller rectangle then attached to the body.
- Pattern is written for the smallest size with larger sizes following in parenthesis. S (M, L).
- Photo tutorial on how to C2C can be found here.
- C2C is going to be more “holey” than typical C2C finished look. If you like a tighter (typical) look, please go down a hook size until you get the look you like.
ABBREVIATIONS (US TERMS):
- CH – chain stitch
- SC – single crochet
- HDC – half double crochet
- SL ST – slip stitch
INSTRUCTIONS:
– MAIN BODY –
Using a 7mm hook, leave a long tail at the beginning for seaming, make a 31” x 26” (32” x 27”, 33” x 28”) C2C rectangle. Fasten off and leave a long tail to seam the rectangle together.
– SLEEVES –
Make 2.
Using a 7mm hook, leave a long tail at the beginning for seaming, make a 12” x 8.5” (14” x 8.5”, 16” x 9”) C2C rectangle. Fasten off, but do not cut the yarn. We will continue with ribbing later. Remove a hook and use a stitch marker to hold its place.
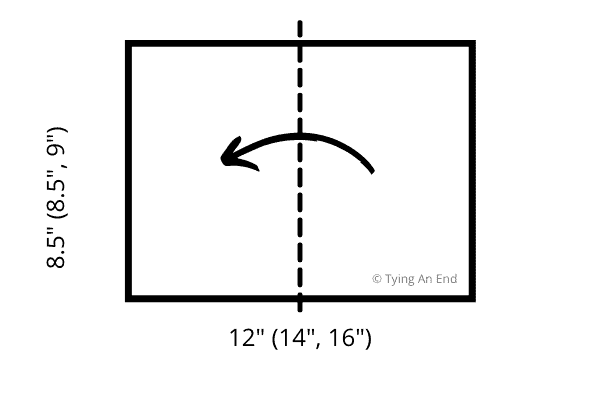
Fold the rectangle in half crosswise. Use a yarn tail to seam the side edges together. Make sure you align each square.
Remove stitch marker and begin working on the ribbing.
Round 1 – Using a 5mm hook, CH 1. SC evenly around the edge. SL ST to 1st SC.
Round 2 – CH 1. SC around. SL ST to 1st SC.
Rounds 3-5 – Repeat Round 2.
Fasten off and weave in the ends.
– SEAMING –
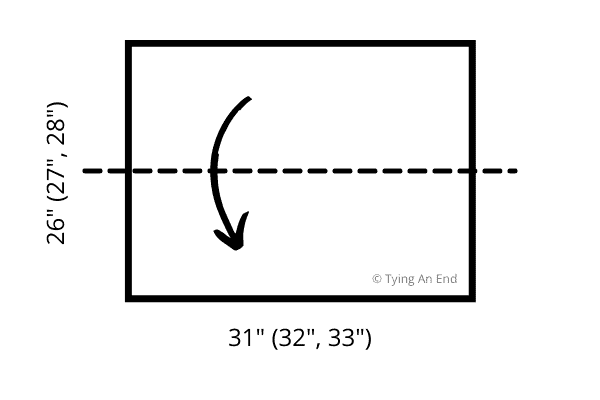
Fold the main body rectangle in half lengthwise. Place a stitch marker 6” (7”, 8”) from the folded edge on both sides of the rectangle for an armhole.
Use yarn tail to seam the edges together. Make sure you align each square.
Seam the sleeves to the main body. Make sure you align each square. Weave in the ends.
– COLLAR –
Round 1 – Using a 5mm hook, SL ST anywhere on the open edge of the main body. CH 1. HDC around evenly.
Round 2 – CH 1. HDC around. SL ST to 1st HDC.
Rounds 3-6 – Repeat Round 2.
Fasten off and weave in the ends.
I can’t wait to see your C2C Cocoon Shrug! Please tag me @tyinganend and use hashtag #tyinganend & #C2CCocoonShrug on Instagram so I can see and share your beautiful shrug!
Happy crocheting!
This pattern is an original pattern by Tae of Tying An End. Please do not claim this pattern as your own. If you wish to share this pattern, please link to this pattern and do not copy and paste it on to your site. You may keep a copy for your own personal use but please do not sell the pattern or distribute it. Please see Disclosure & Terms of Use for more info.


![[Free Crochet Pattern] Summer is still here! Small reminder from your bathroom! Hello Summer Bath Mat by Tying An End](https://www.tyinganend.com/wp-content/uploads/2018/08/IMG_9434.jpg)